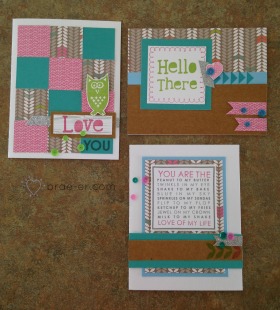
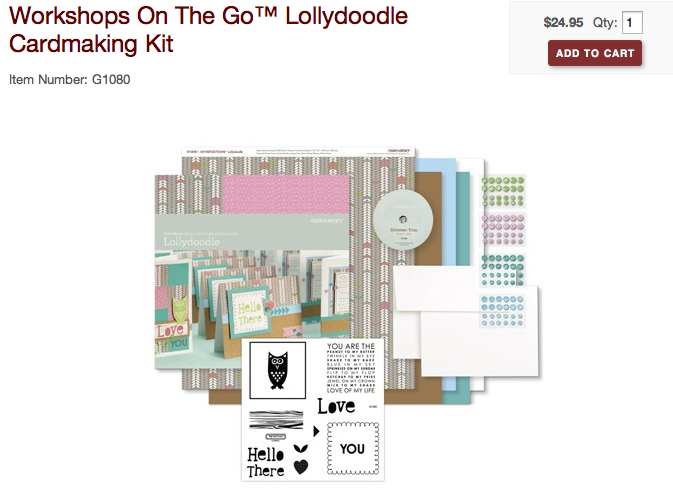
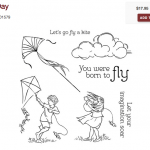
This workshop on the go kit will not disappoint- the kit includes all the paper, cards and envelopes, accessories, exclusive stamp set and a workshop guide to give you step by step instructions so that you can create the cards seen here (5 of each design)- and all for only $24.95!!
If you would like to order this owl-dorable set- the click on this image to go straight to it!
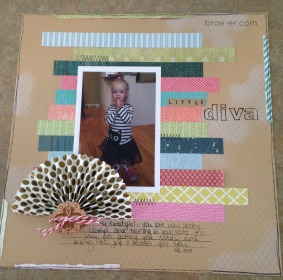
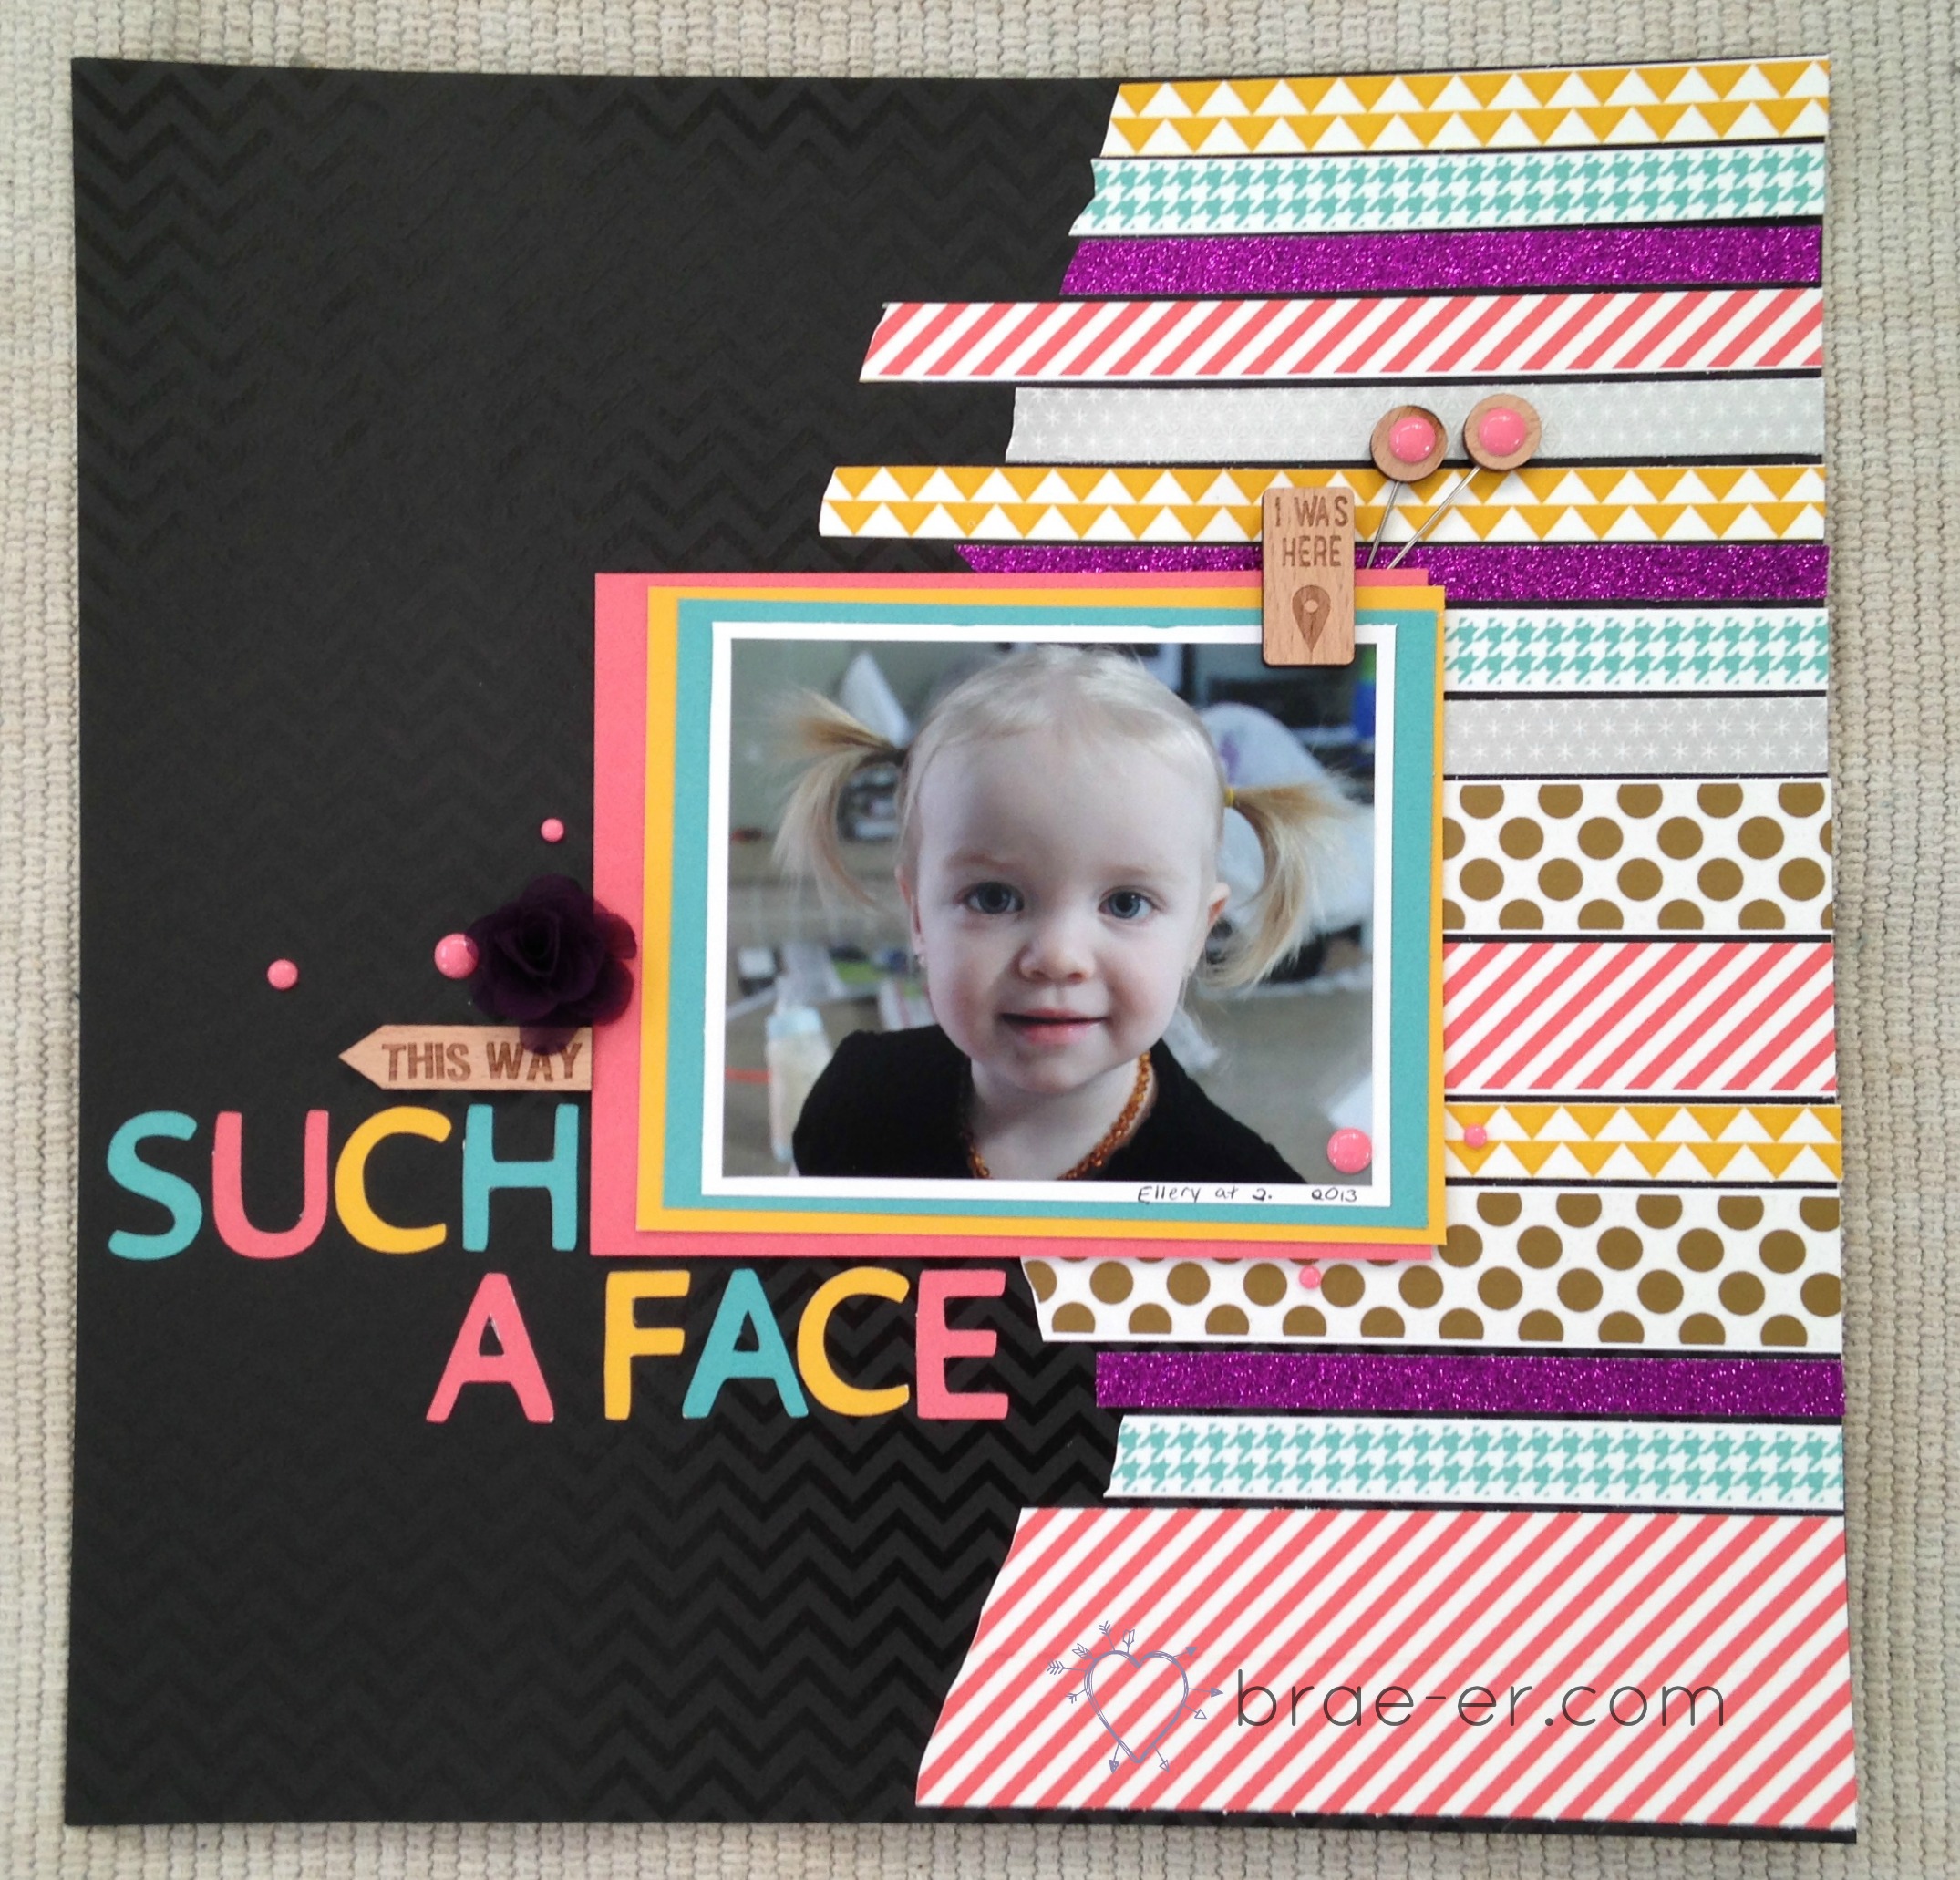
Today is my last post in the paper fundamentals feature- this one is a layout that I featured on Tuesday for the technique blog post (feel free to click here to visit the how to behind what I did).
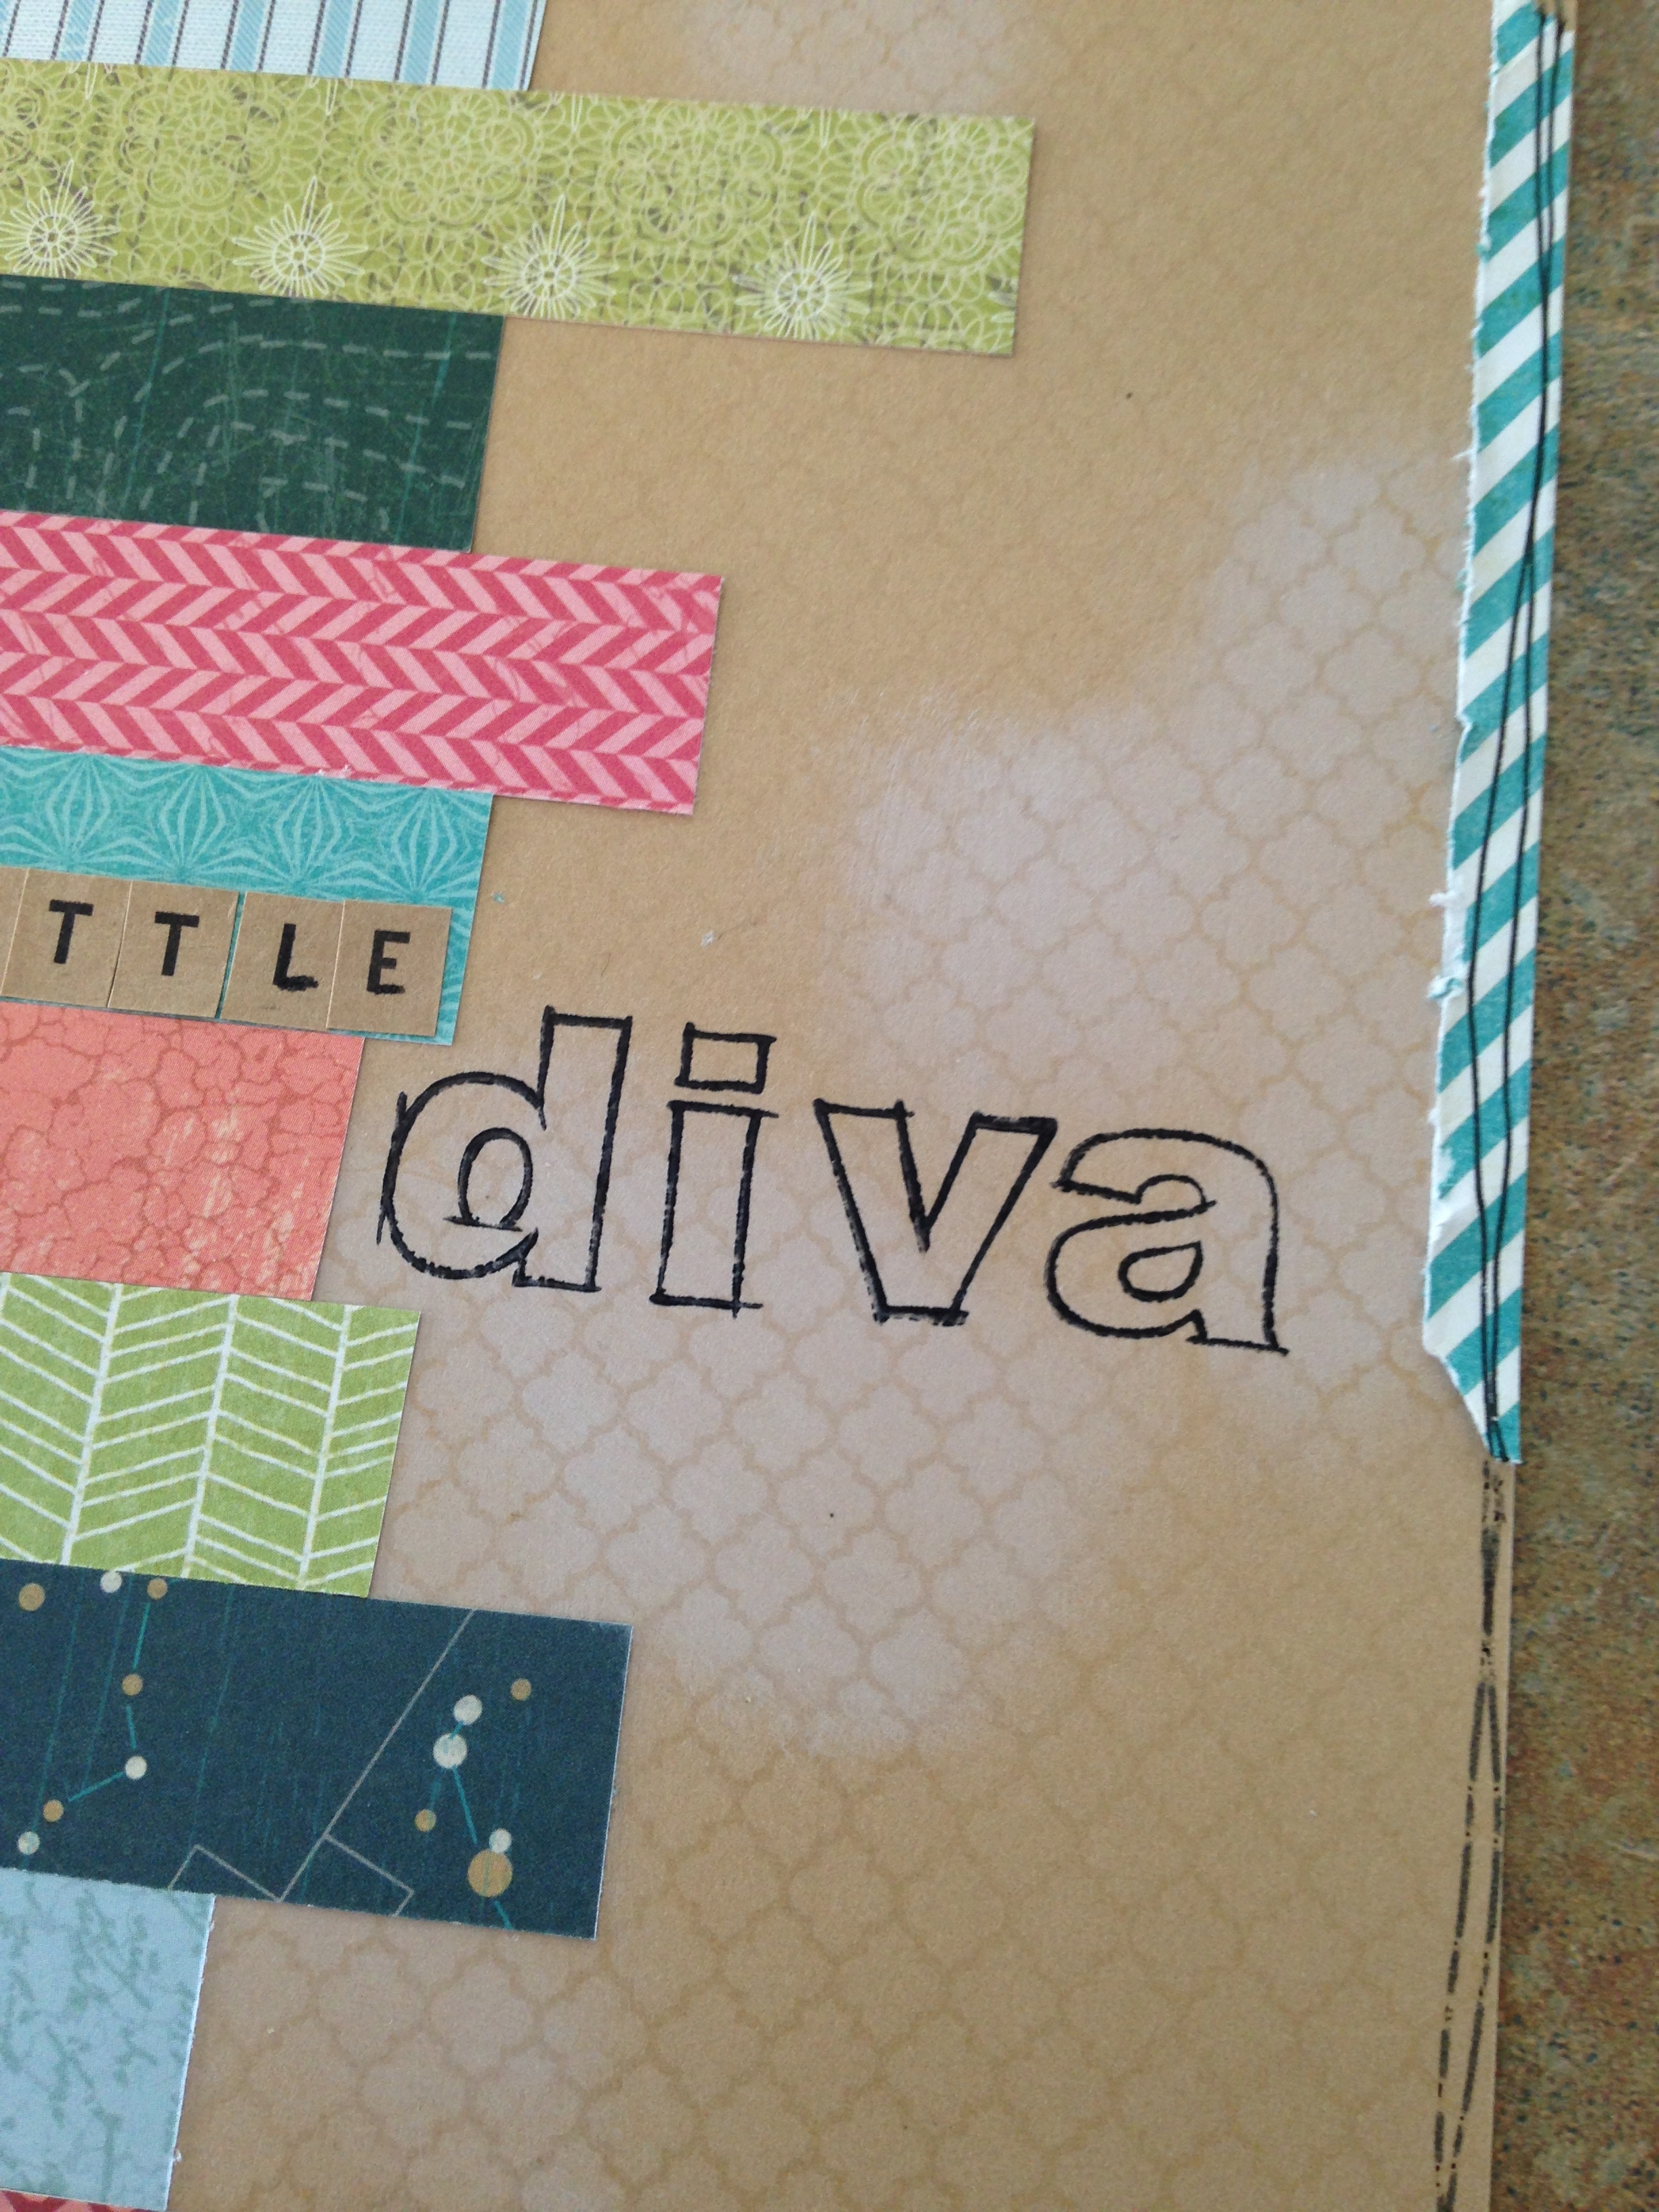
This layout used the paper fundamentals quatrefoil pattern (the glossy side) and the ink I added for the ‘ghosting’ affect does not stick to the glossy. This means that if you rub ink in certain spots you will make the pattern POP! I used the white daisy pigment ink on this layout.
The layout also features strips of patterned paper from all of our paper lines. I did some hand-drawn doodling to add the stitches and the lines around the layout. My fan was cut using the cricut Artiste cartridge and covered with the gold polka dot washi tape. A fun layout for my little diva!
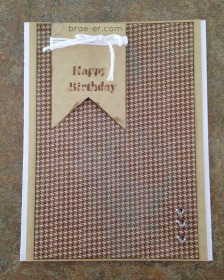
Another paper fundamentals project today- this one showing a masculine birthday card. In this project I used the beige paper (it has little embosses hearts on it) to create my pennant and the piece behind the patterned paper from timberline. I stamped happy Birthday and added some epoxy bubbles and natural bakers twine to finish it off.
Come back friday for another project- this one a layout!
This week our technique will be on resist ink- and it will be a little different in that I won’t be sharing a picture of the finished project until Friday so be sure to come back and visit!
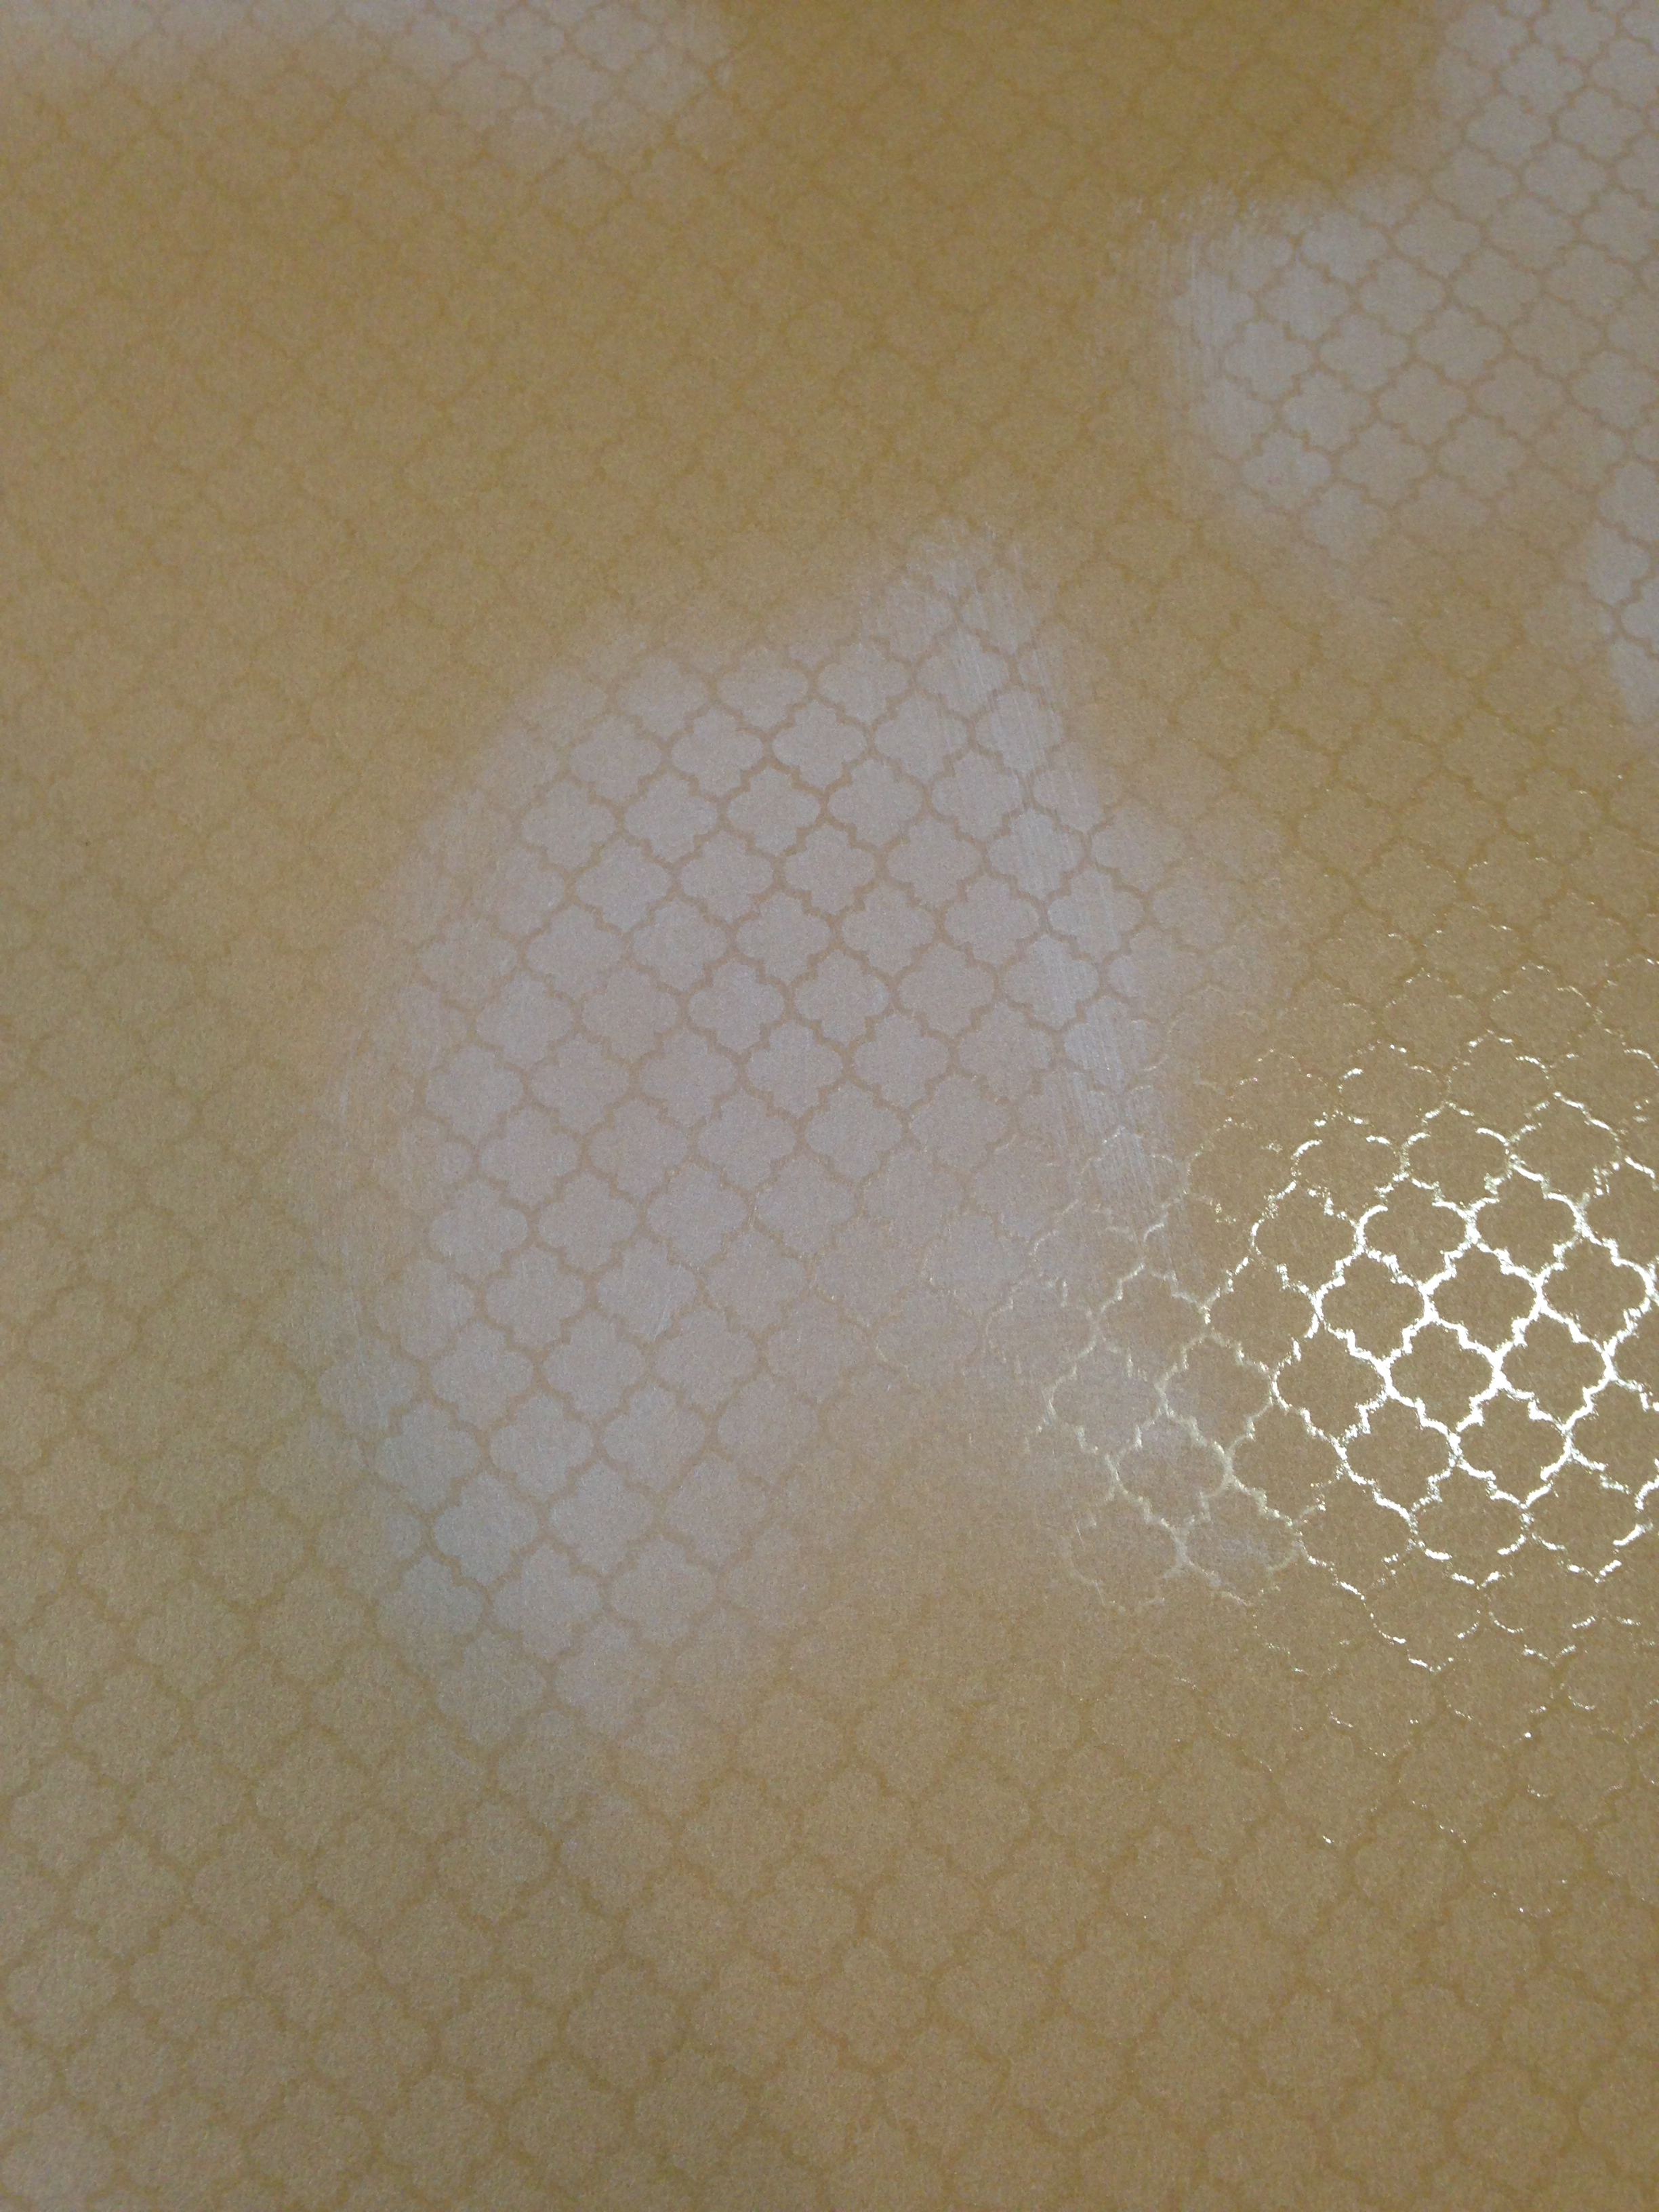
To create the resist you can use a few different things- our paper fundamentals line is perfect for this as it already has a glossy image (like you can see here). You can also use heat embossing to create your own image for resist.
The resist piece works when you add ink- in the case of my sample I used our white daisy pigment but any ink will do. I rubbed the ink on with a sponge and wherever the glossy image is will RESIST the ink- hence the name of the technique!
Here is a close up on the resist area on my finished project- your sneak peek until friday….
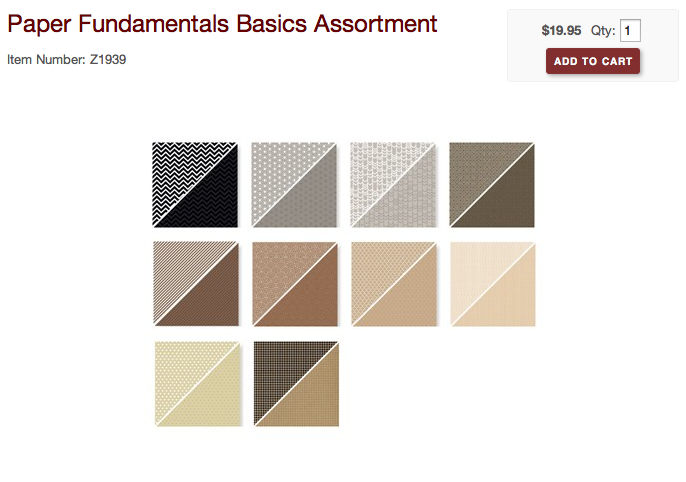
Have you seen our new paper fundamentals line and all the fun stuff you can do with it? If not hand out here this week and I will share with you a few projects that I have created with this new line of cardstock.
This paper line features one side with a graphic print- a pattern mixed of white and the basic colour. The reverse side of the paper is the basic colour with a glossy overlay in the pattern- this makes for versatility and lots of fun!
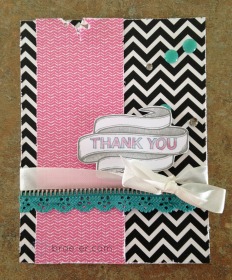
On this card you can see the graphic side of the black fundamentals sheet (chevron!!!! so cute!!)- I mixed this with a piece of lollydoodle and some fun accessories- lagoon zipper lace, aqua dots, epoxy bubbles and some seam binding ribbon. I used the Banner wishes stamp set to add my sentiment.
Here is another project that I featured a few months ago that used the reverse side of the black fundamentals paper.
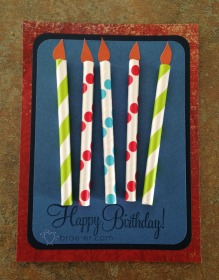
How pretty are the paper straws that are readily available right now…. especially the ones at Target in the ‘dollar spot’?? I love them!! But, I need to put these cute straws to work- here is a birthday card I created with some of my paper straw stash!
The card was very quick and very easy- I used jubilee paper, glued the straws down with liquid glass and hand cut some flames- and of course stamped the sentiment BEFORE glueing anything down.
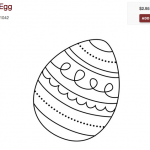
Welcome to our Emboss it Blog Hop that is celebrating the release of CTMH embossing folders! I am so happy to add these to my stash (I had a few others but rarely used them) and to dig out my cuttlebug once again! If you have hoped over from Melinda’s blog then you are on the correct path and I hope you enjoy the experience!
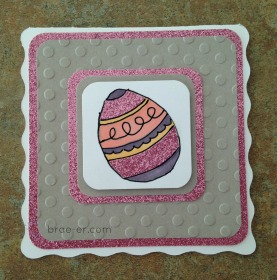
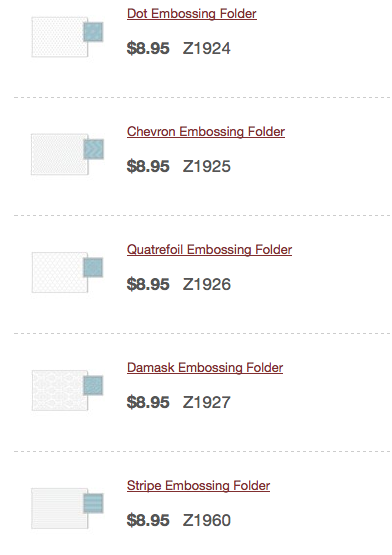
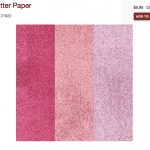
To create my card I used the Dot embossing folder and one of our new M sized stamp sets- coloured egg. I cut my card base on our Cricut Artiste cartridge and then layered some of our glitter paper (LOVE the glitter papers) with some slate cardstock that I embossed. My egg image was stamped and then coloured with our markers as well as paper piecing some glitter paper onto it. Then to add to the detail of the egg I outlined the image with a black marker (fine tip).
Here is some of what I used:
Now hop on over to Toni’s blog to see what she has in store for you!
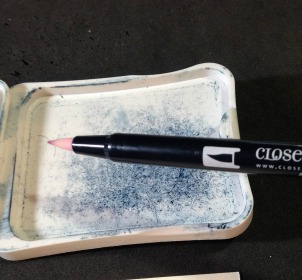
Welcome back to another technique tuesday! The week I am going to show you how to colour in an image with our ink and the CTMH blending pen (often referred to as the ‘magic pen’ and you will soon see why!).
This pen can easily help alleviate the need for MANY markers to go with your inks- if you don’t have it in marker form you can use your ink to replace it!
The blending pen does have two tips- a paintbrush one (like in the picture) and a fine tip one as well). To pick up ink with your pen just squeeze your lid into your ink pad (when the pad is closed) and then open it- you should see something similar to my image here. This ink can be used like a palette- just rub your blending pen through it and pick up the ink.
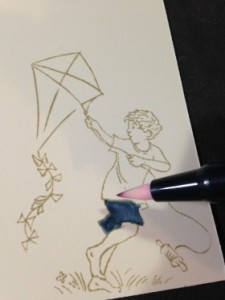
Then take your pen and colour in your image as you would with a marker- you may need to pick up more ink to fill in your image completely.
What is the magic part? When you are done with a colour just drag the tip of your pen on a scrap piece of paper until the ink disappears and no colour comes out of the tip. Then you can pick up a new colour! My whole image was coloured with only one pen- in face I have only owned one for a few years now.
Here is my final image! Love how it all came together- the blending pen and the stamp set are featured below 🙂
Happy St. Patrick’s Day- for you I made this Shamrock card! Glitter paper, some simple sticking, Cricut Artiste, paper fundamentals and some of our marquee shapes- it came together very easily!
The card base was cut on the Artiste cartridge (so cute!) and the hearts that make up my shamrock were also cut using that cartridge (yes, there are four hears that make up my shamrock- I scored them down the middle and used foam tape to give them some lift).
I hope my four leaf clover gives you lots of good luck today!
I am sure not all my readers have had a winter similar to mine but also know that many of you have- the cold was VERY cold and the snow just piled up and piled up and …. well, you get the idea! Now here I sit half way through March and spring should be in sight! I am hopeful that April will dawn with green grass and flowers pushing their way up through warm soil- ahhh! For now seek some solitude in the ‘Sunshine and Warm Breezes’ Team Blog Hop where members of my team (the Brae-er’s) will each share project on this theme that uses Close to my Heart products!
How does a hop work? Just read my blog, leave some love in the comments and click on the link at the bottom directing you to the next person in the hop! Have fun!
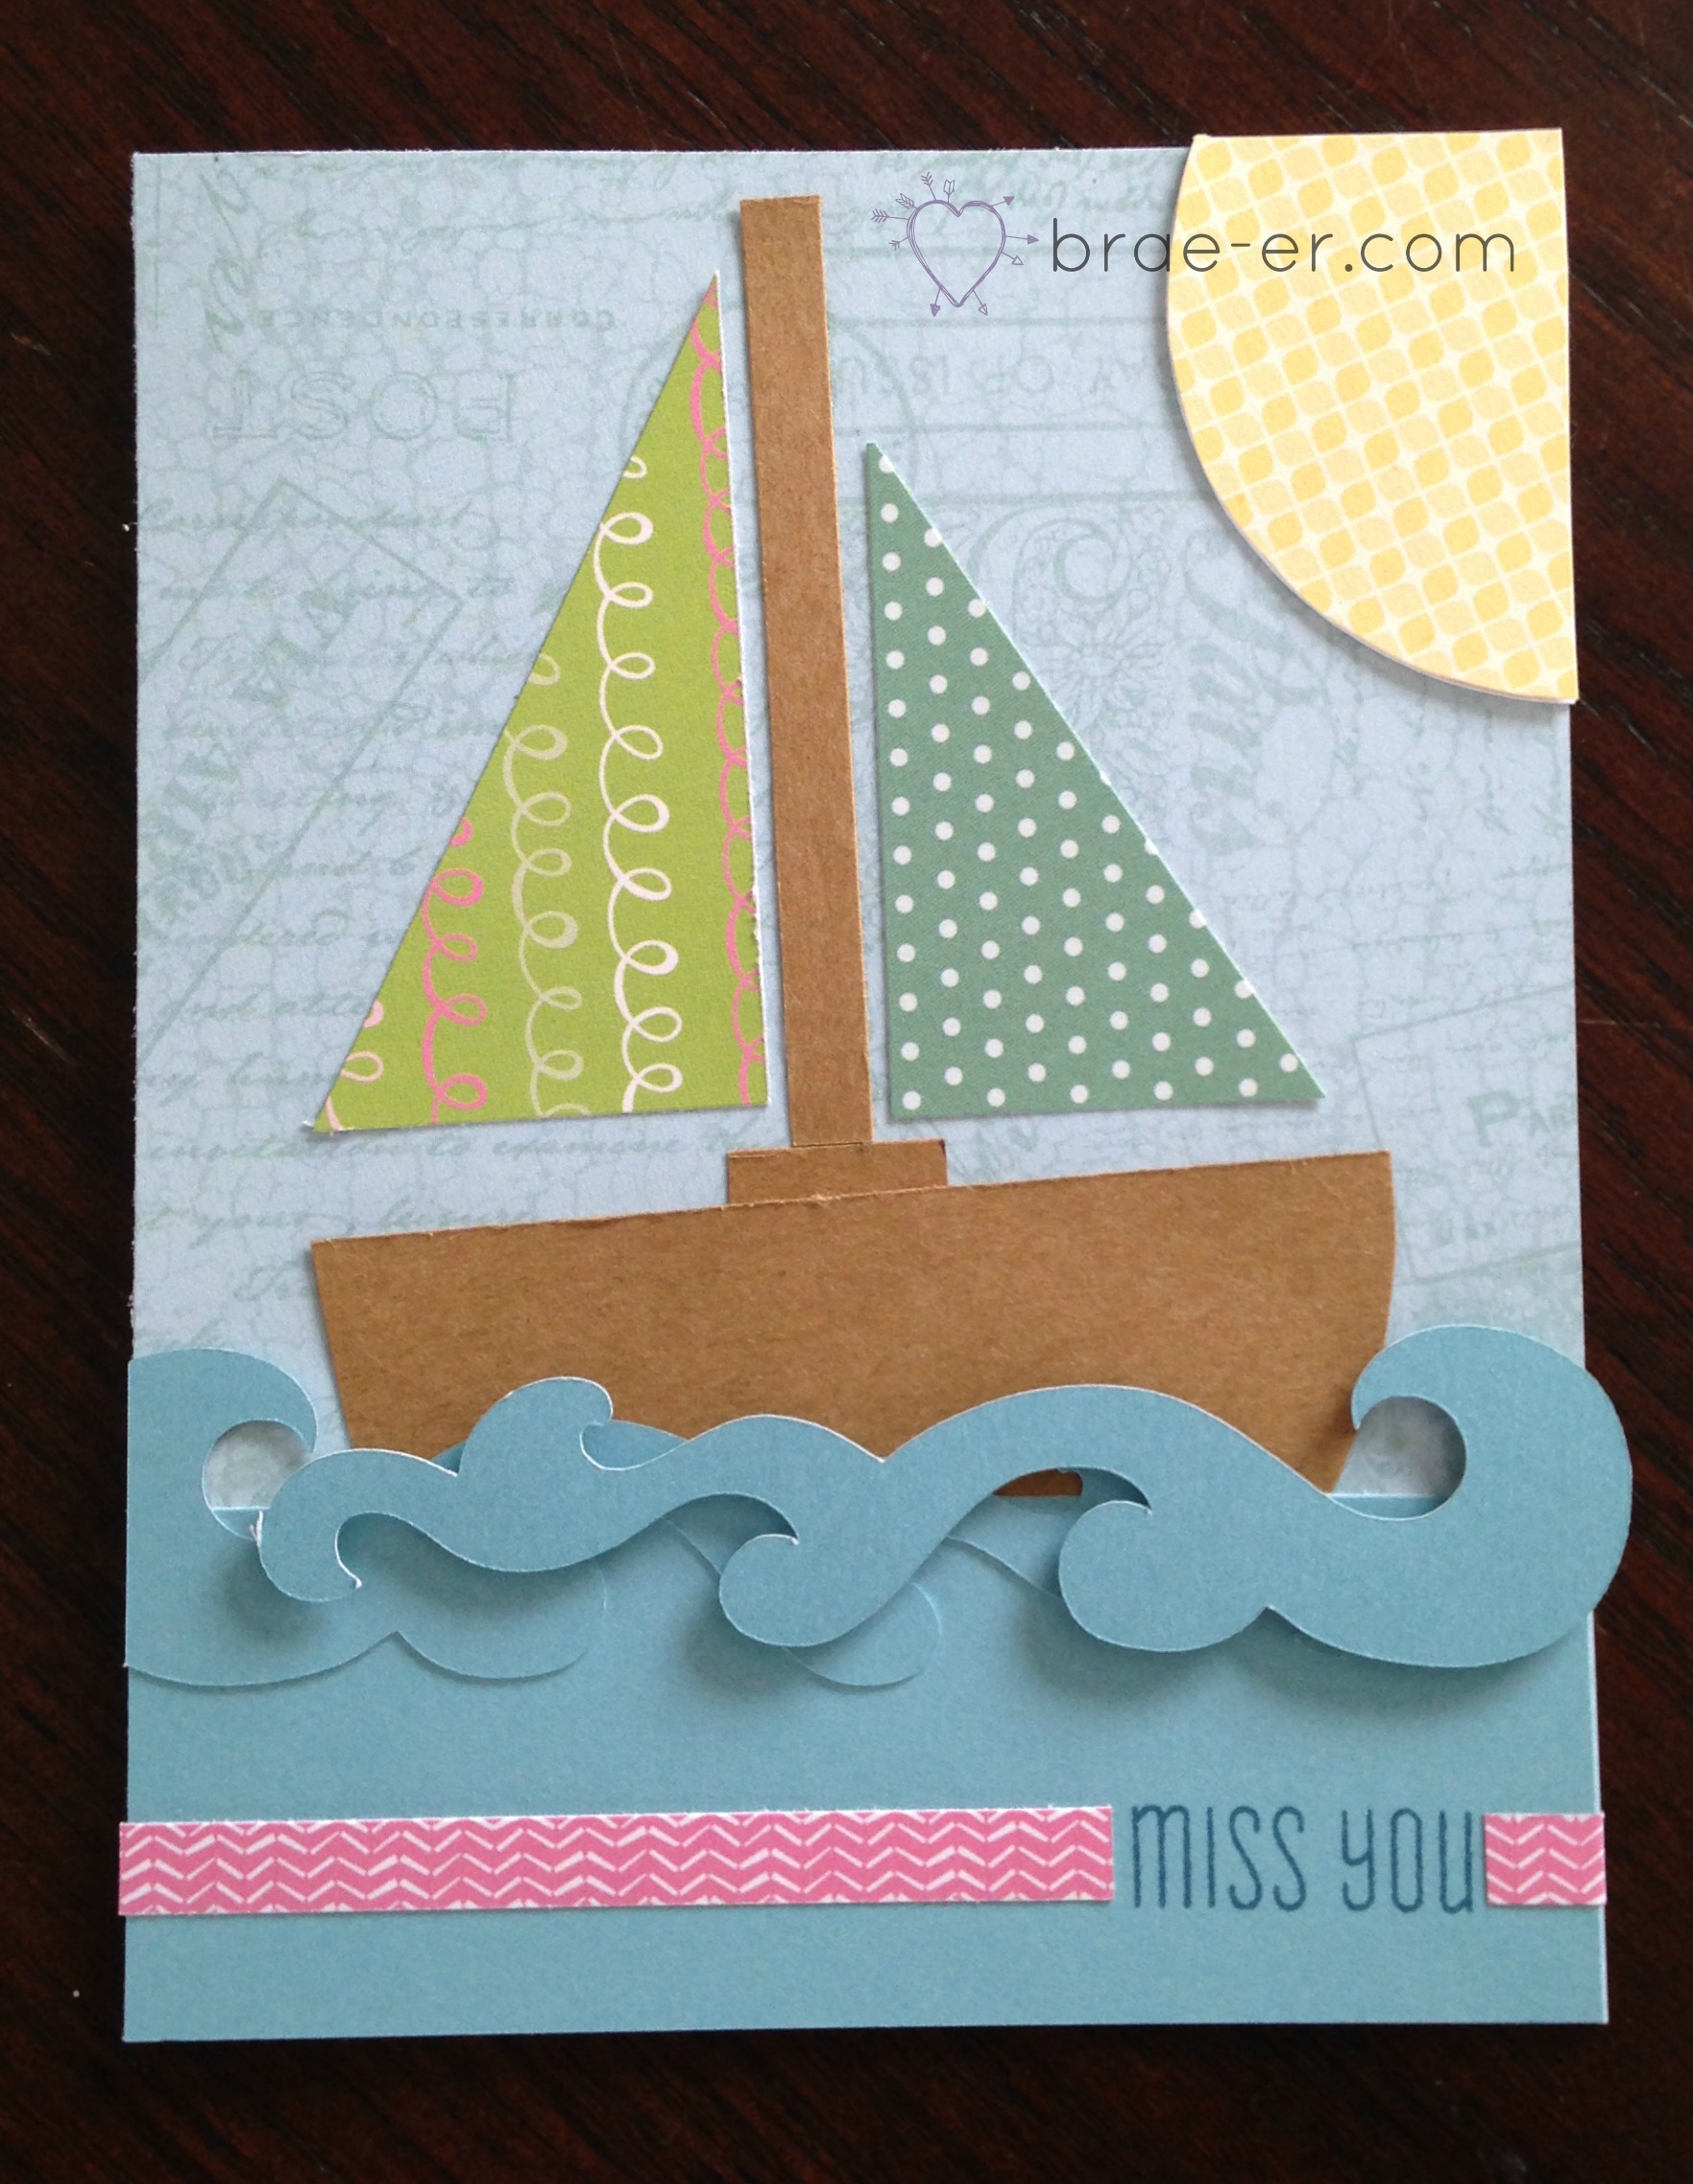
I love how this cute card turned out! I used a mix of papers from Lollydoodle and Balloon Ride- with some Kraft paper mixed in. The card itself was very simple- I cut some triangles with my paper trimmer, the base of the boat is a circle cut in half and the waves are from the CTMH Cricut Artbooking cartridge.
Please subscribe to my blog while you are here ——> [widgets_on_ pagesid=”Subscribe!”]
Now hop on over to Lucy’s Blog to see what she has prepared (she has even been somewhere warm recently- how lucky is she!)
If you get lost the full list of hoppers is posted here: