Category Archives: spring/summerideabook

Another Advisory Board Layout using Ariana

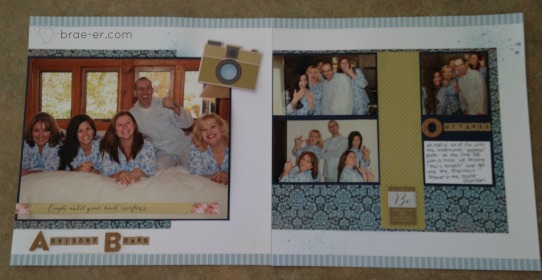
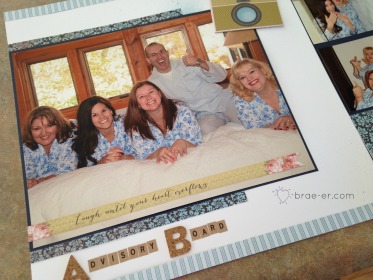
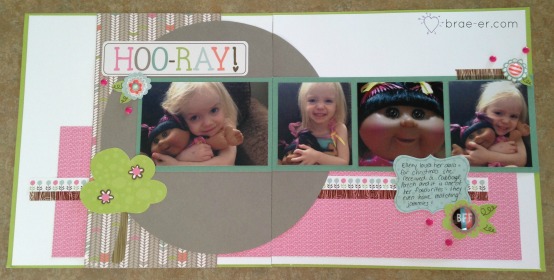
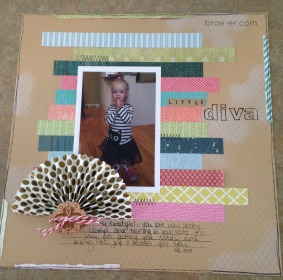
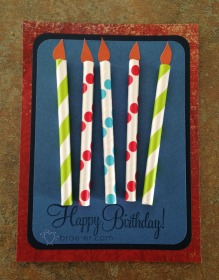
Another layout today using Ariana and featuring some of my Advisory Board photos- this one is a single page layout with my photo from the photo shoot! I used a layout that I saw on Pinterest for my inspiration (if you follow me on Pinterest you will see that I keep one board FULL of layout inspiration).
AB single layout

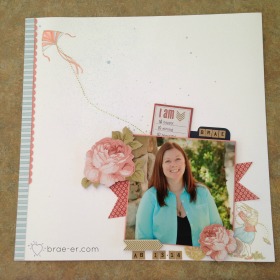
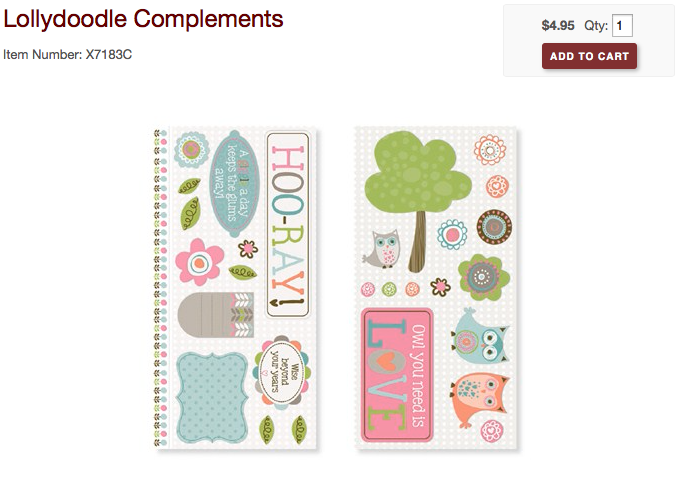
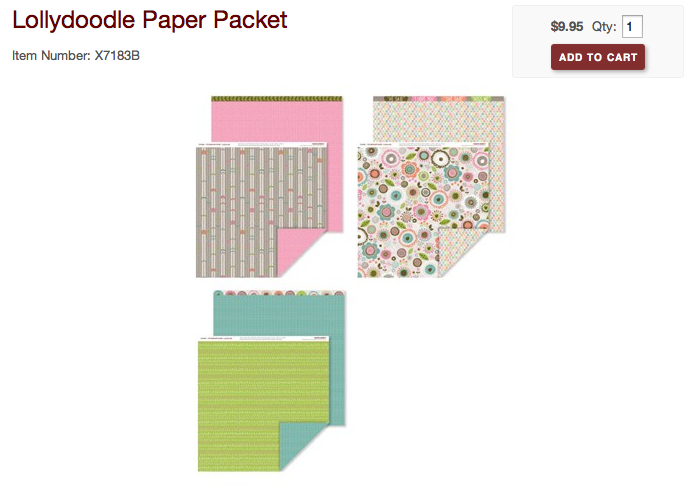
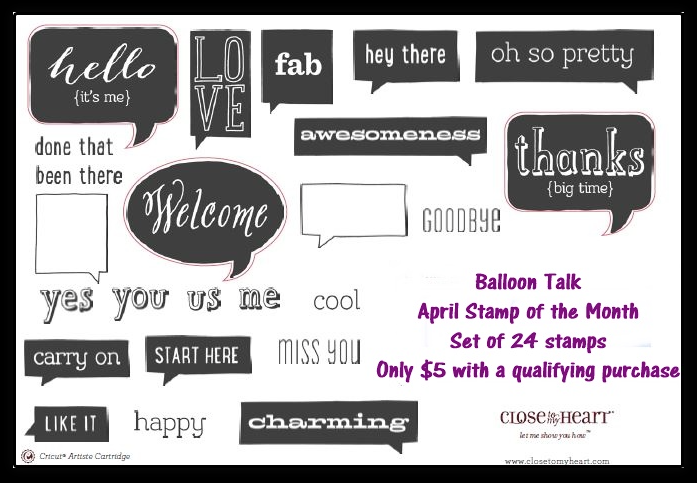
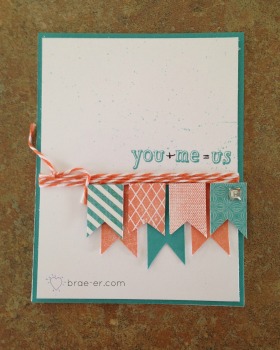
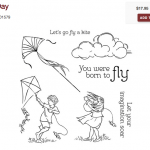
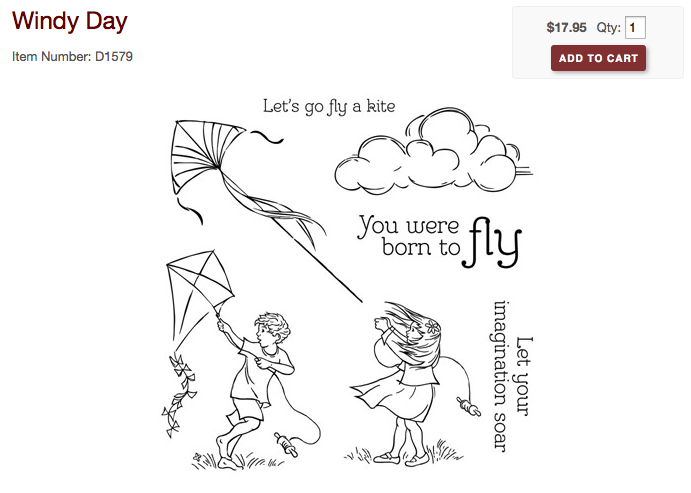
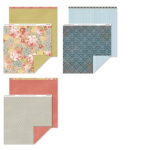
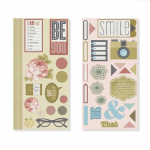
Ariana paper, complements, and one of the CUTEST stamp sets we have this idea book! All together made a really sweet one page layout!

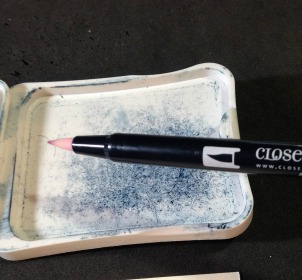
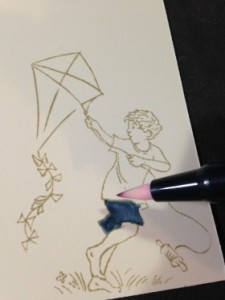
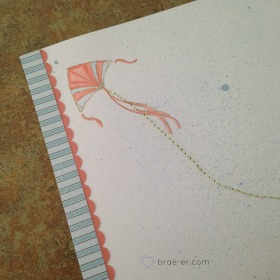
Here is a close up of the kite- I used the blending pen to colour in the image (did you see my Technique Tuesday featuring it? If not find it here)

AB single layout close up

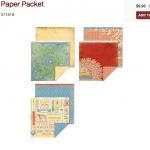
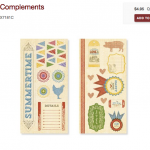
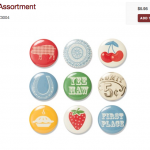
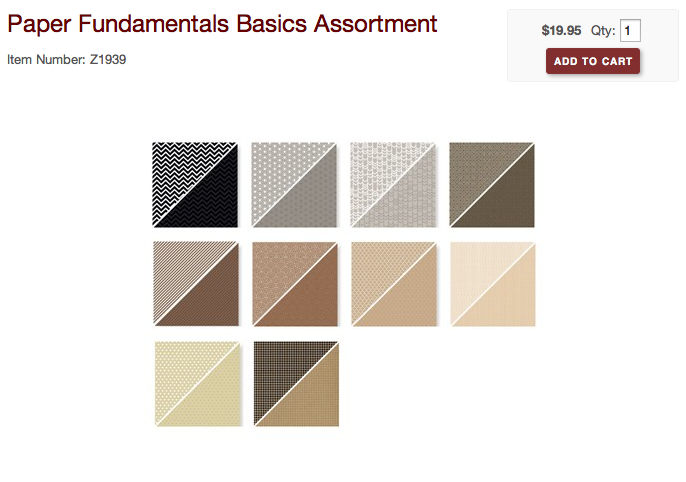
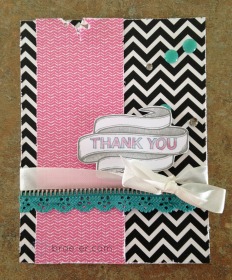
Here are some of the items I have been featuring the past few posts:

Screen Shot 2014-03-14 at 10.42.16 AM Screen Shot 2014-03-14 at 10.42.34 AM  Screen Shot 2014-03-24 at 11.06.40 AM Screen Shot 2014-03-24 at 11.06.53 AM


Until we craft again, The Brae-er


Advisory Board Layout using Ariana

Here is another layout featuring the Ariana paper- I really like the different blue papers that are featured in this kit! I also used some of the complements from the die-cuts that you can purchase seperately AND if you have been following my blog (and if not what are you waiting for! Sign up on my sidebar!) you know the spray pen technique I used.

These photos were taken last fall at our Advisory Board retreat- the Advisory Board is a group of consultants with Close to my Heart who are chosen to give advice on tops throughout the year.  Being picked to be an AB member is a huge complement and I am happy and proud to be part this year! We had a lot of fun with our photos- and used the fact that our group had the first male AB member! Phil was our ‘Charlie’ in one photo and the reason to be shocked in others- what a great memory!
AB layoutAB layout close up

My term ends this summer and I will definitely miss all that this opportunity has brought to me.

Until we craft again, The Brae-er


This and That- Ariana Layout

I am trying very hard to show you things beyond my favourite paper pack- I love them all but tend to gravitate toward the Skylark paper.  HERE is a layout done with the Ariana paper which is so pretty and also very versatile.  I especially LOVE the complement die cuts that you can purchase to go with this paper (that is where most of my embellishments for this layout come from).

this and that ariana layout


I used my spray pen and re-inker to create the background spritz.  The layout itself was from a magazine challenge (that I created and forgot to send in LOL!). I like how it all turned out and worked so well with my pics- and the very serious expression that my daughter had that day 🙂

Until we craft again, The Brae-er


Jubilee Layout

Keeping with the post from yesterday I wanted to post another layout – this time using Jubilee paper and complements- that is simple and easy!  This one was inspired by some of the artwork released by Close to my Heart for the Jubilee paper and accessories- I adjusted a few things to fit my photos and papers.

My layout uses the following items:

  • Make it from Your Heart Volume 2, pattern 10
  • Jubilee paper
  • Jubilee Complements
  • Jubilee Assortment
  • Bakers twine

jubilee layout with complements

This paper is fun (and like all our papers it is versatile)- it worked perfectly for pictures I took a few springs ago when we visited a farm over the Easter weekend!

Screen Shot 2014-03-14 at 9.07.34 AM Screen Shot 2014-03-14 at 9.07.46 AM Screen Shot 2014-03-14 at 9.07.56 AM

Until we craft again, The Brae-er


Lollydoodle Layout

Lollydoodle is certainly one of the most popular paper kits this Idea book- the whimsical and beautiful spring colours work for so many different layouts.  Although the kit seems to have a lot of pinks- many of the flip side of those pieces are more neutral colours and one of the patterned pieces is blue with a green flip side- definitely a kit that can be used for boys and girls!

This Lollydoodle layout was created using the following products:

  • Lollydoodle paper pack
  • Lollydoodle Complements
  • Lollydoodle Assortment
  • Chocolate woodgrain washi tape
  • pink glitter gems

lollydoodle sticker layout

The layout pattern itself was one I found on pinterest (you can follow my pinterest boards if you look at the bar on the right and click on the pinterest link you see there).  The cuts for this layout were all very simple- I did cut the circle on my cricut (all of our cartridges have a circle and square image for simplicity purposes) but you can use whatever tool you have for creating circles.

Screen Shot 2014-02-25 at 10.47.01 AM  Screen Shot 2014-01-25 at 4.04.27 PM

Until we craft again, The Brae-er


April Stamp of the Month Blog Hop: Balloon Talk

Welcome to the April Stamp of the Month Blog hop!   This month we are showcasing the stamp set “Balloon Talk” a great set that has SOOOOOOOOO many options!  If you have come from Maureen’s blog then you are on the correct path in our circular hop.

Screen Shot 2014-03-13 at 8.27.49 PM

I used the stamp of the month to create my ‘you and me’ card below.  I used re-inker in one of our spray pens to add some texture to my white cardstock- I kept all my colours in the teal and orange family (I love the look this gave the card).  For my pennants I used a mix of patterned papers from Skylark, cardstock and some of our current background and texture stamps to stamp a pattern.  I finished it off with some bakers twine and a sparkle- LOVE it!

april stamp of the month card


Now hop on over to Joy’s blog but before you do please share some love and SUBSCRIBE to my blog

[widgets_on_ pagesid=”Subscribe!”]

Until we craft again, The Brae-er


Paper Fundamentals: Diva Layout

Today is my last post in the paper fundamentals feature- this one is a layout that I featured on Tuesday for the technique blog post (feel free to click here to visit the how to behind what I did).

This layout used the paper fundamentals quatrefoil pattern (the glossy side) and the ink I added for the ‘ghosting’ affect does not stick to the glossy.  This means that if you rub ink in certain spots you will make the pattern POP! I used the white daisy pigment ink on this layout.
fundamentals layout


The layout also features strips of patterned paper from all of our paper lines.  I did some hand-drawn doodling to add the stitches and the lines around the layout.  My fan was cut using the cricut Artiste cartridge and covered with the gold polka dot washi tape.  A fun layout for my little diva!

Until we craft again, The Brae-er


Thank you Paper Fundamentals Card

Have you seen our new paper fundamentals line and all the fun stuff you can do with it? If not hand out here this week and I will share with you a few projects that I have created with this new line of cardstock.

Screen Shot 2014-01-25 at 12.52.47 PMThis paper line features one side with a graphic print- a pattern mixed of white and the basic colour.  The reverse side of the paper is the basic colour with a glossy overlay in the pattern- this makes for versatility and lots of fun!
thank you fundamentals card

On this card you can see the graphic side of the black fundamentals sheet (chevron!!!! so cute!!)- I mixed this with a piece of lollydoodle and some fun accessories- lagoon zipper lace, aqua dots, epoxy bubbles and some seam binding ribbon.  I used the Banner wishes stamp set to add my sentiment.

Here is another project that I featured a few months ago that used the reverse side of the black fundamentals paper.

washi page


Watch for my next project later this week 🙂

Until we craft again, The Brae-er


Birthday Card with Paper Straws

How pretty are the paper straws that are readily available right now…. especially the ones at Target in the ‘dollar spot’?? I love them!! But, I need to put these cute straws to work- here is a birthday card I created with some of my paper straw stash!

birthday paper straw card


The card was very quick and very easy- I used jubilee paper, glued the straws down with liquid glass and hand cut some flames- and of course stamped the sentiment BEFORE glueing anything down.

What have you created with paper straws??

Until we craft again, The Brae-er


Technique Tuesday: Colouring with the Blending Pen

Welcome back to another technique tuesday! The week I am going to show you how to colour in an image with our ink and the CTMH blending pen (often referred to as the ‘magic pen’ and you will soon see why!).

This pen can easily help alleviate the need for MANY markers to go with your inks- if you don’t have it in marker form you can use your ink to replace it!

The blending pen does have two tips- a paintbrush one (like in the picture) and a fine tip one as well).  To pick up ink with your pen just squeeze your lid into your ink pad (when the pad is closed) and then open it- you should see something similar to my image here.  This ink can be used like a palette- just rub your blending pen through it and pick up the ink.
blending pen image

Then take your pen and colour in your image as you would with a marker- you may need to pick up more ink to fill in your image completely.

What is the magic part? When you are done with a colour just drag the tip of your pen on a scrap piece of paper until the ink disappears and no colour comes out of the tip.  Then you can pick up a new colour! My whole image was coloured with only one pen- in face I have only owned one for a few years now.

blending pen image 2

Here is my final image! Love how it all came together- the blending pen and the stamp set are featured below 🙂

waterbrush technique card


Screen Shot 2014-03-14 at 10.42.16 AMScreen Shot 2014-03-14 at 10.42.34 AM

Until we craft again, The Brae-er