
Welcome back to another technique tuesday! The week I am going to show you how to colour in an image with our ink and the CTMH blending pen (often referred to as the ‘magic pen’ and you will soon see why!).
This pen can easily help alleviate the need for MANY markers to go with your inks- if you don’t have it in marker form you can use your ink to replace it!
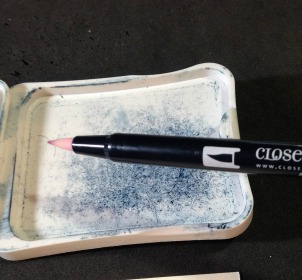
The blending pen does have two tips- a paintbrush one (like in the picture) and a fine tip one as well). To pick up ink with your pen just squeeze your lid into your ink pad (when the pad is closed) and then open it- you should see something similar to my image here. This ink can be used like a palette- just rub your blending pen through it and pick up the ink.
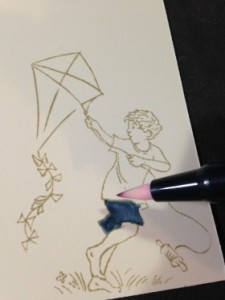
Then take your pen and colour in your image as you would with a marker- you may need to pick up more ink to fill in your image completely.
What is the magic part? When you are done with a colour just drag the tip of your pen on a scrap piece of paper until the ink disappears and no colour comes out of the tip. Then you can pick up a new colour! My whole image was coloured with only one pen- in face I have only owned one for a few years now.
Here is my final image! Love how it all came together- the blending pen and the stamp set are featured below 🙂


Until we craft again, The Brae-er
Wow this Is so cool!!!!
Thank you for the reminder and tutorial on how to use the blending pen. Love that you only need to use one pen to get such colourful results.
Pingback: Another Advisory Board Layout using Ariana | The Brae-er