Category Archives: technique

Technique Card Trio

The only thing better than crafting is learning new techniques while you do it! For this ‘Technique Tuesday’ I am going to share a trio of cards using a variety of techniques!
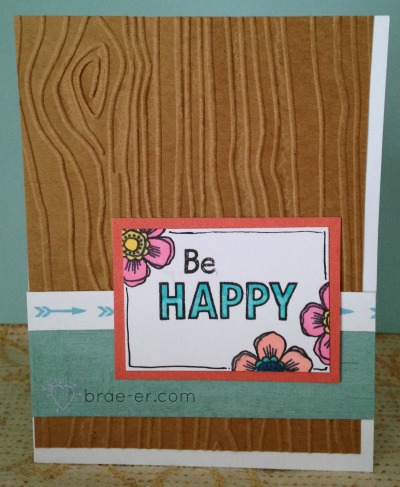
marker technique trio 3

Card #1: Be Happy

This card using embossing as well as the use of alcohol markers. To emboss you will need an embossing machine (any of them that will take a 5×7 folder will do) and one of our amazing embossing folders! If you have not seen all our designs yet then check out this link!

You place your paper in the folder, put it through your embossing machine and voila! For the above card I used the woodgrain embossing folder.

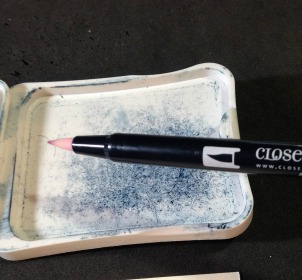
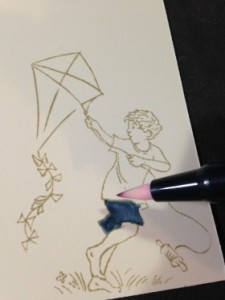
The flowers are coloured in with our alcohol markers- I stamped the outline image in black ink and then coloured.  I love how our makers blend and look so bright and beautiful!

marker technique trio 2

Card #2: Have a Beautiful Day

For this card I did a mix of dry embossing (with the embossing folder like card #1 but this time I used the honeycomb one) AND heat embossing. The feathers in the background and the arrow under the sentiment are both heat embossed.  For this technique I used Versamark ink to stamp my image and then sprinkled embossing powder over the image. (click on embossing powder to see the colours we offer).  I then heat set the powder and it becomes dry and glossy (and so pretty!).  After I just coloured in the areas of the feathers left exposed with alcohol markers.
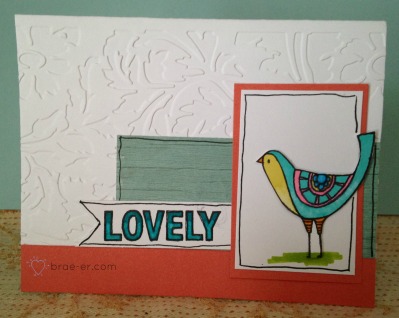
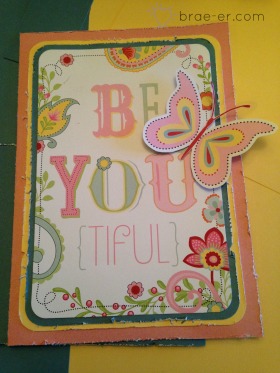
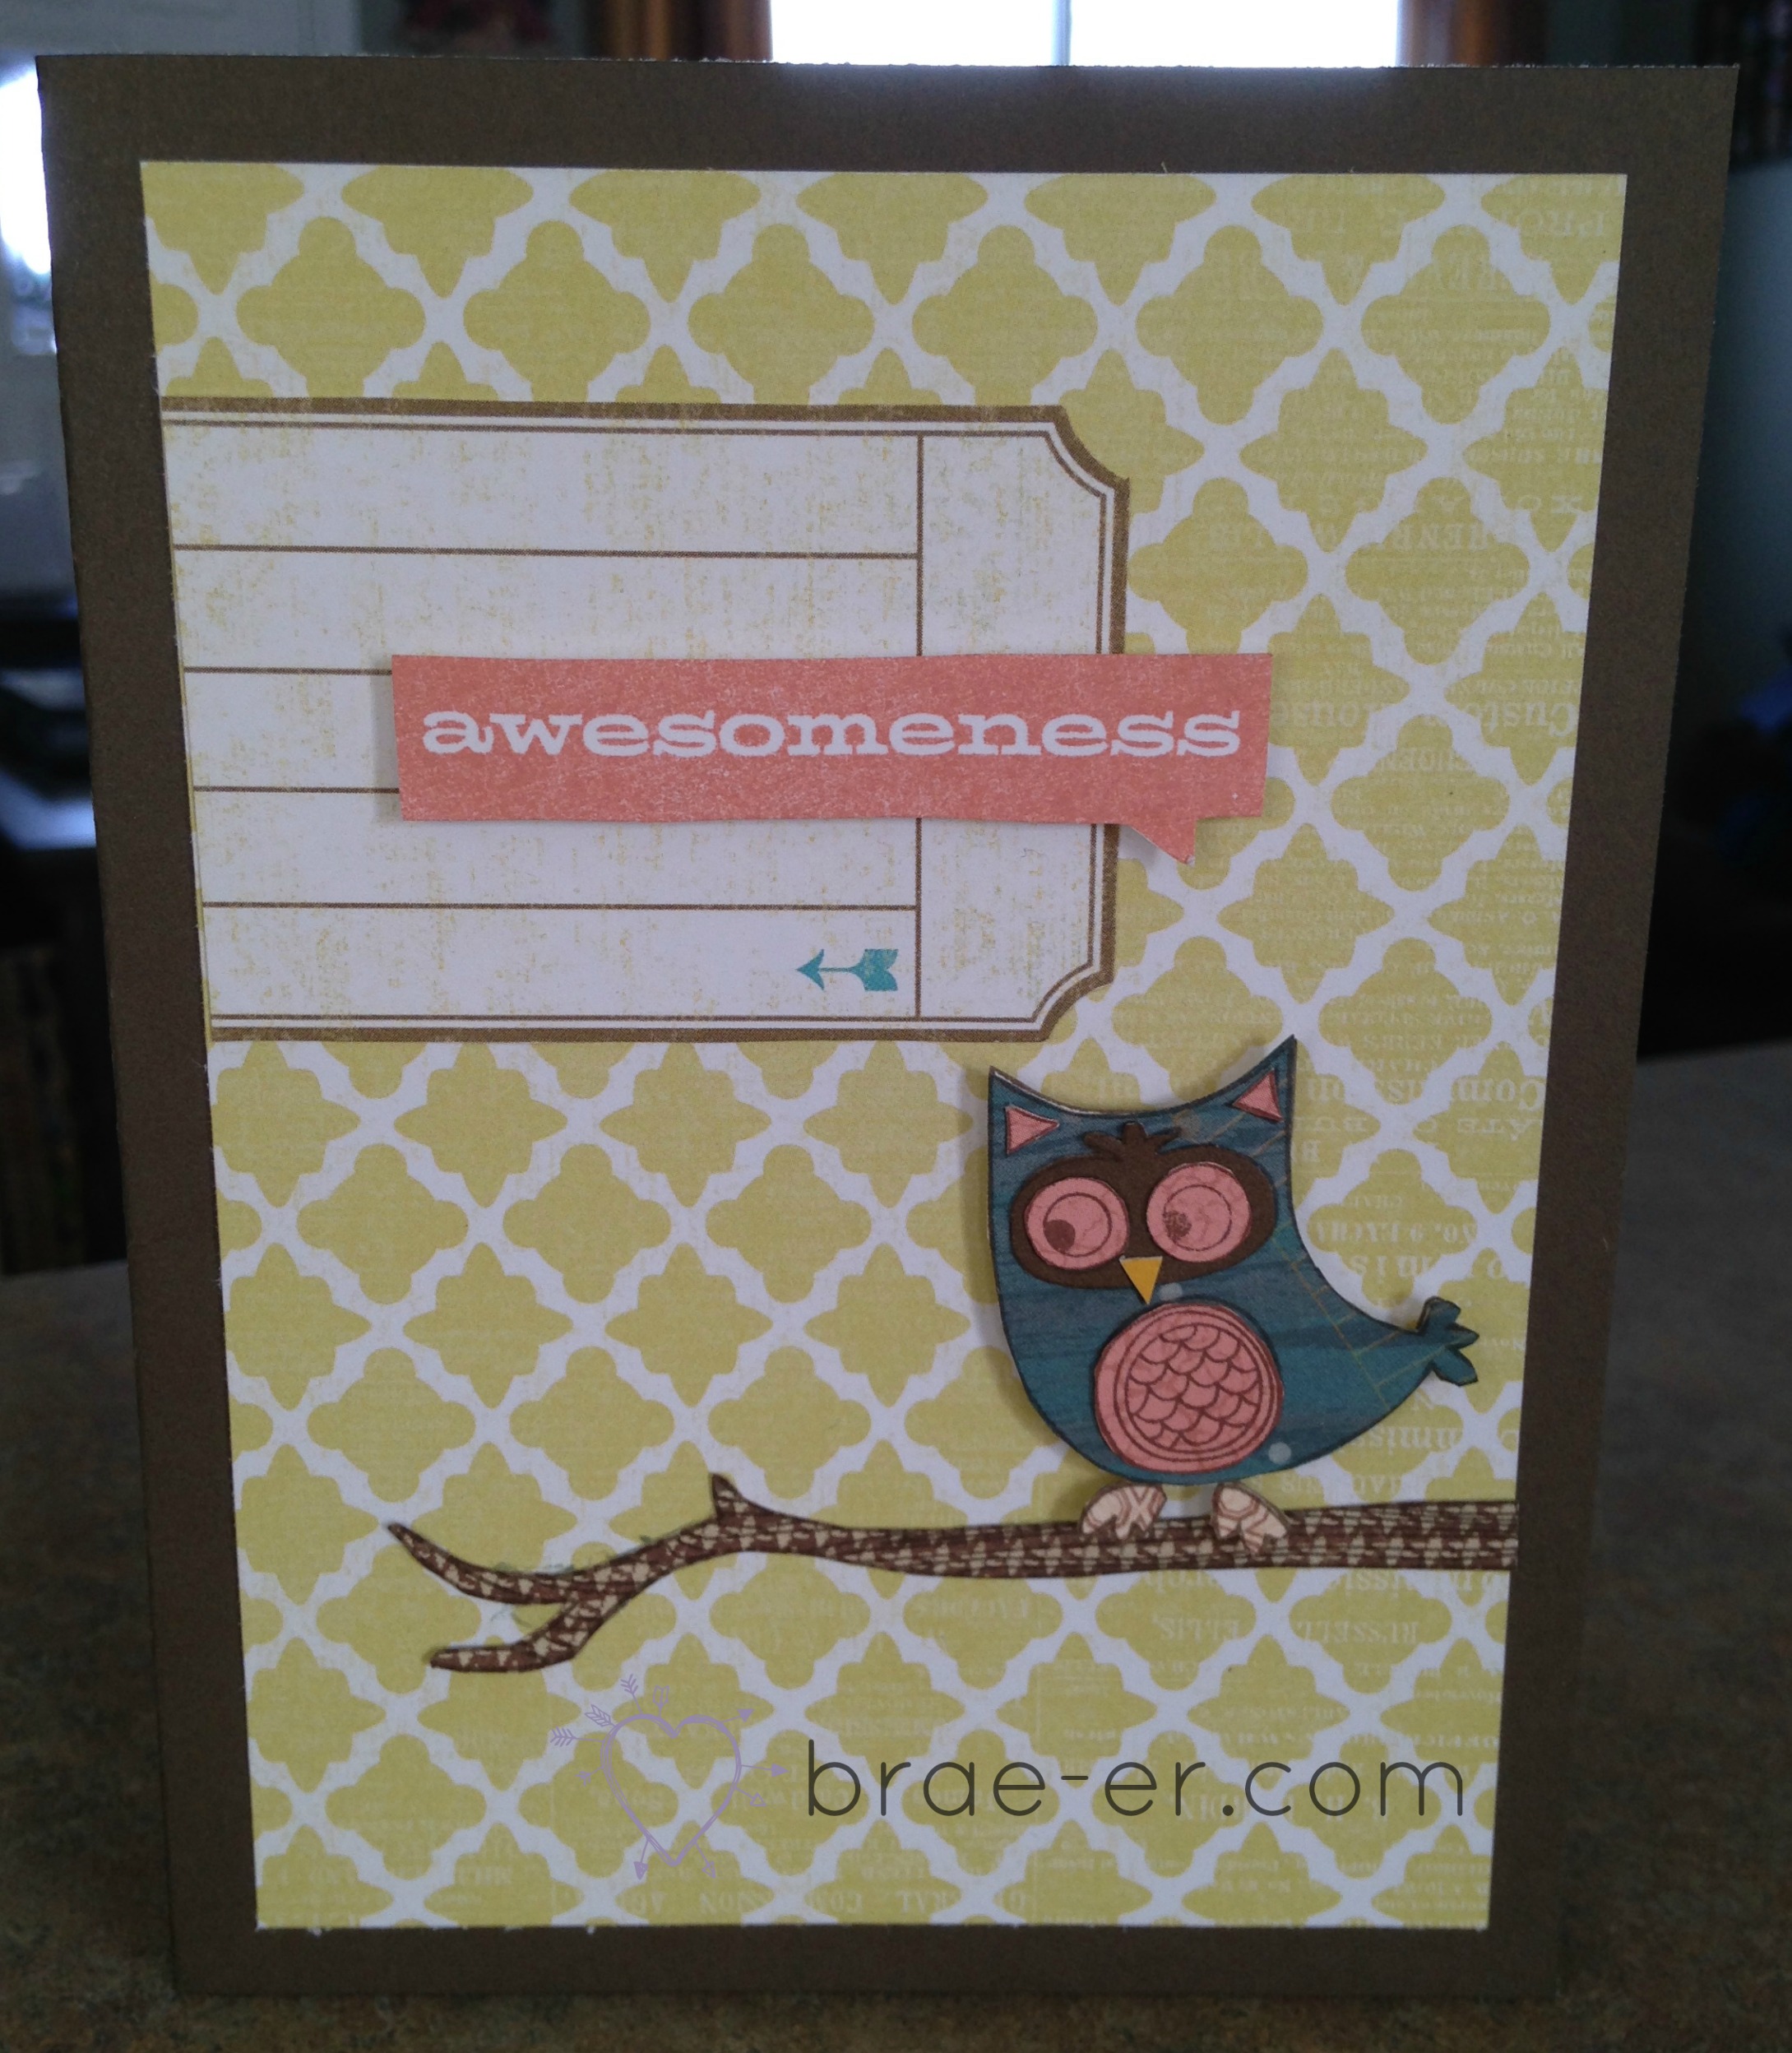
marker technique trio


Card #3: Lovely

This card uses more dry embossing (this time the whole front of the card was embossed in the floral folder) and more marker work. If you look at the ‘Lovely’ sentiment you will see I blended my markers to create an ombre look.  You can achieve this by using a darker version of the colour on the top and slowly colouring to meet the lighter colour on bottom OR you can use any one marker and just add multiple layers of that colour where you want a darker shade. It will blend beautifully because you are using alcohol markers!

Here is a list of things used in the technique trio:

Embossing folders (woodgrain, honeycomb and floral)

Embossing powders (silver)

Heat gun

Versamark ink pad

Shin Han Touch Markers

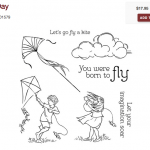
Happy Birds stamp set

Seaside paper packet

Black journaling Pen (for the lines around the images)

and YES  all of these things are available on my SHOP!

Until we craft again, The Brae-er


Technique Tuesday: Edge Distresser

Welcome back to Technique Tuesday- I apologize that I have missed a few weeks but we are in the process of selling our home and a messy craft room is just not allowed. Add that to all the time spent out of my home and my artwork creation has gone down- hopefully we sell soon and I can get back on track!

This tuesday I would like to show you how to use an edge distresser- this is a very simple tool to use and super cheap- ours is only $2.50 and will last you a LONG time!

To use just pick it up and start by gently rubbing one of the blades along the edge of your paper.  If you want more of a distressed look then keep going and add some pressure- you can always add more but you can never take it away once there. I LOVE this look – our paper contains a white core and this really helps to frame an image and add some interest.

IMG_1309

Here is a close up on the sides of a card I was working on using this technique.

edge distress after


edge distressed finished cardAnd here is the finished card! I used one of our Picture my Life cards from out pocket scrapbooking for the main image AND another one I cut up for the butterfly.

Until we craft again, The Brae-er


Technique Tuesday: Colouring with the Blending Pen

Welcome back to another technique tuesday! The week I am going to show you how to colour in an image with our ink and the CTMH blending pen (often referred to as the ‘magic pen’ and you will soon see why!).

This pen can easily help alleviate the need for MANY markers to go with your inks- if you don’t have it in marker form you can use your ink to replace it!

The blending pen does have two tips- a paintbrush one (like in the picture) and a fine tip one as well).  To pick up ink with your pen just squeeze your lid into your ink pad (when the pad is closed) and then open it- you should see something similar to my image here.  This ink can be used like a palette- just rub your blending pen through it and pick up the ink.
blending pen image

Then take your pen and colour in your image as you would with a marker- you may need to pick up more ink to fill in your image completely.

What is the magic part? When you are done with a colour just drag the tip of your pen on a scrap piece of paper until the ink disappears and no colour comes out of the tip.  Then you can pick up a new colour! My whole image was coloured with only one pen- in face I have only owned one for a few years now.

blending pen image 2

Here is my final image! Love how it all came together- the blending pen and the stamp set are featured below 🙂

waterbrush technique card


Screen Shot 2014-03-14 at 10.42.16 AMScreen Shot 2014-03-14 at 10.42.34 AM

Until we craft again, The Brae-er


Tuesday Technique: Paper Piecing

Welcome to another Tuesday Technique! This week we are looking at paper piecing!

Paper piecing is a great technique that can give your projects depth, texture and a look that elevates them above the everyday!  To paper piece you will select an image (and select carefully as images with many small parts may prove to be frustrating for your first experience) and stamp that image on a variety of papers.  Depending on the stamp image you may want to only use papers with a smaller pattern – this will ensure that your image fits and looks nice when complete.  Once you have stamped your images then you can cut out the individual pieces and glue them onto the base stamped image- in the case of my card here I paper pieced the owl and glued all my smaller pieces onto the blue body base.

Yes this can be a timely technique but believe me sometimes it is worth it!

owl card


If you try out one of the Tuesday Techniques I would love to see – feel free to use the ‘contact me’ tab to send me a picture of your art (I may just feature it on an upcoming blog post!)

Until we craft again, The Brae-er


Tuesday Technique : Spray Pen

Today we are going to look at the spray pen technique and using it for your cards and layouts!

Spray pens are fairly easy to use and we sell them in a convenient 3-pack- if you care for your pen then it will last you use after use! To care for it just make sure that you clean it after every use- storing any unused mixes in your pen could cause it to clog.

There are two recipes I use for making up a mix.

1. Re-inker and Pearl paint- mix a bit of water, a drop or two of re-inker and a very small amount of pearl paint in the barrel of your spray pen.  This mix will give your spray a pearly-sheen when it is dry.

2. Re-inker and water- mix a bit of water with a drop or two of re-inker.  Perfect for lots of different projects!
IMG_1002

Tips for using your spray pen:

try to keep a box around for using your spray in.  Place your project in the bottom of the box before spraying so that you do not end up decorating your entire table or room!

The first time you spray try it on a scrap piece of paper- holding your pens in different ways (or close or far away) will give your spray pattern different looks.  To ensure you get the one your like you will want to safely try it out ahead of time.

reinker screen shot   spray pen screen shot  pearl paint screen shot

Until we craft again, The Brae-er