Tag Archives: embosssing

Cards, cards and more cards

arrow card                                 butterfly card

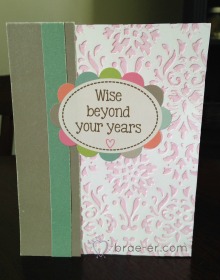
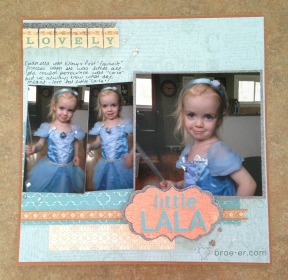
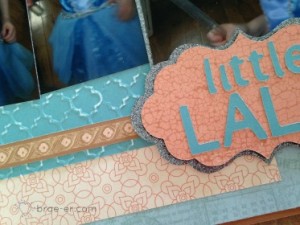
I have to say that lately when I get some time to craft, I find myself pulled over to the card-side.  I can try things out on a card that I do not feel as brave trying on a layout. I also enjoy taking a layout that I like and turning it into a card (hint: if you visit my site and look through our Seasonal expressions you will find one card that demonstrates this).

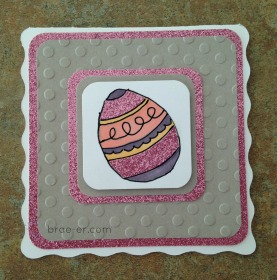
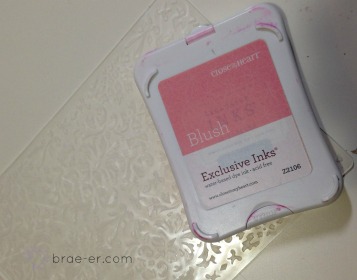
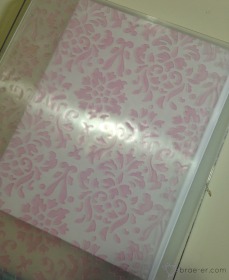
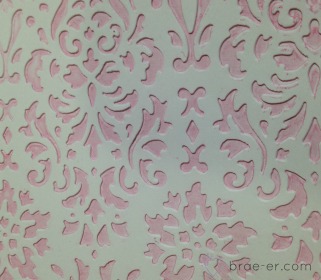
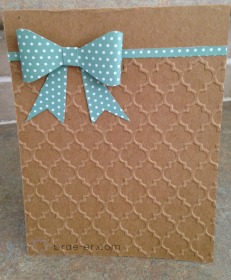
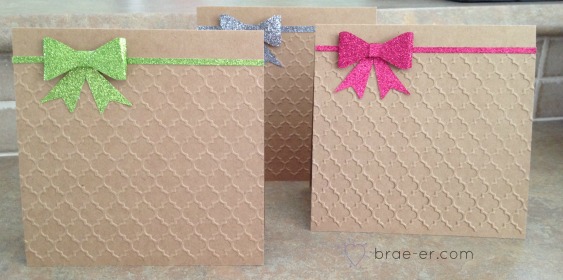
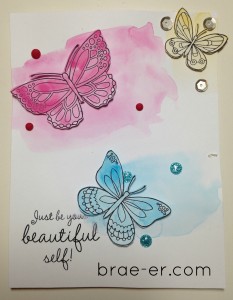
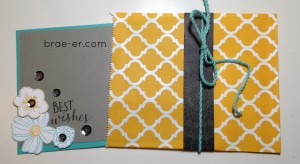
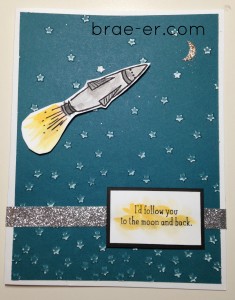
I have been also been having a lot of fun with embossing folders and watercolour paint. These cards are all part of an upcoming card buffett.  Did you know that you can host one of these in your home for your friends? Contact me for more details!

envelope card

moon and back card

Until we craft again, The Brae-er


Emboss it Blog Hop

Welcome to our Emboss it Blog Hop that is celebrating the release of CTMH embossing folders! I am so happy to add these to my stash (I had a few others but rarely used them) and to dig out my cuttlebug once again!  If you have hoped over from Melinda’s blog then you are on the correct path and I hope you enjoy the experience!

embossed easter card

To create my card I used the Dot embossing folder and one of our new M sized stamp sets- coloured egg.  I cut my card base on our Cricut Artiste cartridge and then layered some of our glitter paper (LOVE the glitter papers) with some slate cardstock that I embossed.  My egg image was stamped and then coloured with our markers as well as paper piecing some glitter paper onto it.  Then to add to the detail of the egg I outlined the image with a black marker (fine tip).

 Here is some of what I used:

Screen Shot 2014-02-25 at 10.46.46 AM  Screen Shot 2014-03-14 at 10.48.41 AM  Screen Shot 2014-03-14 at 10.56.19 AM

Now hop on over to Toni’s blog to see what she has in store for you!

Until we craft again, The Brae-er


Embossing with Ink using the CTMH Embossing Folders

Today I am going to share with you a new technique: Embossing with Ink! I am also going to share with you the Damask Folder we have- very pretty!!

Embossing with ink is a very simple technique and only requires you to have the embossing folder of your choice, some ink (I recommend our dye based ink for these projects as they are easier to clean up than the pigment) and your project paper.

emboss with ink 1


Open your folder and rub ink on the side of your choice- for my card I chose to rub the ink on the raised damask pattern (you will get a different look depending which side you use ink on so play around and have fun!)

Next, I placed the front of my card on the non-inked side so that I could get the placement just right- I didn’t want ink to get on my project until it was begin embossed.  This is how it looked before going through my Cuttlebug.

emboss with ink 2

and this is how it looked once embossed! All the ink is now IN the damask print- so pretty!!!


emboss with ink 3


Of course I finished this up with some cardstock that I sanded to soften the look- and a sentiment from the Lollydoodle complements!

emboss with ink 4


Screen Shot 2014-02-25 at 10.46.46 AM   Screen Shot 2014-02-25 at 10.47.01 AM   Screen Shot 2014-02-25 at 10.47.20 AM

Until we craft again, The Brae-er


Embossing- Sandpaper technique

Yesterday I showed a project using just plain embossing – of course there was nothing plain about the project itself!   Today I want to introduce you to the sanding technique.  Although this technique can be used even if you have not embossed it looks gorgeous when you have!  Emboss your paper as usual and then take some sandpaper or our sanding block and lightly sand over the raised areas- because our card stock has a white core this will reveal that.  It creates such a nice finish and can take plain cardstock and really bring it to life!

little lala layout


Here is a close up of the blue piece of paper that I used with the sanding technique.

Other items used on this page- Balloon Ride paper, grey glitter paper, clear epoxy bubbles.

little lala layout close up

See you tomorrow!


Until we craft again, The Brae-er


Embossing Folders

Yesterday I introduced you to the new embossing folders that CTMH has recently produced! Today I want to share some art with you using the embossing technique at its purest- just plain embossing.  I LOVE the look and the FEEL that embossing can give to a project.  In these cards I did the same thing for each- I placed the front of my card in the embossing folder (about 3/4 of the card front in the folder).  Once I placed the folder through the machine it came out with such a beautiful texture – this pattern is our ‘quatrefoil’- my FAV of all of them!

embossing card with bow

I then added a small strip of paper and a bow cut on the Cricut Artiste to finish of my card.  So simple and yet so pretty! So much so that I had to try it a bunch more times and with glitter paper- these are my new fav cards!!!

embossing trio cards


Tomorrow be sure to come back to see the sanding technique with embossing!

Until we craft again, The Brae-er


Embossing comes to Close to my Heart

Embossing has been around for years and like any aspect of Papercrafting it comes and goes with the trends- right now it is ON! Add to this that Close to my Heart is now offering a variety of  embossing folders and life is good!!

All this week I will be sharing different projects created with our folders- AND I will be sharing fun ways you can use these folders.  To start us off here is a video on our NEW embossing folders (all are available to purchase on my website and for the remainder of this week when you purchase two packs of card stock you get one embossing folder FREE).

Until we craft again, The Brae-er