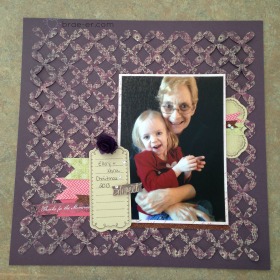
I love taking some of the artwork I see in the CTMH Idea Book and recreating it to work with my own taste and pictures! I did that with this layout using our Ivy Lane paper and the Cricut Artbooking cartridge and you can see it all on my video! See below 🙂
In every Idea Book there is a paper pack that is my least favourite- Jubilee was that one for the Idea Book…. but, like every time, once I start to play with it I love it! The bright, warm colours work for so many things… like my two cards here that would not have been the same if I had not used the Jubilee paper!
For the first card I used the Jubilee paper, some bakers twines, epoxy bubbles and an upcoming stamp of the month for the sentiment. I love how it turned out!
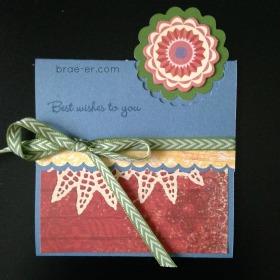
This card features a fun flower popped off the top and lots of scalloped edges! Jubilee paper, Jubilee compliments and some of our Green Chevron ribbon finish this card off!
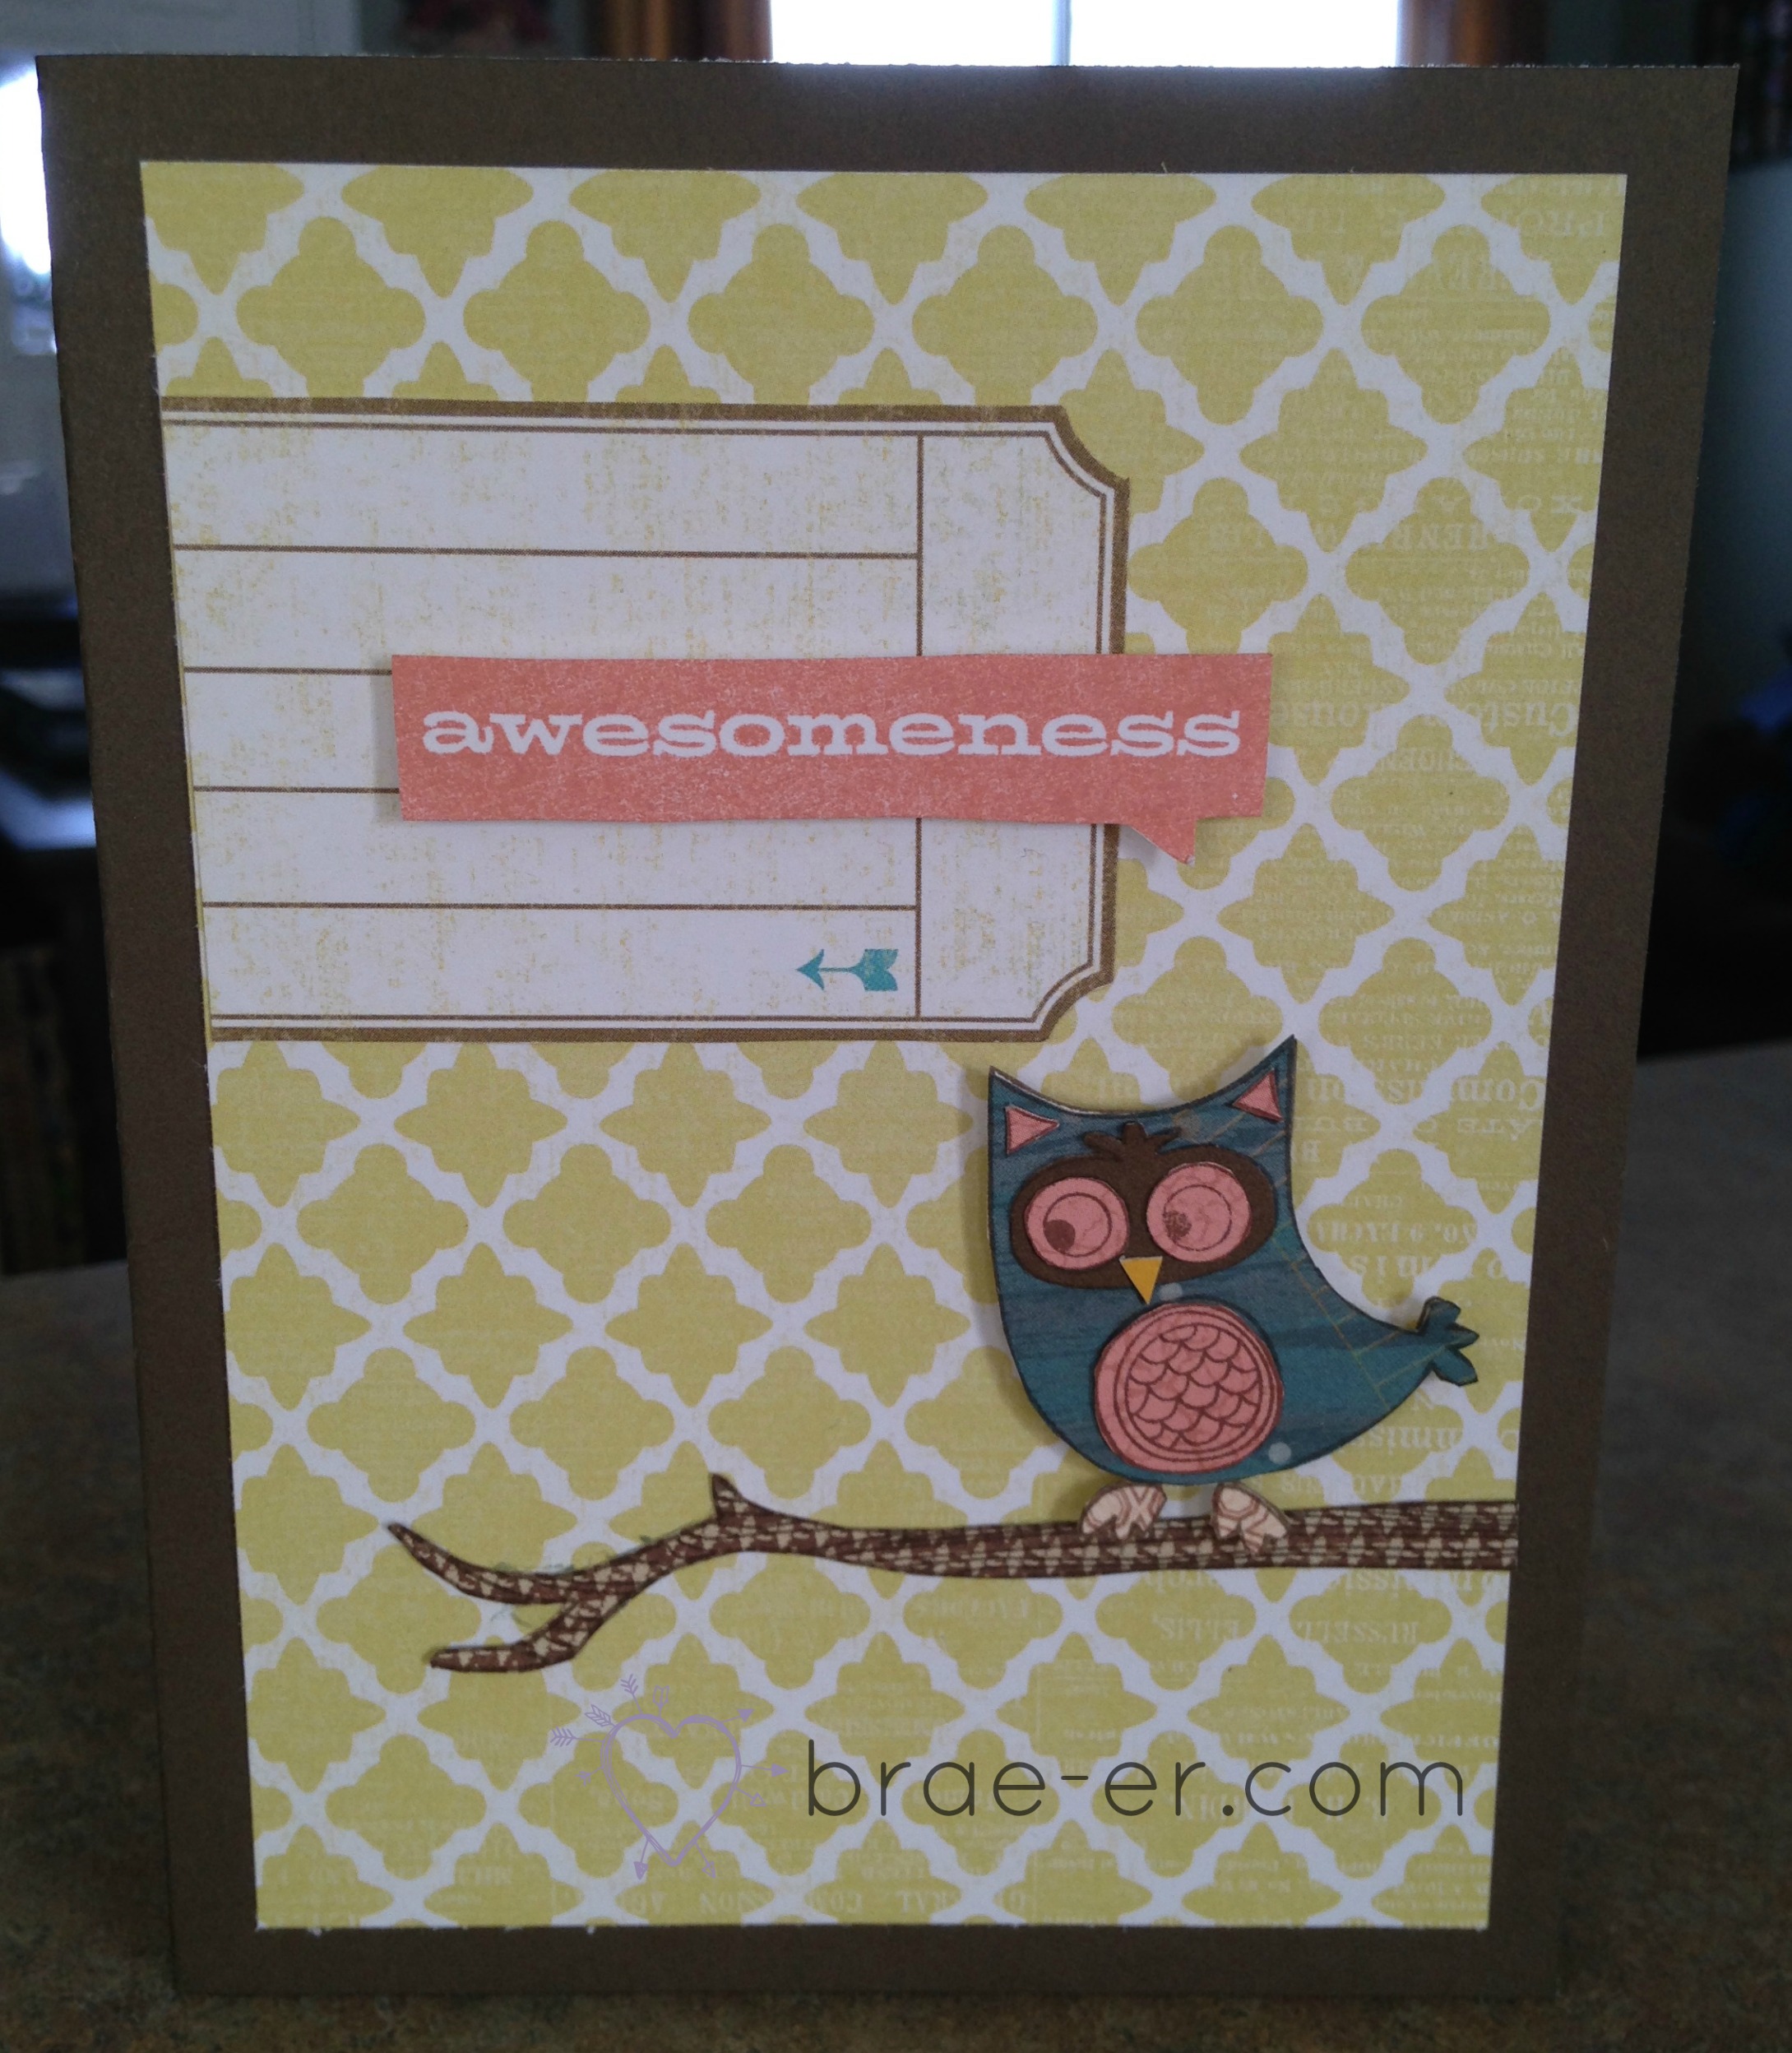
Welcome to another Tuesday Technique! This week we are looking at paper piecing!
Paper piecing is a great technique that can give your projects depth, texture and a look that elevates them above the everyday! To paper piece you will select an image (and select carefully as images with many small parts may prove to be frustrating for your first experience) and stamp that image on a variety of papers. Depending on the stamp image you may want to only use papers with a smaller pattern – this will ensure that your image fits and looks nice when complete. Once you have stamped your images then you can cut out the individual pieces and glue them onto the base stamped image- in the case of my card here I paper pieced the owl and glued all my smaller pieces onto the blue body base.
Yes this can be a timely technique but believe me sometimes it is worth it!
If you try out one of the Tuesday Techniques I would love to see – feel free to use the ‘contact me’ tab to send me a picture of your art (I may just feature it on an upcoming blog post!)
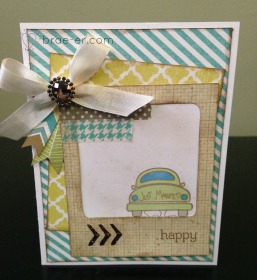
I know what at least one of you is thinking- yes I sure do love the Skylark paper! and I love this card! When I made it I had no wedding on the books for this year so I was not sure who I would be giving it too- but, as is the way, we received an invite to my friend Michelle’s wedding just the other day!
This card was created with the Skylark paper, some of our colour ready ribbon (which is retired but was the perfect ribbon for the card), the Rosewood mini-medley collection, Lagoon houndstooth washi tape, slate dot washi tape, Newlyweds mini stamp and the CTMH cricut art booking cartridge (for the polaroid image)- oh, and there is just a bit of bronze shimmer trim behind the chevrons on the polaroid.
How many of you have taken the plunge and purchased some of the Skylark paper? I promise you will not regret it! AND I promise to feature more of the other paper packs 🙂
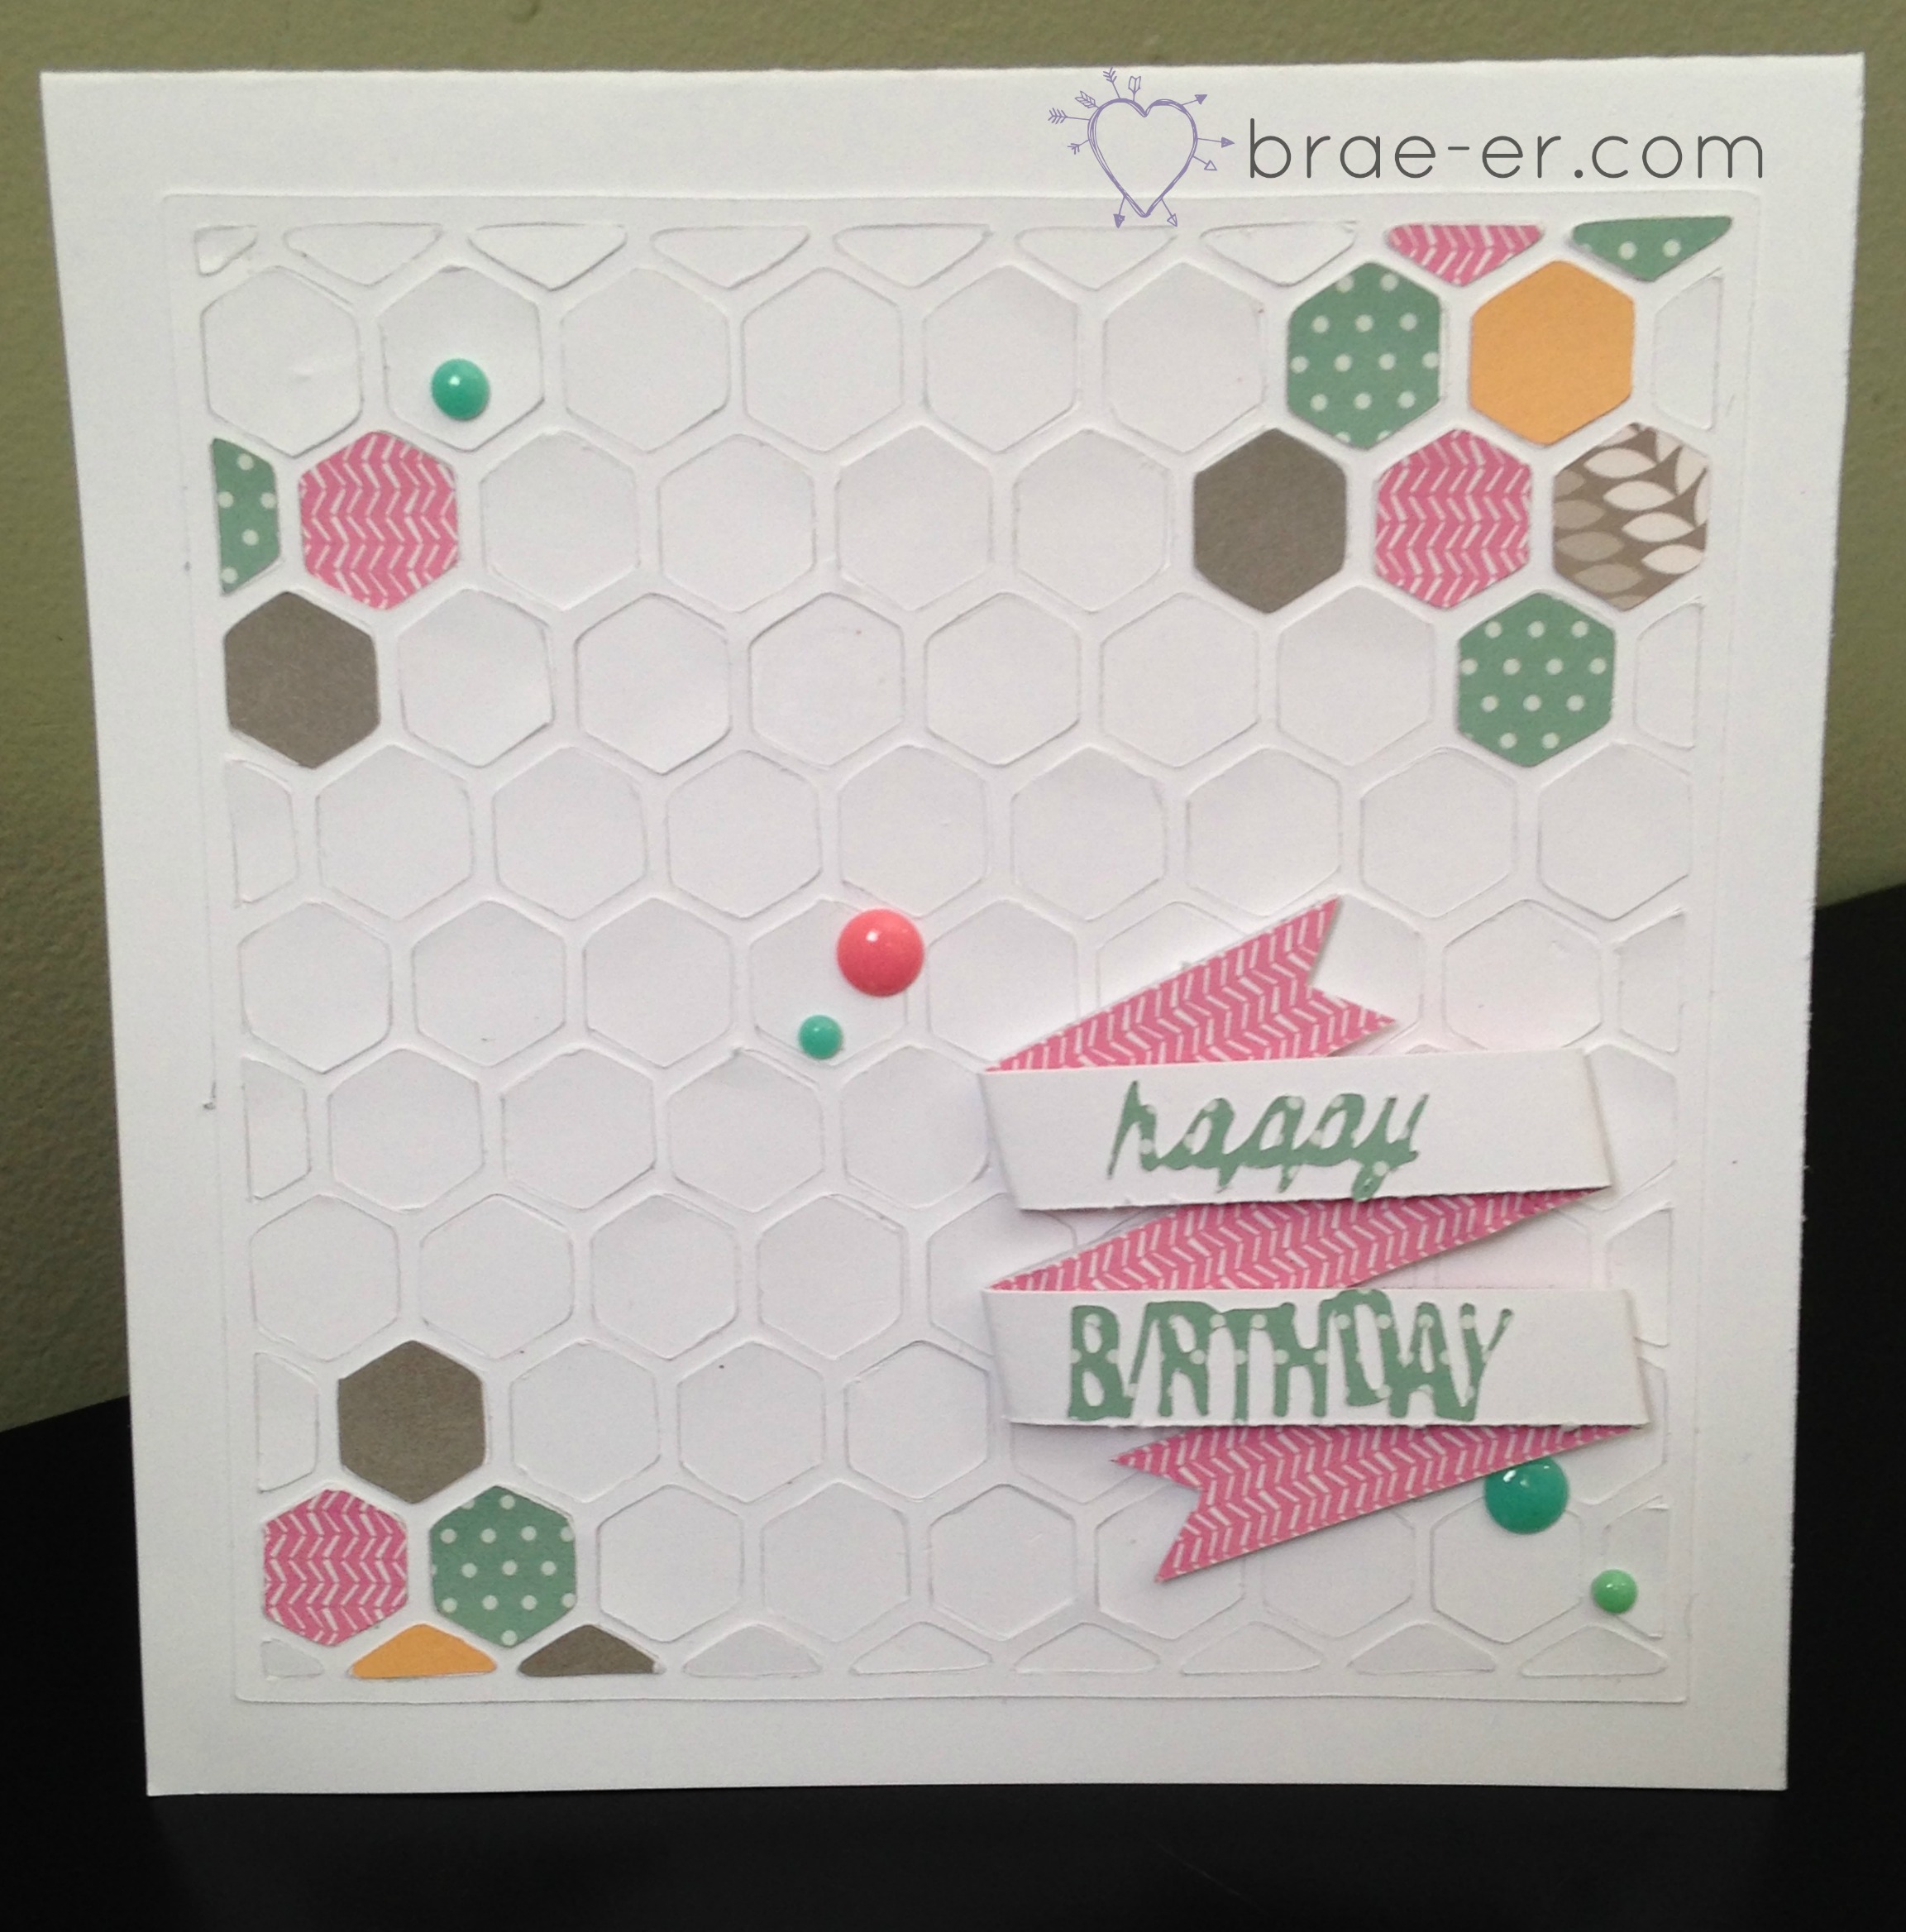
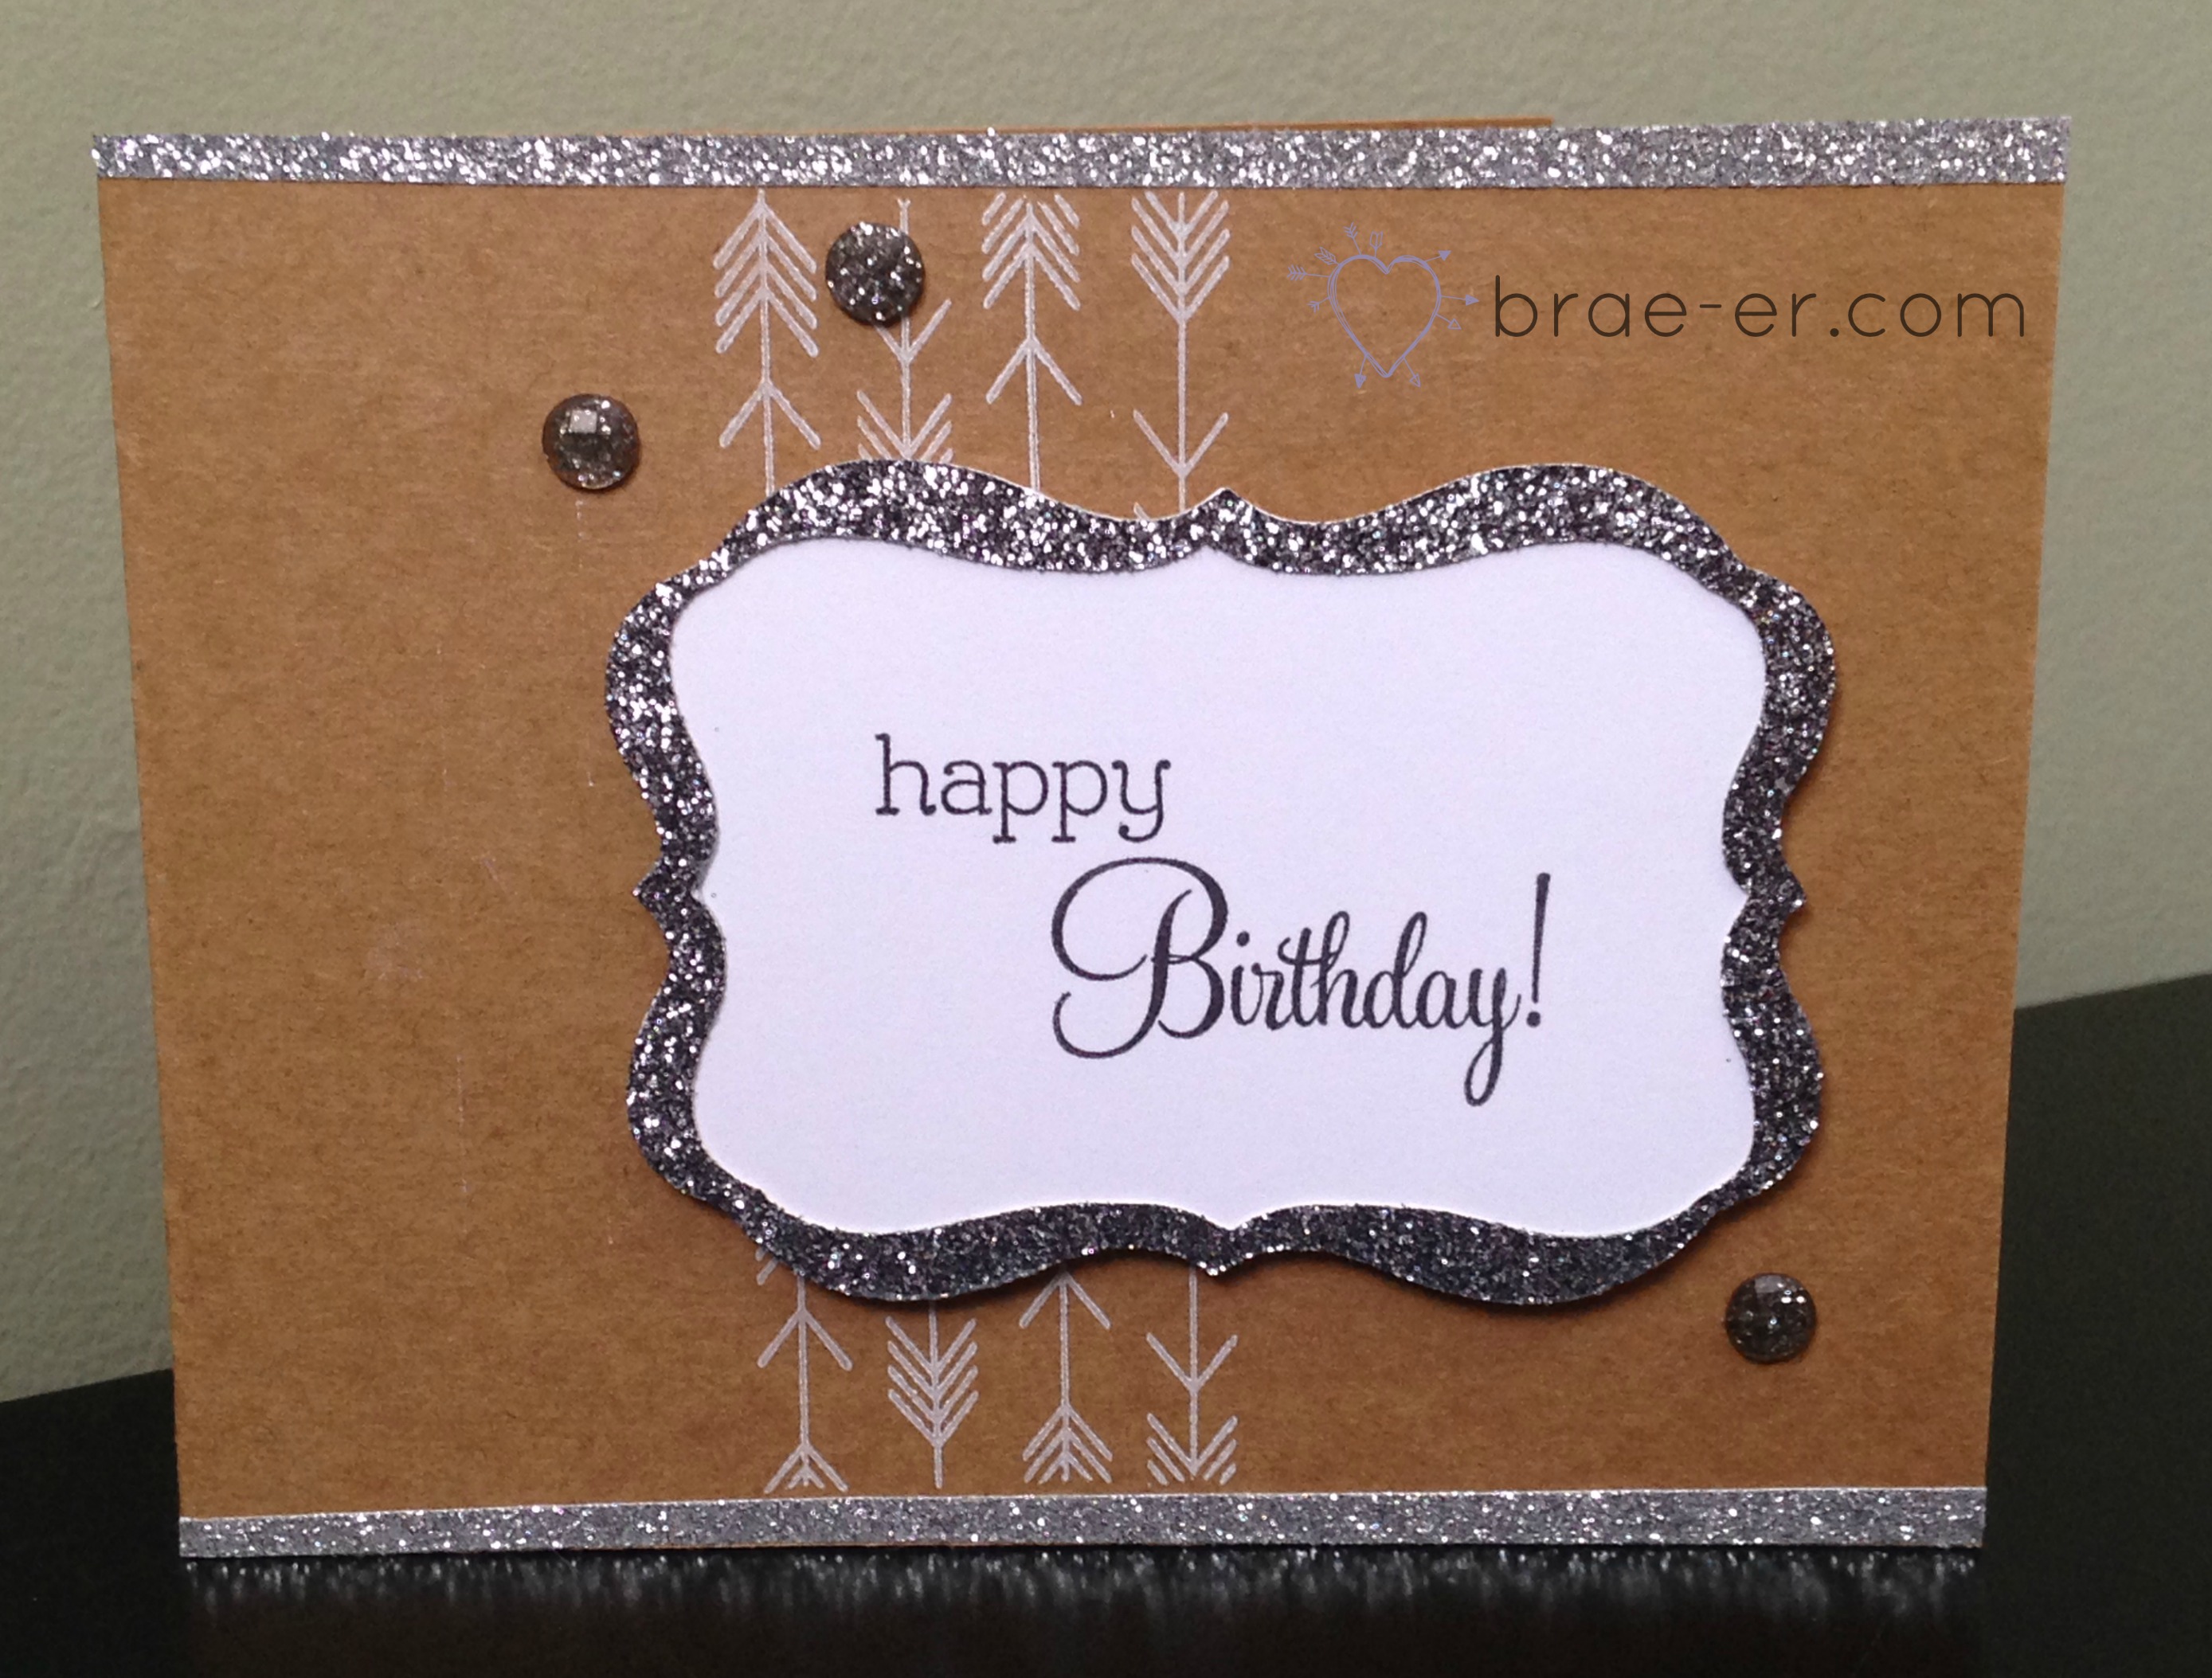
Can you even have enough birthday cards?! I don’t think so- it seems every time I create some then we have a whole bunch of family birthdays come up (not that they should be a surprise to me but somehow they are every year). I made these two last weekend and have managed to hold onto the one but the other has already gone to brighten my sister-in-laws birthday!
The top card is a 6×6 card created with the Cricut Artbooking cartridge. I used the hexagon overlay and cut it out MANY times to create my white background (and on this one I left the inner hexagons in the overlay) AND to create the coloured hexagons to brighten my card. The sentiment for the card also came of the Artbooking cartridge. My ribbon banner was hand cut- just take a 1/2 inch strip of paper (I backed mine with some pink paper) and fold to get this look. Aqua dots and flamingo dots were added for some more pop! The paper featured is Lollydoodle. I may try REALLY hard to never give this one away 🙂
This card has a VERY different look- I used glitter paper, shimmer trim and Kraft paper for this one The stamped image is from the ‘one-way borders’ and is stamped in white daisy ink on the kraft paper. My centre image was cut on the cricut Art Philosophy. I added some glitter gems and voila! I think this one is fun but a little distinguished- a more grown up look for a birthday card!
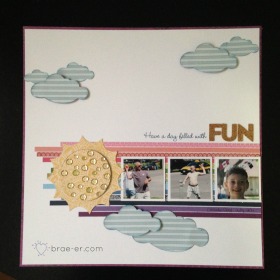
I really enjoy finding inspiration and then re-creating it with my own touches (especially when they are simple layouts using the cricut!). If you follow my Pinterest boards you will see (and can follow) my Card and Layout Inspiration boards and sometimes (like today) you can connect where my muse resides! I saw something on Pinterest that ‘pin’spired this one page layout- it was so clean and simple yet so pretty! I just could not resist!! I used a variety of our current papers to achieve the look (and card stock as well)- there is Jubilee, Balloon Ride, Laughing Lola, Skylark, Ivy Lane an Ariana! I used the Cricut Artiste for my sun and the clouds. My stamped sentiment comes from the stamp collection featured with our Cricut Art Philosophy and then our cork letters (they are gone now but were a favourite of mine!) The adhesive sequins are not sold separately but were leftover from the Ivy Lane Cardmaking Kit – I do hope that we carry them in the next Idea Book as I have really enjoyed them.
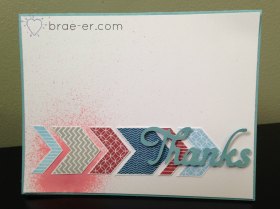
Today we are going to look at the spray pen technique and using it for your cards and layouts!
Spray pens are fairly easy to use and we sell them in a convenient 3-pack- if you care for your pen then it will last you use after use! To care for it just make sure that you clean it after every use- storing any unused mixes in your pen could cause it to clog.
There are two recipes I use for making up a mix.
1. Re-inker and Pearl paint- mix a bit of water, a drop or two of re-inker and a very small amount of pearl paint in the barrel of your spray pen. This mix will give your spray a pearly-sheen when it is dry.
2. Re-inker and water- mix a bit of water with a drop or two of re-inker. Perfect for lots of different projects!
Tips for using your spray pen:
try to keep a box around for using your spray in. Place your project in the bottom of the box before spraying so that you do not end up decorating your entire table or room!
The first time you spray try it on a scrap piece of paper- holding your pens in different ways (or close or far away) will give your spray pattern different looks. To ensure you get the one your like you will want to safely try it out ahead of time.