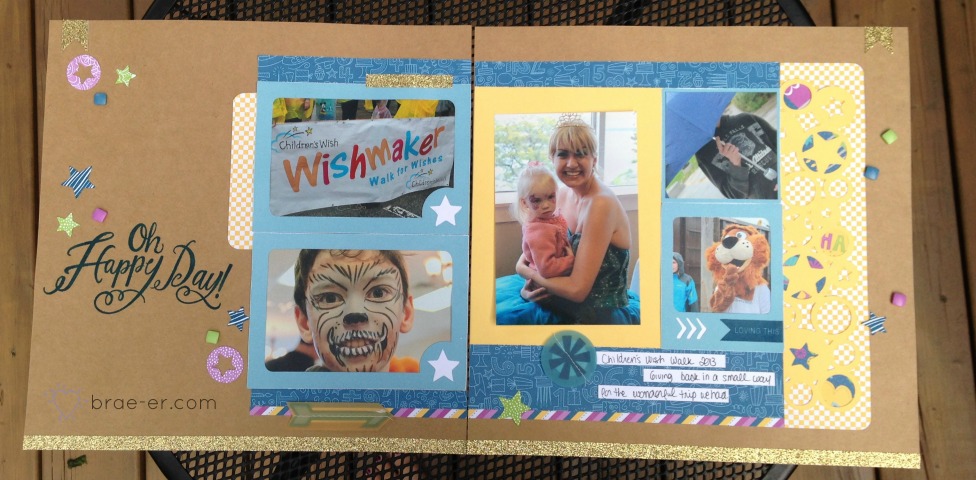
Confetti Wishes is a bright, colourful and beautiful paper just bursting with life! This layout comes from the Workshop on the Go for this paper- it is the layout that my club ladies will be creating when we do this kit.
Have you ever tried our Workshop on the Go kits? They changed slightly in this new book – now they all feature cuts using our cricut cartridges (although they also show you how you can create the layout not using the cartridges).
Of course these papers are perfect for birthday photos they are also useful for a lot of other memories- I used mine for the Wishmaker walk photos from last fall. We do this every year as a family as a way to give back for the wonderful wish trip that my son had when he was four (they do an AMAZING job of their trips!).
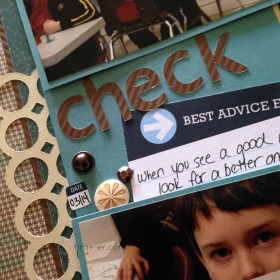
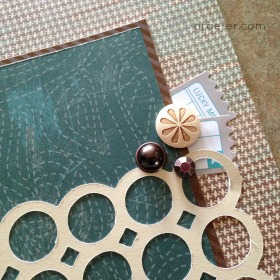
You may have noticed that overlays are quite the thing right now in paper crafting- they popped up on the scene just over a year ago and thankfully, CTMH was right on top of the trend and introduced overlays on our CTMH Cricut Artbooking cartridge. They are so fun and versatile!!
You can use them just as they are – like I did in my layout below. I layered the circle overlay from Artbooking with paper (from timberline) and my photos. I also added in some My Crush assortments and embellishments from a variety of different CTMH products.
How else can you use overlays?
Cut them down and use portions for a fun accessory or embellishment.
Use them as a stencil to spray or sponge through.
Use them on layouts, cards or other 3D projects.
Let your imagination soar! What would you or have you created with overlays??
I love taking some of the artwork I see in the CTMH Idea Book and recreating it to work with my own taste and pictures! I did that with this layout using our Ivy Lane paper and the Cricut Artbooking cartridge and you can see it all on my video! See below 🙂
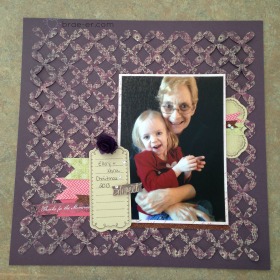
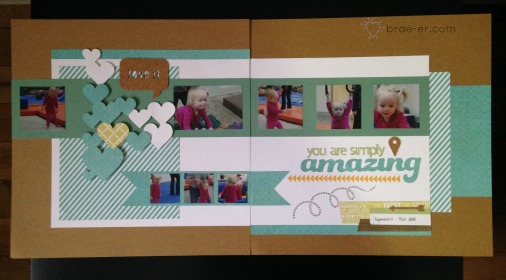
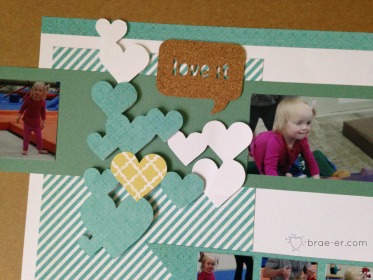
Yes you may have guessed by now that my favourite paper pack is Skylark! I love to use it as it is so versatile and goes with EVERYTHING! In this layout I use Skylark and the Cricut Artbooking cartridge (as well as a few other items) to share the amazement I feel as I watch my daughter grow and develop- the things she can do are simply amazing!
My layout it fairly simple- it is one of the patterns that is featured in our Make it From Your Heart-Volume 2 book (if you have not picked one of these up I highly recommend it! It is full of layout patterns with cutting directions AND has card patterns as well!)
I added a few things to my layout – sparkle flourishes, Midtown Cork Shapes, One-Way Borders stamp set and pigment ink to stamp with (gives the colours a bit more ‘pop’). I also used the Cricut Artbooking cartridge to create my title AND the heart cluster. I have used this heart cluster a few times- it comes from a larger overlay cut on Artbooking- I cut it in different papers and then hand trim off clusters and lay the layers together. I really like the look!
I love holidays- especially the ones that really allow me to be creative and have fun with my family! Valentine’s Day is 100% one of those holidays!
I have created lots of fun stuff in preparation for the big day (and have a bag of hidden ‘goods’ to surprise my loved ones with that morning).
Here are just a few of the things I have created that I hope will inspire you!
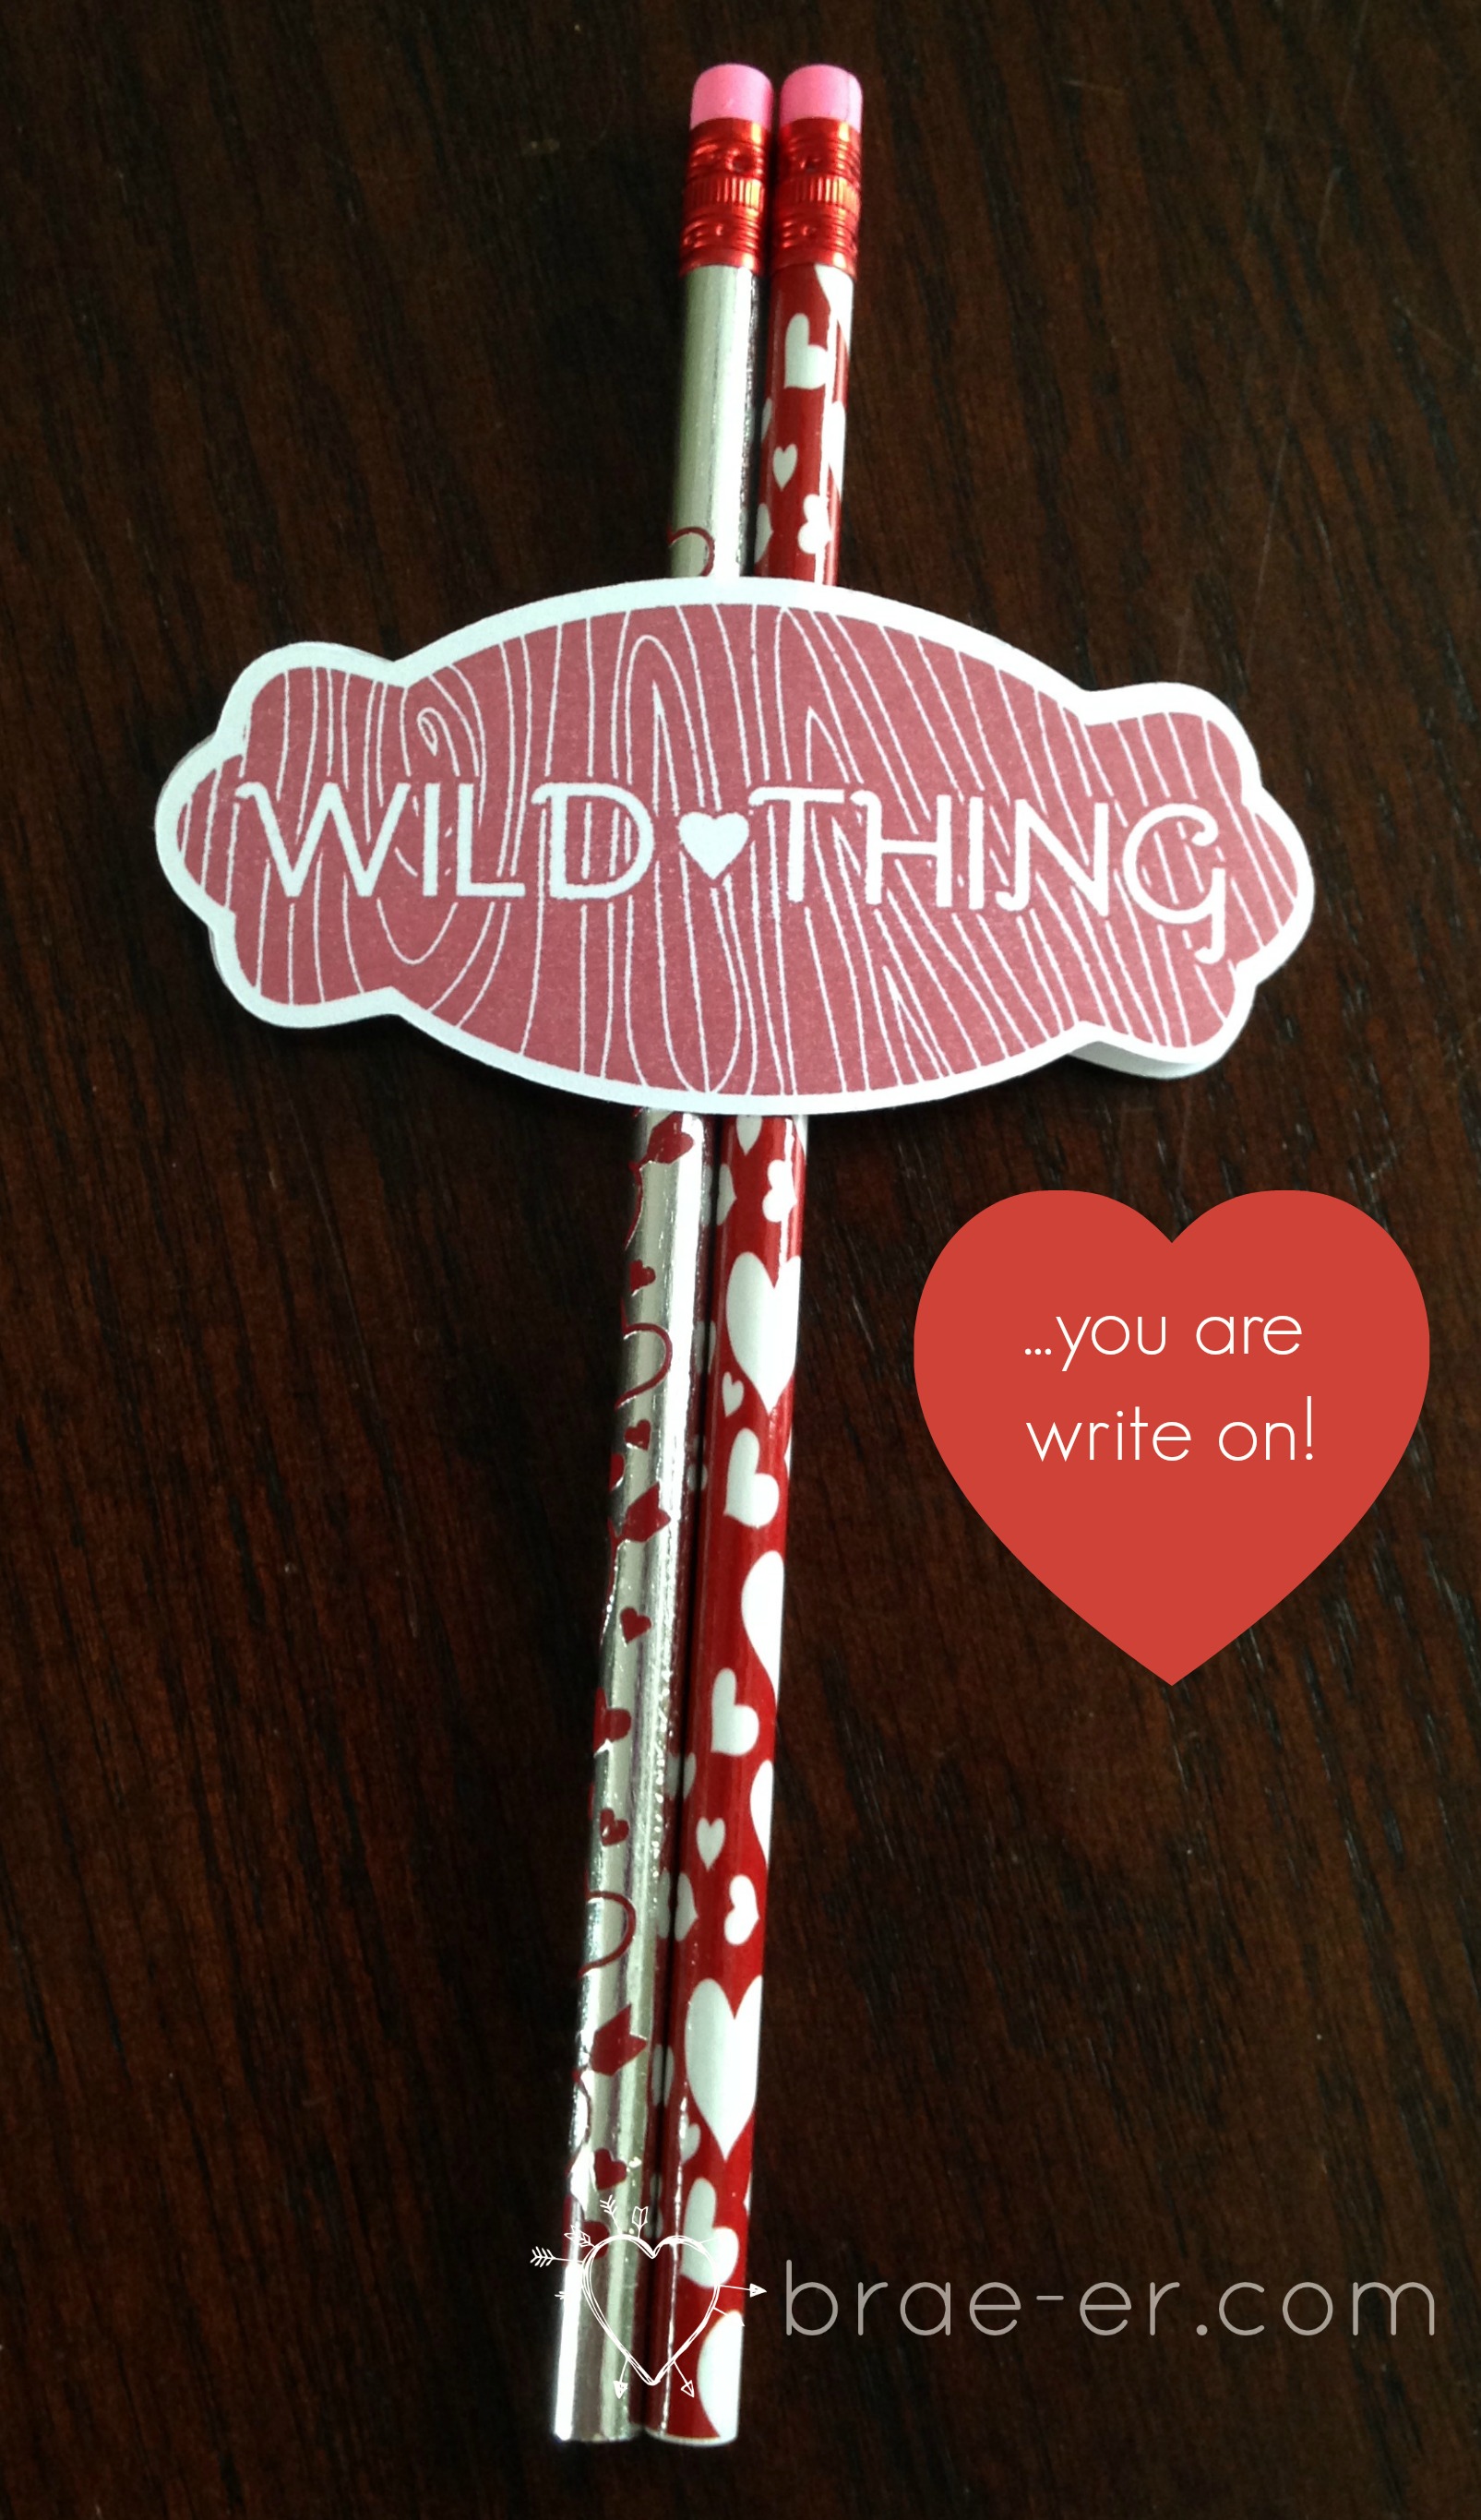
This is the Valentine ‘treat’ for my kids to take to their class (at school for one and daycare for the other). I used the February Stamp of the Month to create the ‘Wild Thing’ image and on the back used a nice black pen and a stamp image to add the phrase “… you are WRITE on”- cute, right?!
Sorry photo removed for publication!
This in the card I intend to give to my sweet hubby! He tends to (really) dislike holidays and usually does not do a whole lot but I LOVE them (and if reads this then I suggest you do a little something for all of us that day… I know you can do it!). This card looks simple (and truly it was) but it took a while. I used our new flamingo dots (you are getting some serious sneak peeks here!) and a heart I cut out on the cricut. The heart was cut out on Kraft paper so that it would blend in and not look like I had a base at all. I then added my flamingo dots one by one. To make sure they stay put I coated the whole heart with a layout of liquid glass- voila!
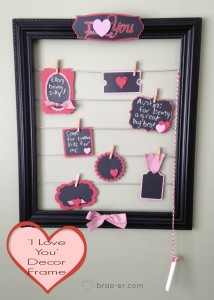
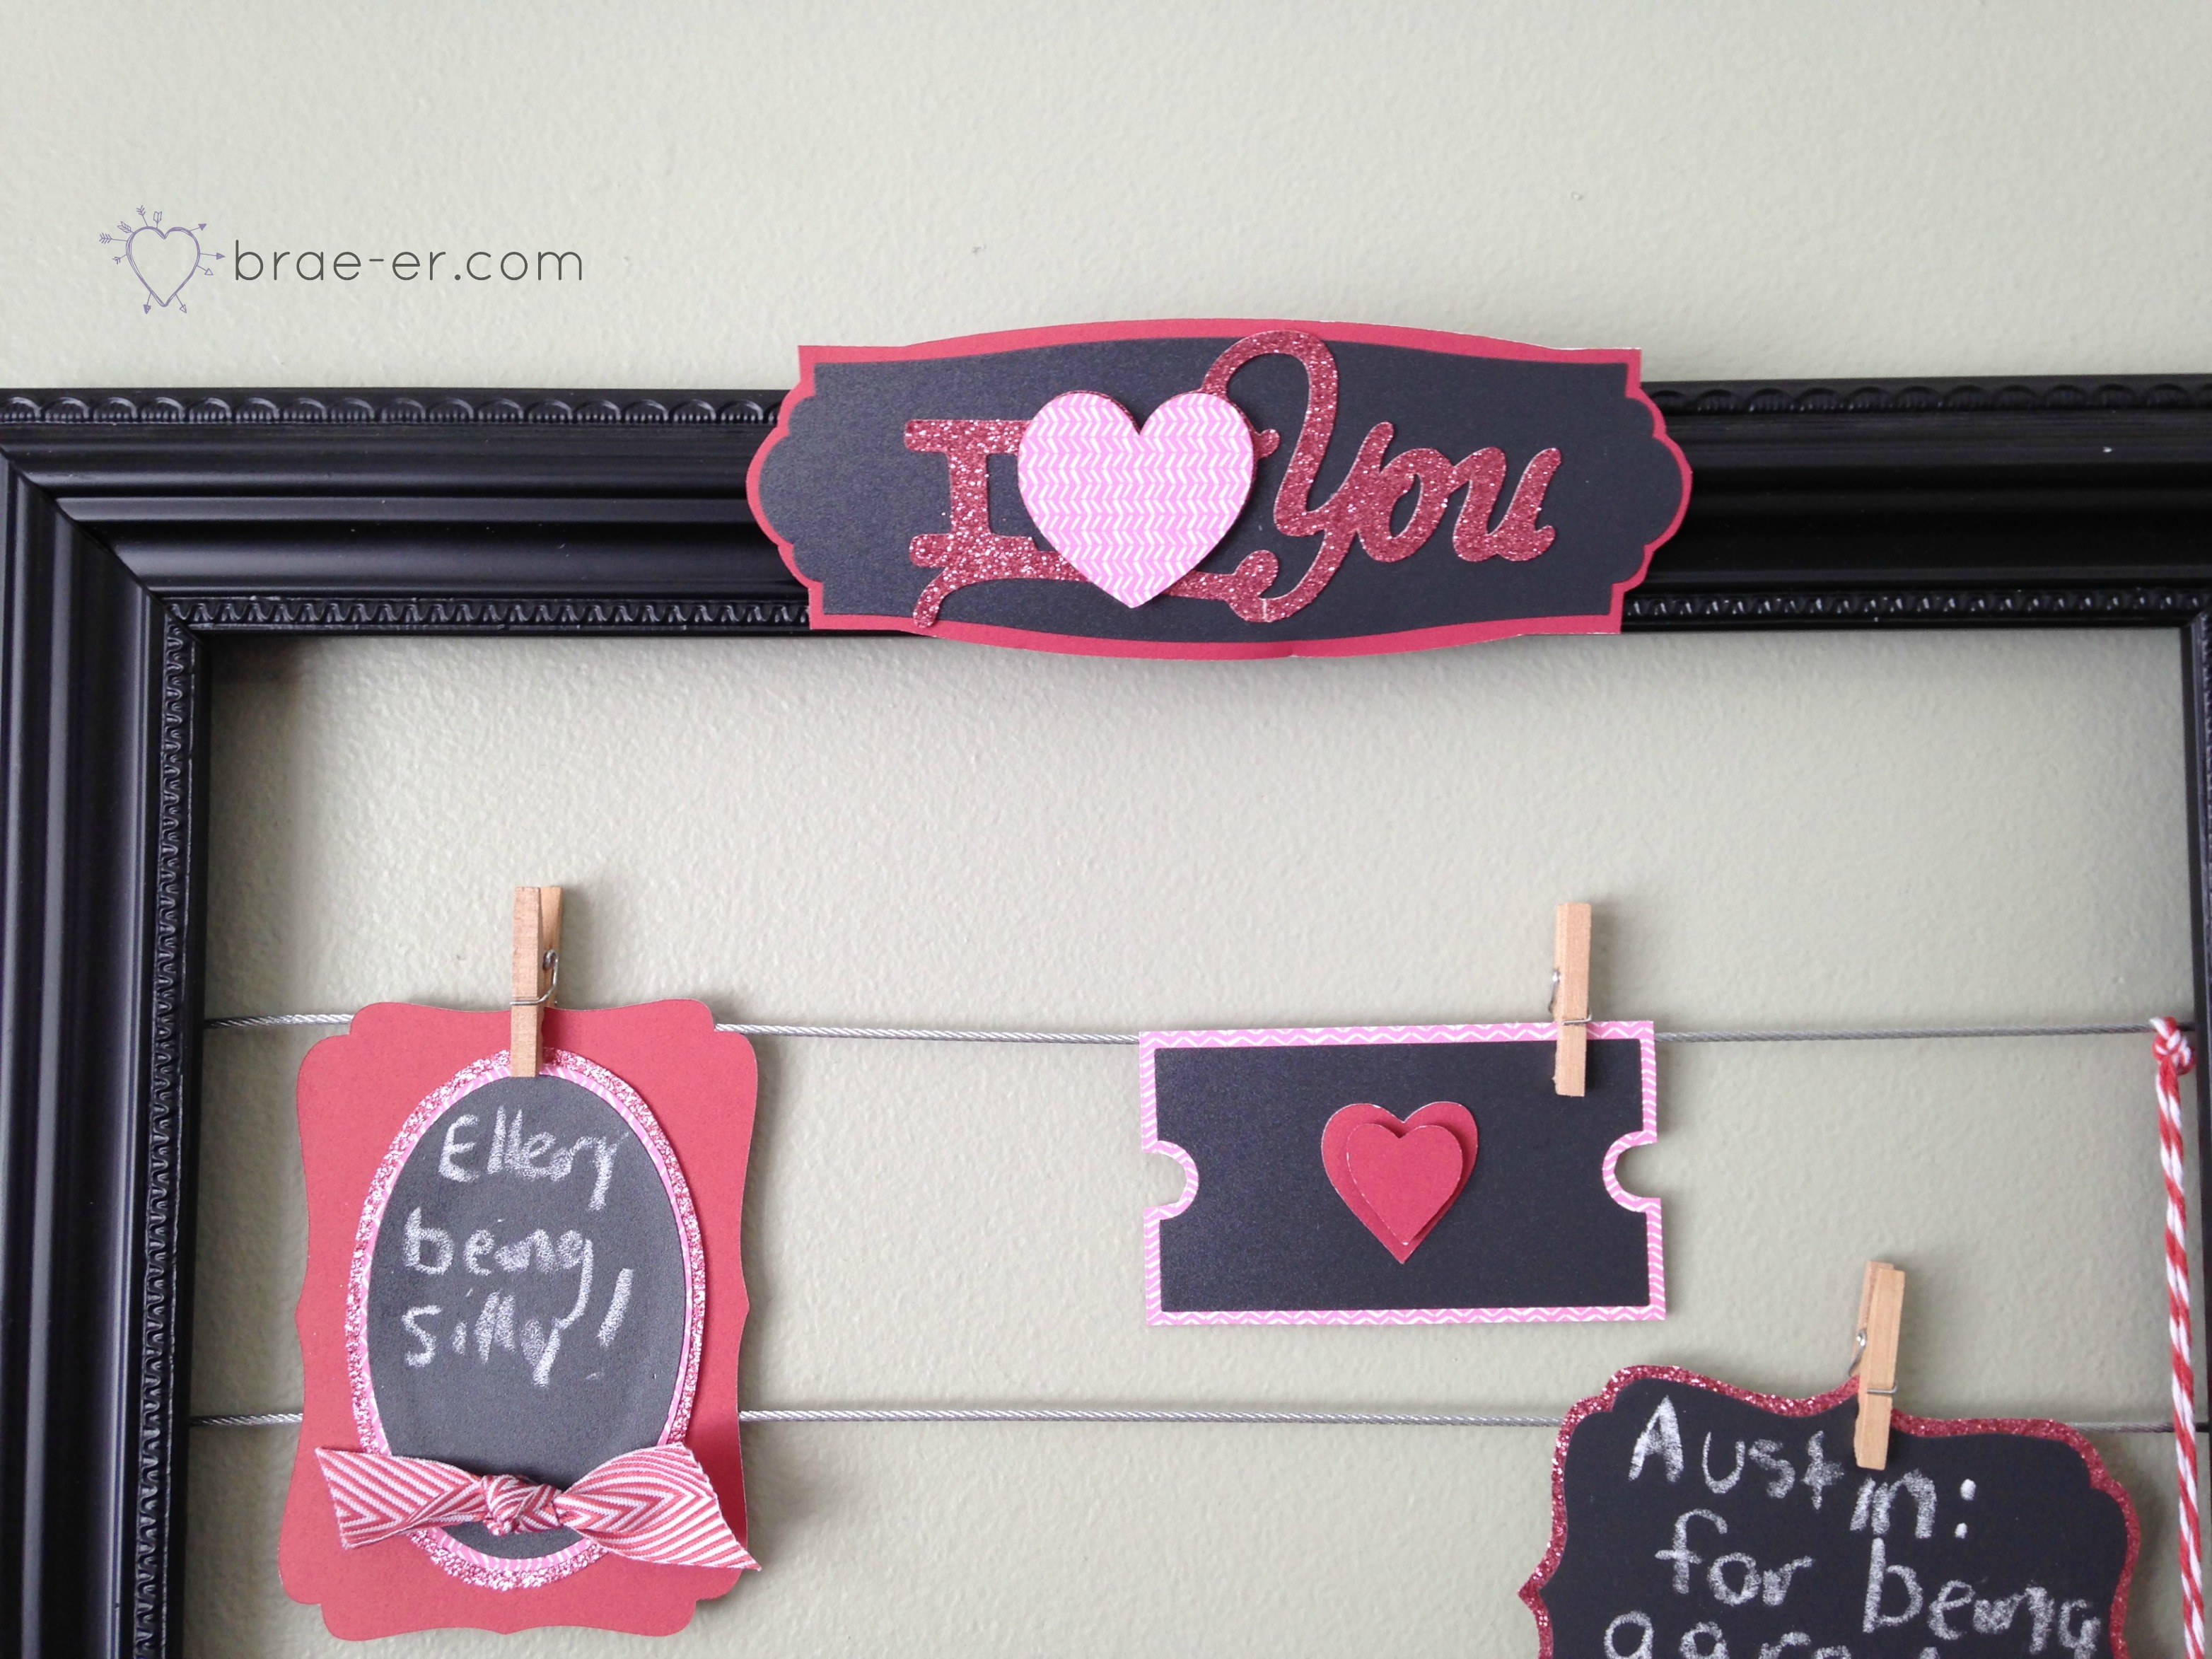
And last- my ‘I Love You’ decor frame. At Christmas I had my advent calendar set up on this- now I am switching it to Valentines and I plan to list all the reasons I love my family and all the things they do to keep the love going! They can add to this as well. I have a video showing the frame in detail below- enjoy!!
If you are lucky enough to have our Cricut Artbooking cartridge then you likely have a crush on it- now let Artbooking show you it’s crush…or what it can do with one of our CTMH Crush books! Watch this for lots of great tips and ideas!!
Despite a very busy Thanksgiving weekend, I have managed to sneak in some crafting time! Both of these projects have been on my mental ‘to do’ list for quite some time and I am so pleased they are complete!
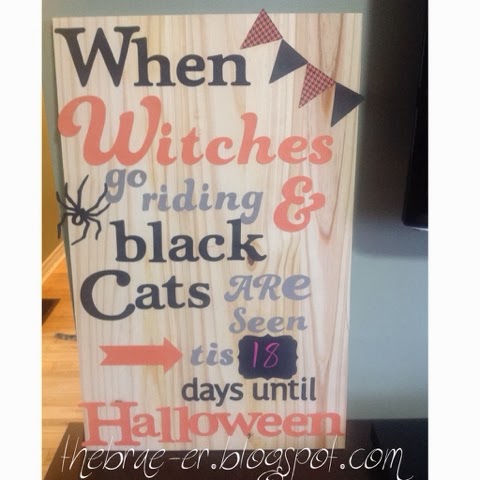
My subway poster sign was inspired by one I saw on Pinterest- the best part is it cost me about $10 to make my own! All of the paper was from the Spellbound paper that was on my website a few days ago- it was about $2.75 in the while supplies last section (it is not there now but there is lots of other great goodies- check it out here!)
The piece of wood I bought at home depot- it was a much longer piece that I had the staff cut for me into three equal pieces (2 more projects can be created later on now!). The images on my sign were all cut from the Cricut Art philosophy and the Cricut Artbooking cartridges -both can be purchased here.
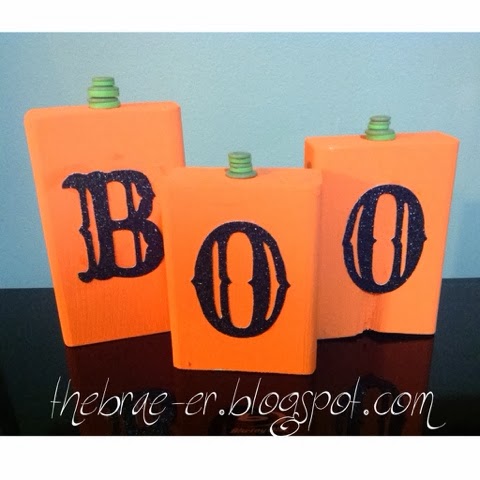
My ‘BOO” decoration are just pieces of 2×4 I had in the house already- my sister cut them down (she wanted to create her own set) and her fee was leaving me three pieces. I painted them orange after giving them a quick sand. For my stems I stacked different green buttons- used glue dots to stick them together and liquid glass to stick them on my pumkins. The BOO is a title off the Cricut Artbooking that I just cut apart- I cut this out on some of our black glitter paper. The letters were also stuck on with liquid glass (for both projects).
I LOVE how our product can be used for such cute home decor items!
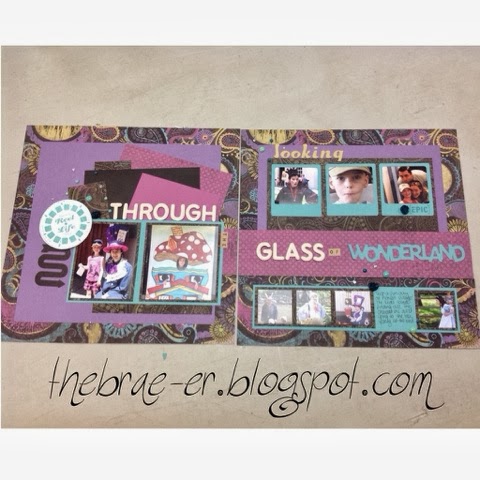
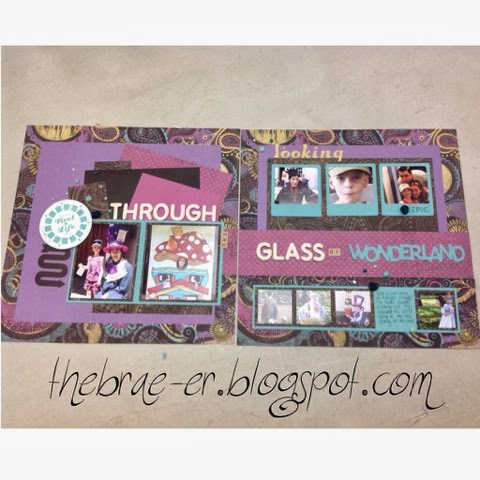
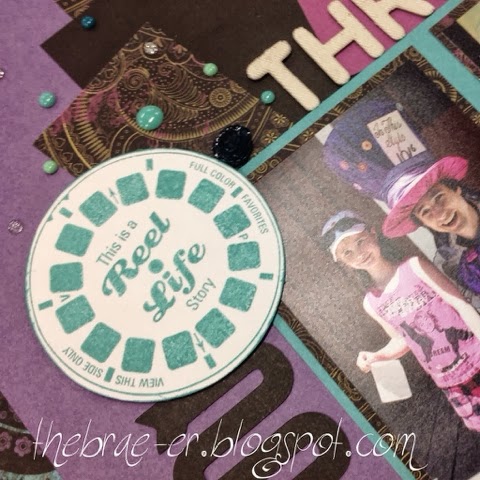
I am sure that every one of you can appreciate how difficult it is to sometimes find the right paper to compliment your photos- sometimes I have photos that sit for years (as was the case here) until I find just the right one- what a happy day I had this weekend when I discovered these photos in my pile and realized Laughing Lola was the perfect paper!! Funky, a little bit crazy and very ‘Wonderland’!
I used the Make it from Your Heart Volume 2 for my pattern for this layout. I complimented the paper with aqua dots, glitter gems, flowers from our teal base and bling accessories and cut outs from the Cricut Artbooking as well as a stamped image or two! I also mixed it up for my title to further carry out the funky, fun feel of my layout.
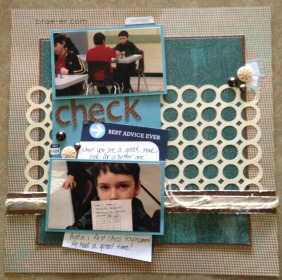
Close to my Heart really is an amazing company! Check out this video on using your Artbooking cartridge to make gorgeous school layouts- makes me want to go craft NOW!!
For this blog hop I wanted my team to show up creations made with any of the three CTMH Cricut cartridges- we have Art Philosophy, Artiste and now Artbooking! So much to chose from.
I hope you like what they have come up with – the full list of team participants is posted below.
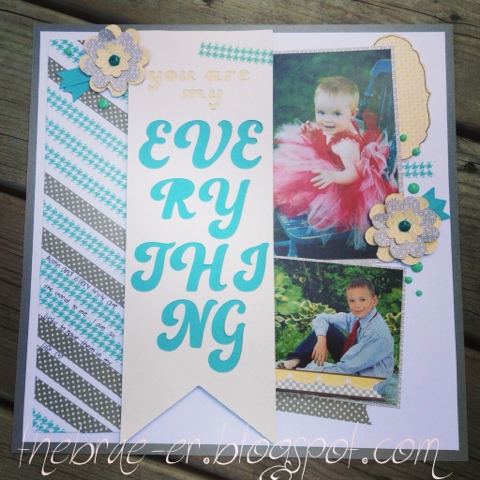
I created a one page layout featuring my super-cute kids! This page has a small amount of paper from the Babycakes collection but otherwise is cardstock and washi tape. I used both our lagoon and grey dot washi to create my diagonal patterned paper and even wrote my journaling between the pieces of washi.
I used artbooking to cut out my flowers and the small accent to the right of my daughter’s picture. I also used artbooking to create my title – to do this I used the Cricut Craft Room so that I could create a negative image with the font, which I then backed with cardstock.
I also accented the page with Aqua dots (seriously the BEST little accessory we have right now!).
I hope you were inspired by this page. Now hop on over to Sheri’s blog to see what she has for you!