Category Archives: #studioj

Where to print photos in Canada?

Where to print photos in Canada

If you live in Canada you know that it is getting difficult to find an affordable place to print photos, especially if you also want qualify in the prints and a decent price!

Until recently I was an avid fan of Black’s… then they closed their stores across Canada and I was forced to look elsewhere (and yes I know they are back online but I hesitate to jump on board as they were bought out and I worry about quality).

Years ago I was a fan of the Walmart photo lab…then they changed their photo quality and required me to pay up front (something that would not have been a problem if I was not paying for photos with strange glowing blobs and lines).

Costco is another favourite among Canadians… but my town does not have one and the nearest one does not make it worth the cost to drive there and deal with the INSANE parking lot.

I quickly realized that the answer to my need was right at my fingertips… literally!

Studio J

I can and now DO use a product that I already had available to me and have found my photo qualify to be perfect, the cost to be comparable (and often times cheaper) AND I can print whatever size I want and make all the editing changes I could in other places.

So, how do you print photos in a product that was designed for digital scrapbooking?

Easy!

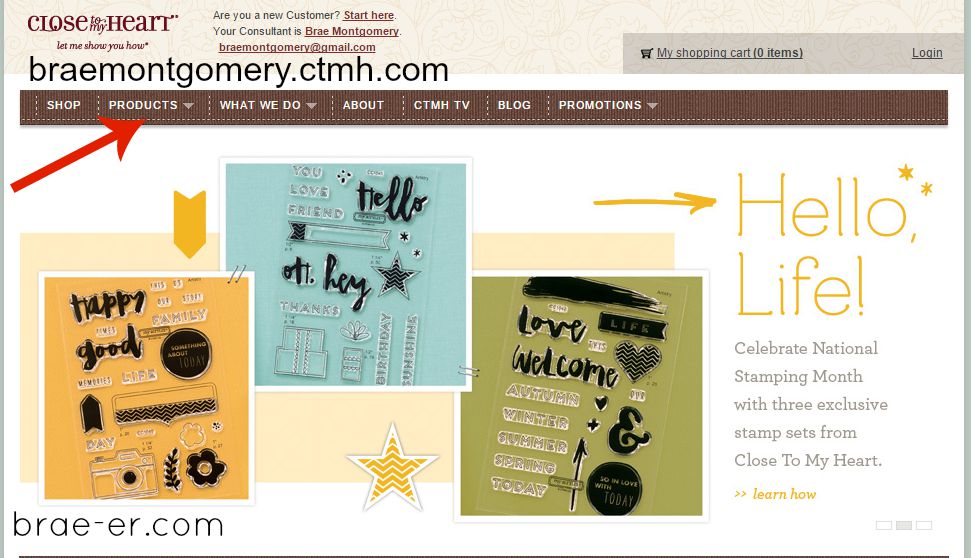
Step 1: go to my website at braemontgomery.ctmh.com and click on ‘Products’ and ‘Studio J’ in the drop down menu.

studio j 1 photo print

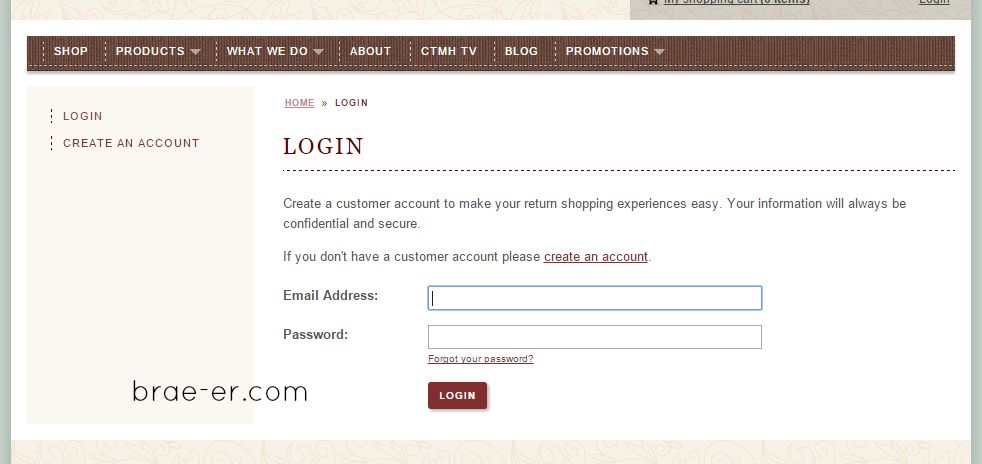
Step 2: Login (or create an account if it is the first time you have visited my site).

studio J 3 photo print

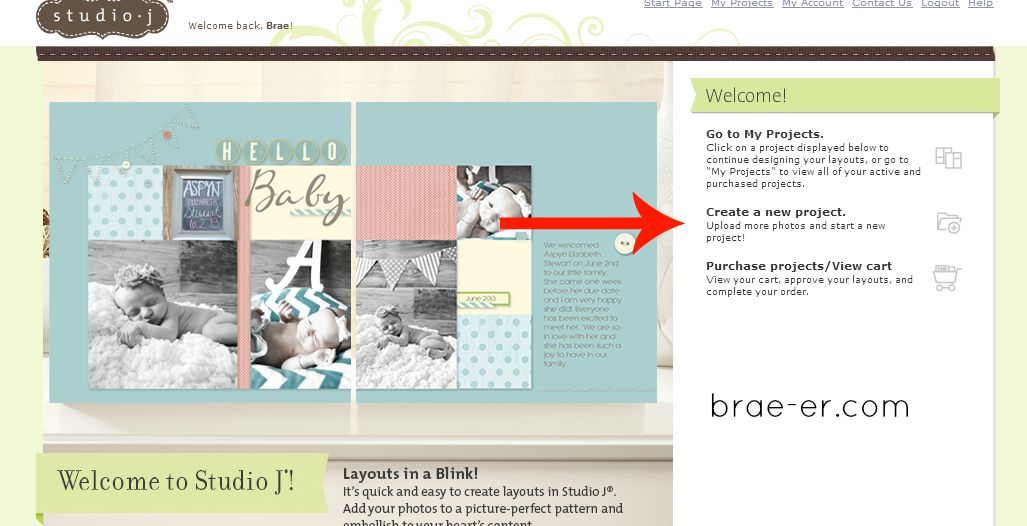
Step 3: Click on ‘Create a new Project’ and assign your project a title. I usually just type in photos when I am only printing.

studio J 4 photo print

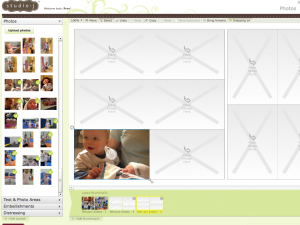
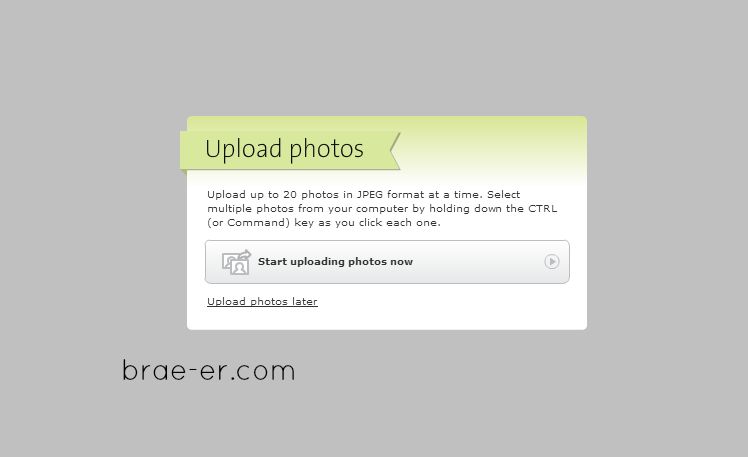
Step 4: Upload your photos. Just click on ‘Start uploading photos now’ and pick the file where your photos are stored. Select all the photos you would like to upload.  NOTE: While they are uploading you can move on in the program- no need to wait!

Studio j 5 photo print

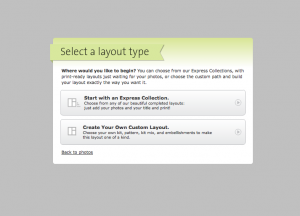
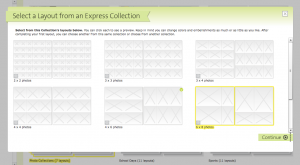
Step 5: Click on the ‘Express Collection’ option (we do have an alternate way to print photos but for now I am going to show you the simplest way).

studio J 6 photo print

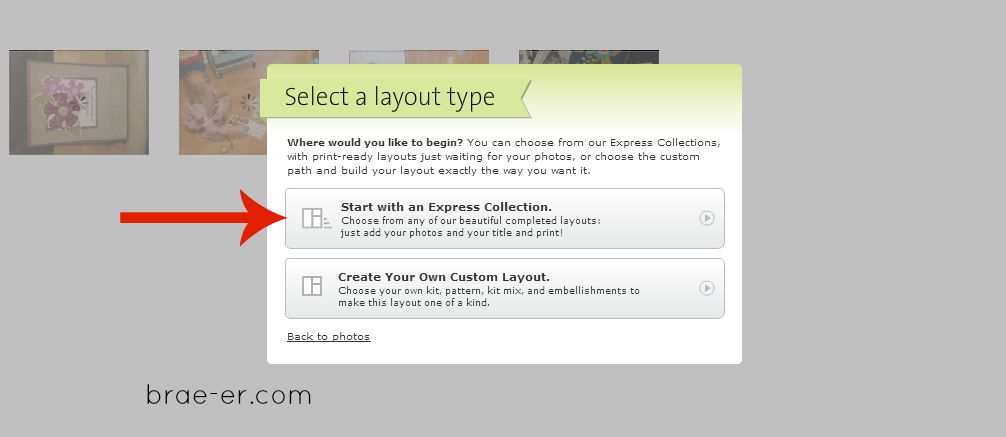
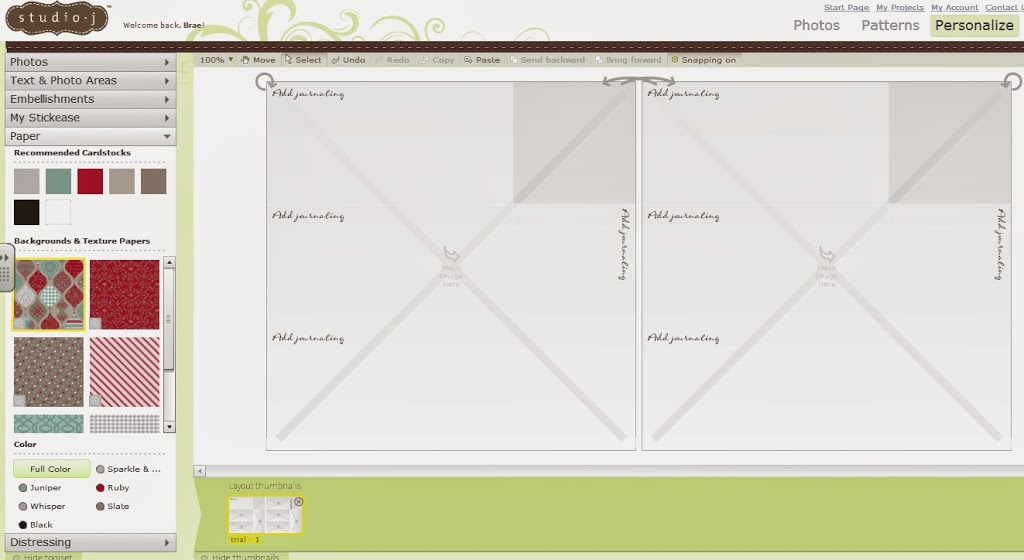
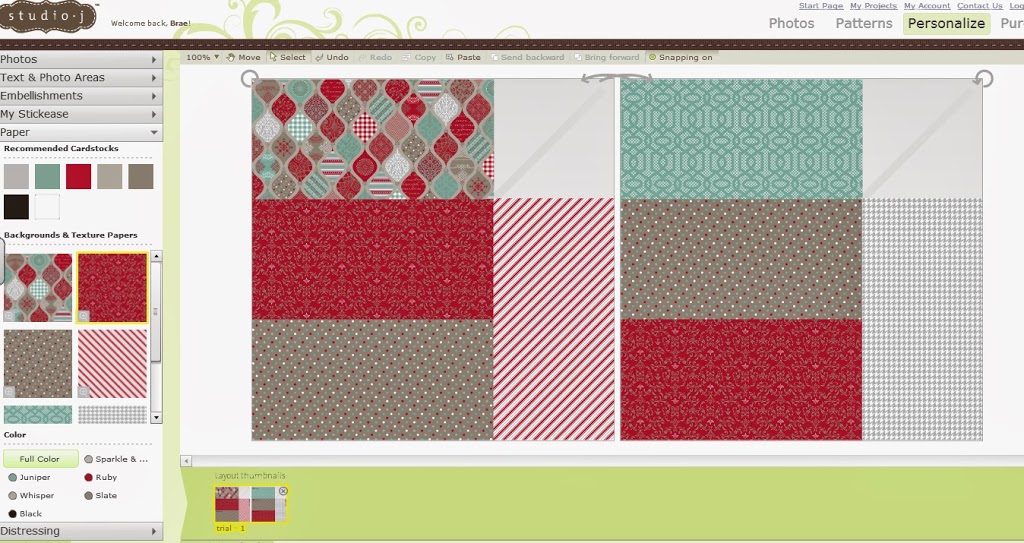
Step 6: You have two options here. Select the one right for you and your project. You can go back and select another if you want and can select more than one page. You are not committed to any one style for all of your photos.

 studio j 8 photo print

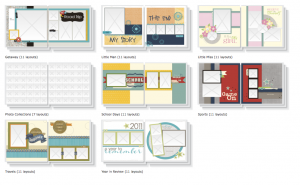
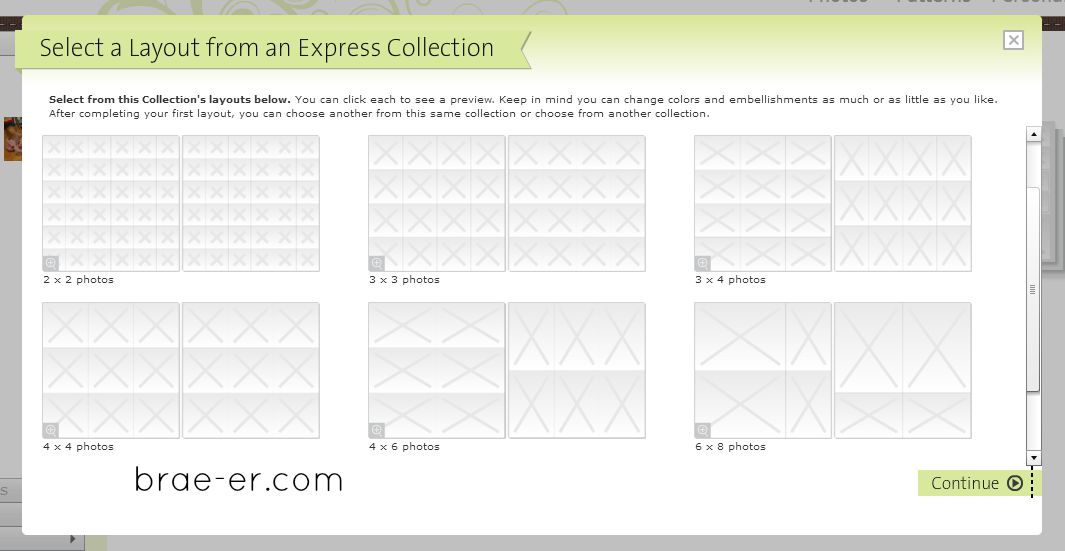
Step 7:  Now select the layout you want and once in your layout simply drag and drop your photos where you want them! You will be able to do basic edits to your photos as well (just click on the photo tab on the left of your screen).

studio j 9 photo print

Now what about the price??

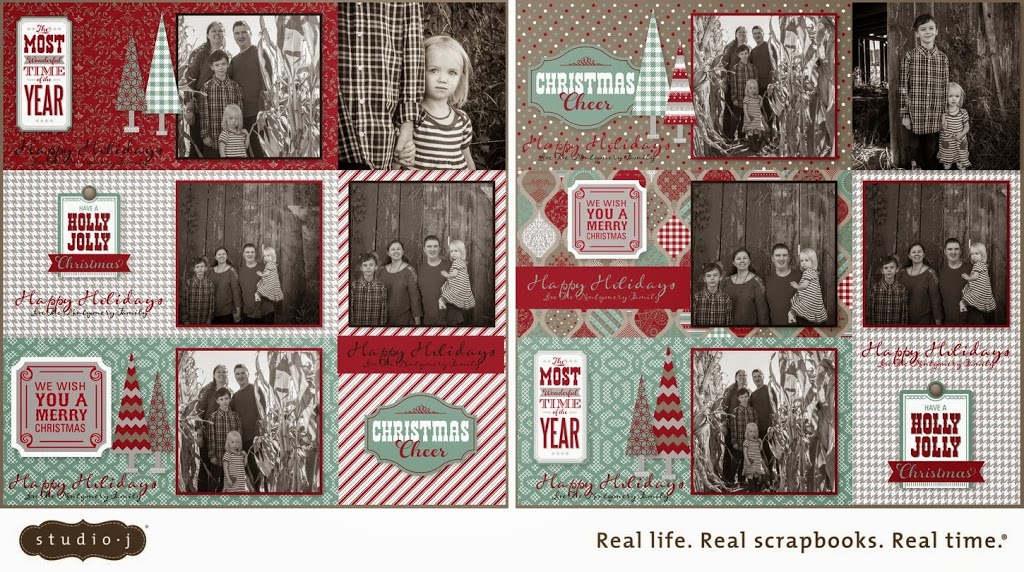
  A layout in Studio J costs $7.75 (that is two 12×12 pages full of photos).  Due to shipping costs Studio J has a minimum of four layouts and a maximum of 50 in shipping. Shipping itself is $13.95 (no matter how many layouts you have between 4-50). If you are like me this is a piece of cake because you go a long time between photo developing! Try to optimize your shipping cost on every order.

Let’s look at the cost for 4×6 prints (most common photo size).

One layout will fit 12 4×6 photos which costs $0.65 per photo.  That is the basic cost and does not include shipping.

If you order 25 layouts (300 photos) you end up paying $207.70 (shipping included in this price) and that means you paid…$0.69 per photo!

Max out to the 50 pages (600 photos)= 401.54 = $0.66 per photo!

That is a great price for great quality AND I didn’t have to leave the comfort of my home! It all came to my door in about a week!

What about oversized prints??

You can print any size you want in Studio J and going big (and small) is where you can really see some savings AND there is not waste! An oversized print at many stores is upward of $5.00 for anything larger than an 8×10.  In Studio J you can get two, 12×12 prints for $7.75! A great deal!

If I haven’t convinced you yet I challenge you to get in there and play around- you will LOVE what you see!

Visit braemontgomery.ctmh.com to get started!

Until we craft again, The Brae-er


Minecraft Birthday Party (or how I use my CTMH for good… according to my son)

minecraft collage

I think if you have a boy between the ages of 7 and 12 then you probably know about Minecraft- like me you probably do not know much about it.  Before this birthday party I knew that it was a building game of some sort- like a virtual lego.  I also knew that it involved ‘creepers’, ‘zombies’ and the occasional lost pig…. AND that my son LOVED it! In fact, he pretty much spent every second he could playing it or watching videos about how to play it better- yikes!

Fast forward a few months and Austin is turning 10 and of course wants a Minecraft party- so I did research and put together a pretty decent party- he thought so anyway! For sure- my CTMH skills came in handy (and sometimes my CTMH products!)

Places I found inspiration- pinterest of course! I found printables through that avenue and printed them on Studio J so that I had nice photo quality signs and invitations for the party.  Candy bar – inspired by pinterest (this is a staple at my kid parties) and truly only came together after strolling through the aisles of the Bulk Barn.  Games? didn’t need to do ANY- they all brought their devices and either played (good old fashion do their-own-thing play or played mine craft).  Every boy at the party loved it and I had one super-happy 10 year old by the end!

IMG_0951

IMG_0979

Until we craft again, The Brae-er


Photo Development in Studio J

Photo development is always something that scrapbookers do not take lightly! Finding a quality service that is quick, has great quality and a variety of sizes (or even the ability to create your own sizes) is rare.  Wouldn’t it be great if you had something like this and it came right to your door within a week?!

We do- its called Studio J!

Let me take you step by step through the process.  You can click on any of the photos to be taken to Studio J on my website- if it is your first time you will need to create an account (don’t worry it is free and you pay for nothing in the Studio unless you want to purchase it!)

You will create a project and title it whatever suits you- I chose ‘February Photo Development’ so that I knew what and when the photos were from.

You will be prompted to upload photos- you can do this now OR do it later.  You do not need to wait for the photos to load before you move on in the project.  They will continue to load as you work on the next few steps.

At your next screen you will chose to ‘Start with an Express Collection’

Screen Shot 2014-02-06 at 7.05.17 PM

This is the screen you will see next- you want to select the collection that is ‘Photo Development’

Screen Shot 2014-02-06 at 7.05.34 PM

Your next screen will have you chose a layout to add your photos too- you will start with one but can add more as you work on your project.  There are five different layout styles to chose from.

Screen Shot 2014-02-06 at 7.06.41 PM

Now you can add more layouts OR add your photos- one thing to keep in mind is you need a minimum of four layouts in order to ship your order- this is easily done for most people 🙂

To add your photos just drag and drop them from the menu on the left (a check mark will appear once you have used them).  To add another layout just click on the ‘Add Layout” button in the bottom right corner (and chose to work in the same express collection you are currently in).

Screen Shot 2014-02-06 at 7.53.28 PM

Here is what a full layout will look like- don’t forget you can change the filter of your photos to black and white or sepia.

Screen Shot 2014-02-07 at 10.14.27 AM

Once done you will chose the ‘Buy project’ button on the bottom right and the program will prompt you to ‘approve’ your layouts and then you can check out!  You will have your goodies in a week and a file will be emailed to you with the JPEGs of all your purchased layouts.

Try it out ————->  Studio J

Until we craft again, The Brae-er


Making your Christmas Cards in Studio J

You likely have never given this a thought- that you could possibly create your own photo Christmas Cards using Studio J online software.  With our ‘No Limits’ pattern you can do it (and many other things but we will leave that for another day)!

Today I designed and ordered mine and it all took about 30 minutes- easy!!! The best part is that I controlled everything! This was not a pre-designed card from a website or a store. I did not have to choose the best fit and just be happy with it.  I did not have to spend a lot of money on a product that I was not 100% happy with (these all were the case for my photo cards last year).  

Here are my cards this year (as they appear in Studio J- once I receive them all I will have to do is cut them apart.  Want to try this out? Here are the step by step directions for creating your own!

1.  Go to braemontgomery.ctmh.com, click on products and choose Studio J from the drop down menu.

2. Once in Studio J- either log in or create an account if you are a new user.

3. Once in- begin a new project. I called mine Christmas Cards 2013.

4. You will then be prompted to upload photos- upload the ones that you would like to use on your cards (I did two different photo styles)

5. The select “create your own custom kit”

6. At this point you will be given lots of options for paper- my recommendation is to go with one of our holiday themed papers so that you will have access to the holiday ‘stickease’ and images that go with that pack.  For mine I chose the Sparkle and Shine kit.  Choose your kit and click continue.

7. Next you will be given your choice of patterns, chose the ‘No Limits’ pattern and then click continue.

8. Your next option is for a kit mix- yours will all be blank – just click on one and continue to the next screen.  

9. Now you will start to create your cards! On the left you will need to click on the text and photo areas.  You want to add journaling areas to your layout- just drag the ‘add journaling’ option onto your page.  Once it is placed you will have a box appear where you can adjust things- you want to make your card 4 inches by 8 inches.   Once you have one box sized and placed (see my sample above for how you can place them to optimize space) you can click on your journaling box and the click copy at the top of the screen.  Then hit paste- this will give you a second box of the same size  that you can click and drag (and rotate) anywhere on your layout.  Do this 8 times until you have your page full.  It may look like this when you are complete this step.


10. Next click on the paper tab on the left.  From here you can drag and drop any of the patterned paper or cardstock options for the kit.  Have fun with this and feel free to use a variety- after all, you can!  Once you have those all in place you will want to get rid of the prompt to add journaling- just click on the box, select edit text, and delete the text.  Then click on the next box and do the same.  When done you may have something like this.


11. At this point I think it is easiest to go in and begin to add photo boxes- go back to the add text and photo tab. Once there, drag and drop photo boxes onto your cards- I made mine a 3.5 by 3.5 size but you can do whatever size works for you and your pictures.  The toobar that appears with each photo box will allow you to add a photo mat if you would like- and you can pick your desired colour.  Once you have your boxes and place (and you can copy and paste them as we did earlier) then you can drap and drop your pictures inside them.  In the photo toolbar you can add a filter and make your photos black and white or even sepia- have fun with this!

12. Now your photos should all be placed and you are ready to decorate! You will find all the fun things that I used to decorate under the My Stickease tab- use the drop down menu to navigate between different embellishment sizes but remember that you can always resize them by dragging down the bottom right corner of any image.  You will also find Holiday quotes and tags in this section that could make your card really come together!  

13. Lastly I added our family name.  To do that I added a smaller journaling box (you should be a pro at adding this by now) and just typed in the box with the font they suggested. I added colour to some of my boxes and others I opted for none.  

Once you are happy with your card you are ready to order them! You may notice that I have two 4×4 photos on mine at the top- it was empty space so I dropped some photos in to fill it out. Once my pages arrive I can use those photos in other projects.  When ordering you can order as many copies of that page as you will need for your cards. Your pages will arrive in the mail within a week or so and you are ready to go! 

I would LOVE to see what you create- feel free to share a link or email me your completed pics!


Until we craft again, The Brae-er