Category Archives: card making

August SOTM: From Me to You- Card Series

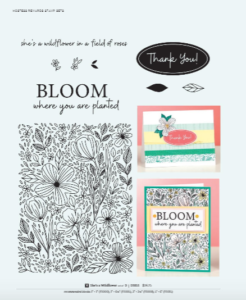
I wanted to share this awesome Stamp of the Month: From Me to You. Why? Well, it is a card lover’s dream – super cute fonts, on-trend verbiage, and sentiments for many different occasions. This is a set you can use time and time again- I love when we release sets like this!

Below I created a few cards using some of the current product available in my shop. When you make a purchase of $50 or more, you can add this sweet stamp set on for only an additional $6! A fantastic deal and a cherry on top of your purchase 🙂

This is a little 3×3 card with a peek-a-boo window. I cut the window using one of the squares from our Stitched squares thin cut set. I placed some cute paper on the inside of the card (this was from one of our Mix-in packs) and added some acrylic hearts. Sweet and simple- this card can be used as a more masculine Get Well Soon card.

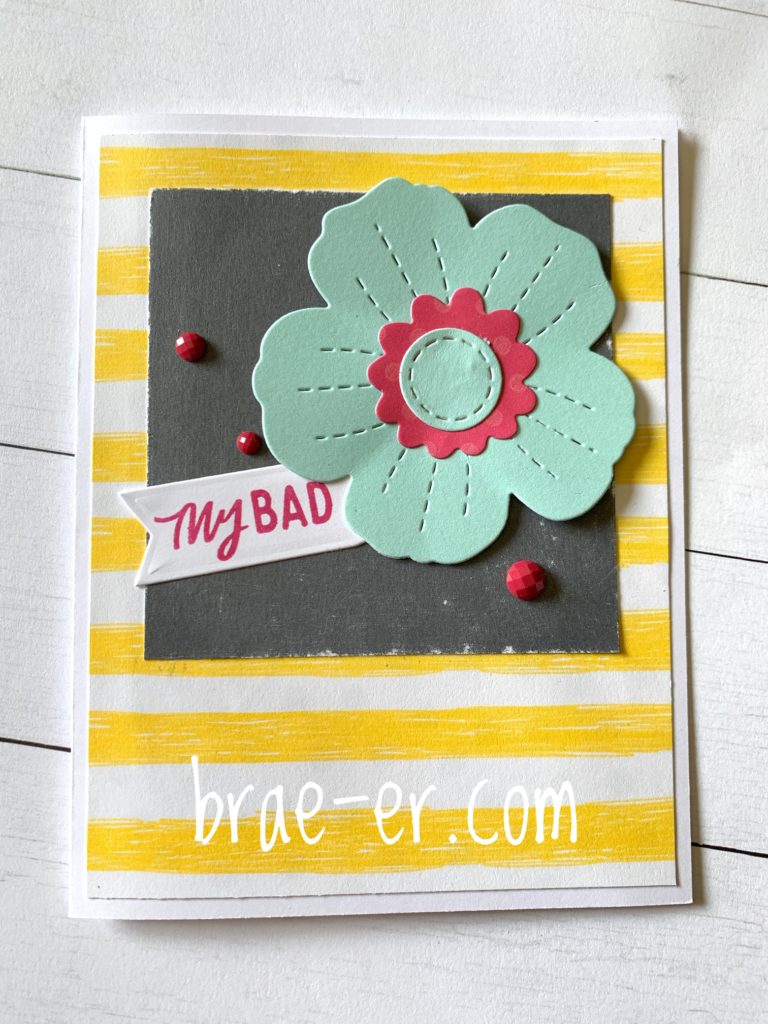
This is my FAV of this series. I love the bright yellow stripes and the flower thin cut is one that I cannot use enough- it is so versatile! The colours are bright and fun which is a nice complement for saying sorry. I also sanded the edges of the pewter cardstock – sanding is a great way to tone down a colour on a project without changing it out.

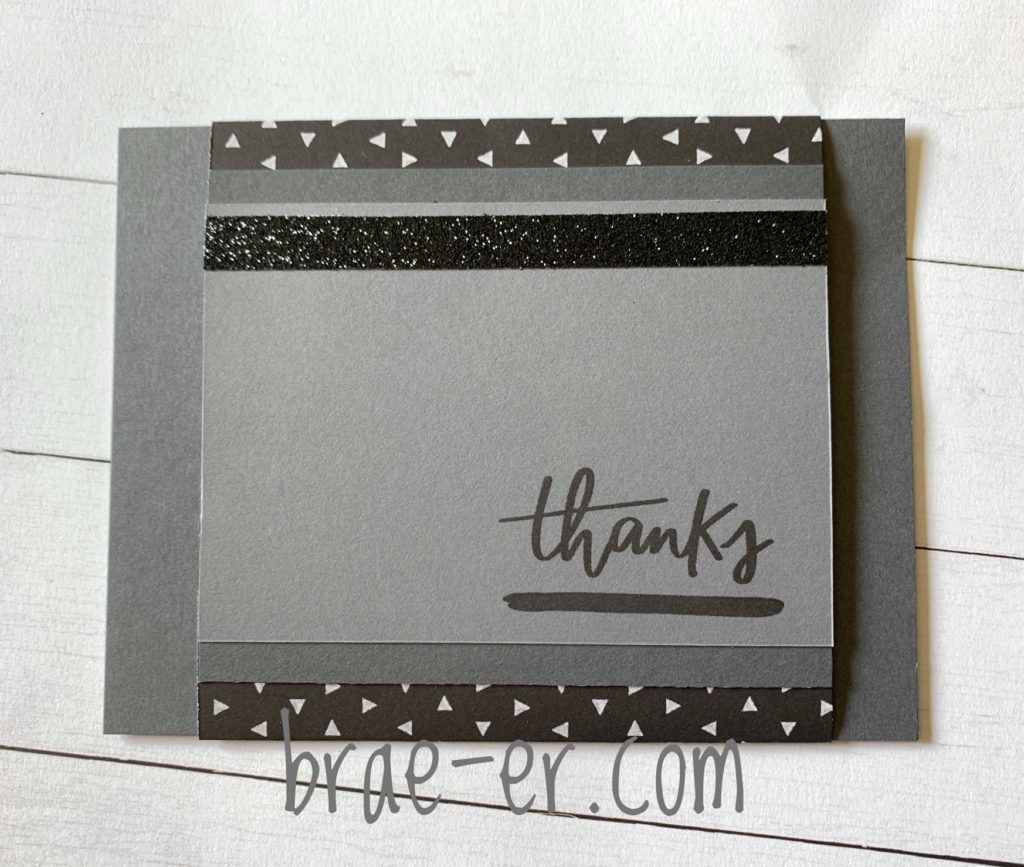
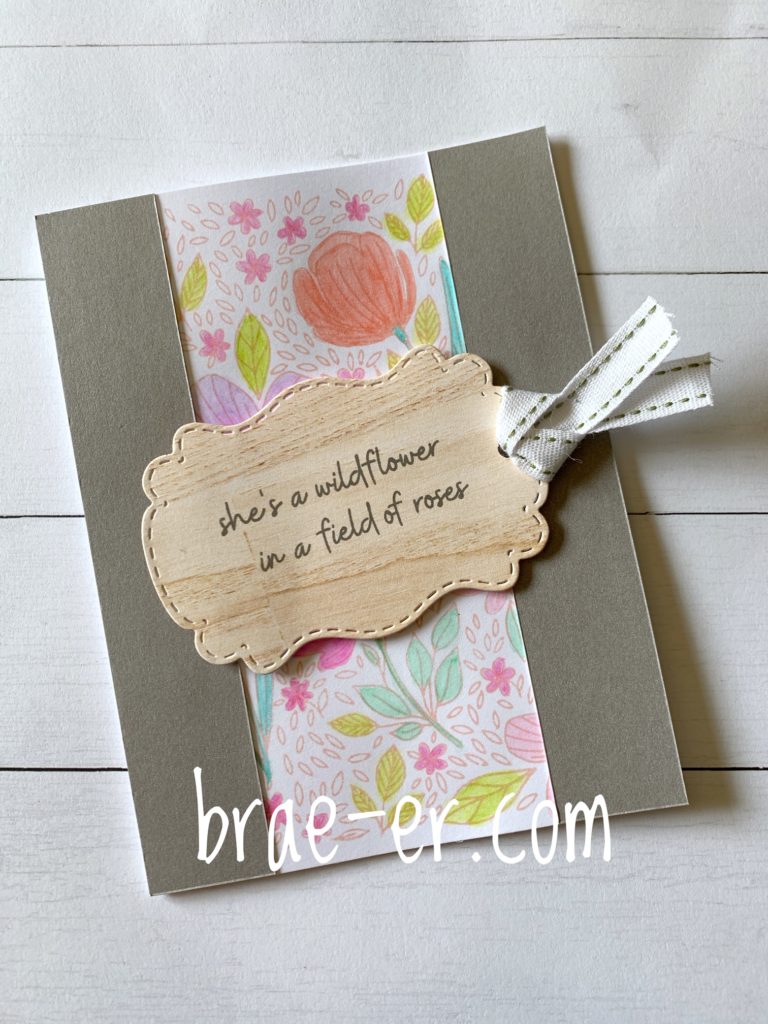
This next card is a simple thank you card that is perfect for when you need a more masculine look. The inside piece of cardstock slides out to reveal your note. The outside is a sleeve. This card is in our card how-to book Wishes and is one of my favourite designs. Mix in patterned paper and a piece of shimmer trim are also used.

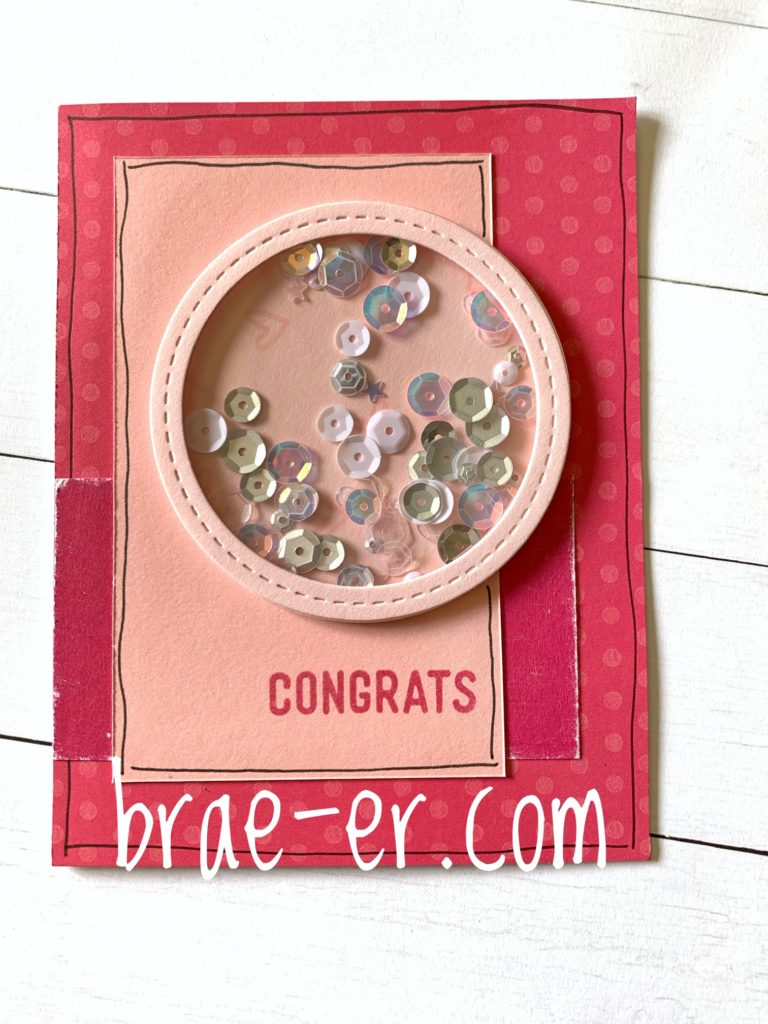
Lastly, I have this fun pink card featuring a shaker window (love me a shaker window!). Some sanding and a journaled border add some more fun to this card. Inside the shaker window I also stamped some of the hearts from the SOTM- you can just see them behind the sequins.

What sentiment would you use first if you owned this stamp set? Post your reply in the comments below.

Until we craft again, The Brae-er


Card Series: She’s a Wildflower (Hostess Exclusive)

Were you aware that our hostesses have access to an exclusive line of stamp sets? They are always gorgeous and highly sought after but are only available to this very special group. One of my current favourite sets is “She’s a Wildflower.” I love the floral background image and all the beautiful things you can create with it. Below are some cards set to inspire you. If they inspire you to get host a party just message me- you can do an in-home party or an online one through facebook. Both options are a lot of fun and both will qualify you to earn this stamp set.

She’s a Wildflower card: sweet girl cardstock pack, featured stamp set, pixie ink, black ink, watercolour pencils, tag die cut (retired), fern stitched ribbon.

Bloom watercolour card: Watercolour paper, Watercolour paints, featured stamp set, black ink, white embossing powder, mint cardstock.

Bloom card: Sweet girl paper pack, Sweet girl cardstock, Doily die-cut, fern stitched ribbon, tag die-cut (retired), Sweet girl complements, featured stamp set.

Thank you card: Pixie ink, Fern ink, featured stamp set, Sweet Girl cardstock pack, watercolour pencils, white daisy cardstock, fern stitched ribbon, bitty sparkles.

Masculine Thank you: Sweet Girl paper pack, Sweet Girl cardstock pack, Sapphire ink, featured stamp set, Sapphire crochet thread.

All of these items are available in my SHOP.

What could you create with ‘She’s a Wildflower?’ Post below and let me know.


Until we craft again, The Brae-er


My Top 5 ‘must-have’ items for Paper Crafting

I wanted to start of 2019 with a post about my all-time must-have items for paper crafting! These are items I use on the daily in my crafting- cards, scrapbooking or home decor- these are ALWAYS close by!

Versamat

I have not one, but two of these on my desk surface at all times. They allow me to measure and line up elements of my pages or cards with ease. They also are cushioned on the back, an aspect that makes them vital for crafting- especially if I am working on a plastic table and not a solid wood surface. I only need one for cardmaking but two are best for scrapbooking two-page layouts.

Memory Protectors

These may seem an odd choice but I promise you they are not. Close to my Heart makes the BEST memory protectors. They have a sturdy feel and will not tear – no matter how many times your books are looked at and enjoyed. They will also protect those beautiful pages you have made. I prefer the side load (we also offer top load which is more traditional). The side load prevents anything from getting in the top- it would be very difficult for anything to sneak in through the inside edge of a protector.  I have visions of my kids spilling something on the shelf where my books are kept and that seeping into the top of my albums- side load ensures this nightmare never occurs!

Are you a fan of strap-hinge albums? These have a big fan base. Did you know that we offer memory protectors for these albums as well?  Same CTMH quality but designed to work with the leading strap-hinge albums- try them, I guarantee you will LOVE them!

Duck Adhesive

I have written about this before in an earlier article on adhesives. This is my GO TO, never disappoint, hold forever, adhesive. In most situations, I prefer a tape adhesive and this one holds really well. They are not refillable (I do wish they were) but the hold is what keeps me coming back time and time again. I do not want to flip through an album year down the road and find all the pictures have slid off the page- these projects need to last and this adhesive will ensure that they do.

Bonding Memories

There are times that a good wet adhesive is required. I keep a broad tip and fine tip bonding memories glue pen for those occasions. Small strips of paper. A paper that will require a LOT of glue. Certain embellishments work well with this glue as well- I find that vellum, in particular, does not show this adhesive as much as it will show others. This glue also has a ‘dual’ purpose. Applied blue it will hold long term, allowed to dry until it is clear then it acts as a non-permanent adhesive- a great option when you are not sure about placement on a page or require a mask when stamping.

Foam Tape

If you have not tried out foam tape you are missing out! This adds a ‘lift’ to elements of your project- something that allows you to add layers and lots of fun. I rarely have a project that I do not use foam tape with. We offer two varieties- tape and dots (personally I use the tape as I can cut it to the size I prefer). It also comes in two thicknesses- thin and regular. This allows you to create more than one layer. If you like the look of foam but don’t want your pages to be too thick- then use the thin tape and save on space. The options with this are endless!

All of my top 5 ‘must-have’ items can be purchased in my shop.

Do you currently use any of these items?

What are your top ‘must-have’ items for paper crafting? Tell me in the comments!

Until we craft again, The Brae-er