Welcome to the Cross Canada Blog Hop. In this blog hop you ‘hop’ across Canada as you visit CTMH consultant blogger’s! This month we are featuring whatever current product inspired us the most!
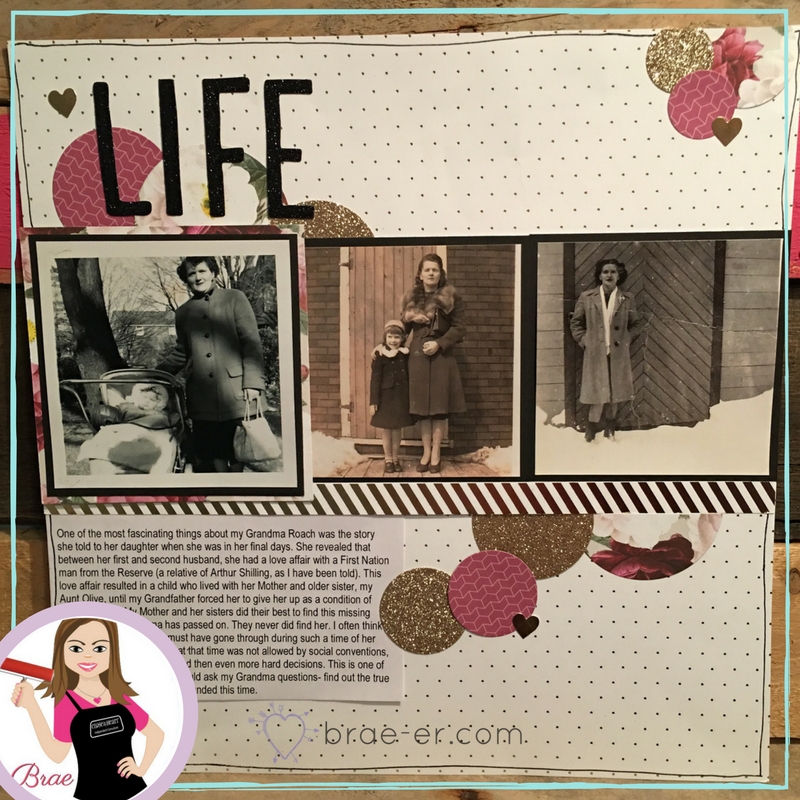
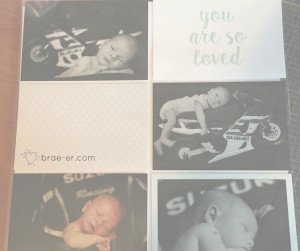
For my project I chose to focus on the Live Beautifully paper. I wanted to work with some heritage photos and one of the stories from my Grandmother’s life. This one was about her second daughter, who she gave up for adoption. It is a pretty amazing story and one that I would have loved to ask more questions about- sadly, she told her daughter’s about this little girl just before she passed away and we never had the time to ask anything. What I do know is that my Grandmother was much more complex than I had imagined and my imagination can fill in the rest!
This project featured:
Live Beautifully Paper pack (only available during the month of May)
Scrapbooking can be a daunting task for a Beginner (especially if you have a friend who has been doing it for years and years, has shelves of albums and a whole craft room!). Seriously, where do you start? How does a beginner scrapbooker keep it enjoyable and not feel overwhelmed by years worth of memory keeping. Here are 5 tips designed for the Beginner Scrapbooker!
1. Start with what inspires and motivates you.
I have heard so much advice over the years (and all of it different). Honestly, there is no perfect way to scrapbook. You should do what works for you.
Start with last weekends day trip with your kids.
Start at the very beginning with your first born.
Start with your wedding.
Start with what feels right, makes you happy and keeps you excited for what you are creating!
2. Journaling is important, so DO it!
Yes, just do it! You do not have to write a best selling novel. You do not have to write something that is super meaningful and will be sure to reduce your family to tears when they read it. Nope. I give you permission- you don’t.
BUT- you do need to write something. The 5 W’s are a great place to start (who, what, when, where and why/how). Don’t get caught up in making it perfect- again this kind of thinking can be what makes people stress over something that should be enjoyable.
Also- do some in your own handwriting. Even if it is awful in your eyes- trust me YOUR handwriting will reduce a family member to tears in years to come. It will be that special!
3. Have fun with your pages.
Have fun- the whole process is supposed to be fun. Add fun stuff like cute stickers, bling and ribbon (or shimmer trim, LOVE me some shimmer trim!) Lay it out and decide what looks good to you and then do it- if you want a simple design tip for your ‘fun stuff’ then follow the triangle rule. Place items in a visual triangle on your page or pages. This is what is pleasing to the human eye and it will add a sense of balance and movement to your page.
4. Seek inspiration for how to place your photos.
Scrap-lifting is a word for a reason!
Use pinterest, blogs (like mine!), google or purchase a layout book (we have some pretty amazing layout books here ). Save what you like (on a pinterest board- cause we all have them so you might as create another one) and then use them for your inspiration with photo placement and design.
5. Invest in some GOOD basic tools.
There are some things that will make your life easier and those things are NOT to be taken for granted. They are also NOT to be bought at the dollar store- you will regret it. What are these GOOD basic tools?
Paper trimmer– one with a firm bottom mat and a lifetime warranty. That is money well spent! The one linked is my personal favourite!
Scissors– the BEST thing you will ever purchase and a Close to my Heart exclusive. Titanium blades that will last you a lifetime- these lovely ladies can be sharpened too! (also check out the non-stick option- nice!)
Adhesive– now let my Mom be your cautionary tale. She wanted to save money and insisted that the dollar store adhesive would be just fine. Fast forward through three of them not even working and many pages falling apart a week later… I don’t think they were actually worth it! Be sure to purchase something that is photo safe and that will hold. My personal go-to adhesives are the Bonding Memories glue and the Duck adhesive.
Albums– Again, this is not worth going to the dollar store to pick up. You need your album to last through the years, to last through children and family looking at them and to keep your memories safe. You also want to get more than 5 or 6 pages in your album- many inexpensive albums come preloaded with only a few plastic pages and you cannot add more. Choose wisely!
One of my FAVOURITE ways to share what I do is with a Card Buffet.
These events are fun. They don’t require participants to have previous knowledge of paper crafting or any fancy supplies. You just need to want to have fun and own some glue!
Check out all the Card Buffet details in this video!
Unicorns and Lumberjacks! Or trendy bearded men and cacti… and palm trees! Ohhhh I just LOVE the new papers and their trendy attributes! Have you seen the fun of these papers? There is so much inspiration and these papers are super versatile (as our papers aim to be). Check each new paper family out below AND find the paper pack, complements and accessories in my SHOP!
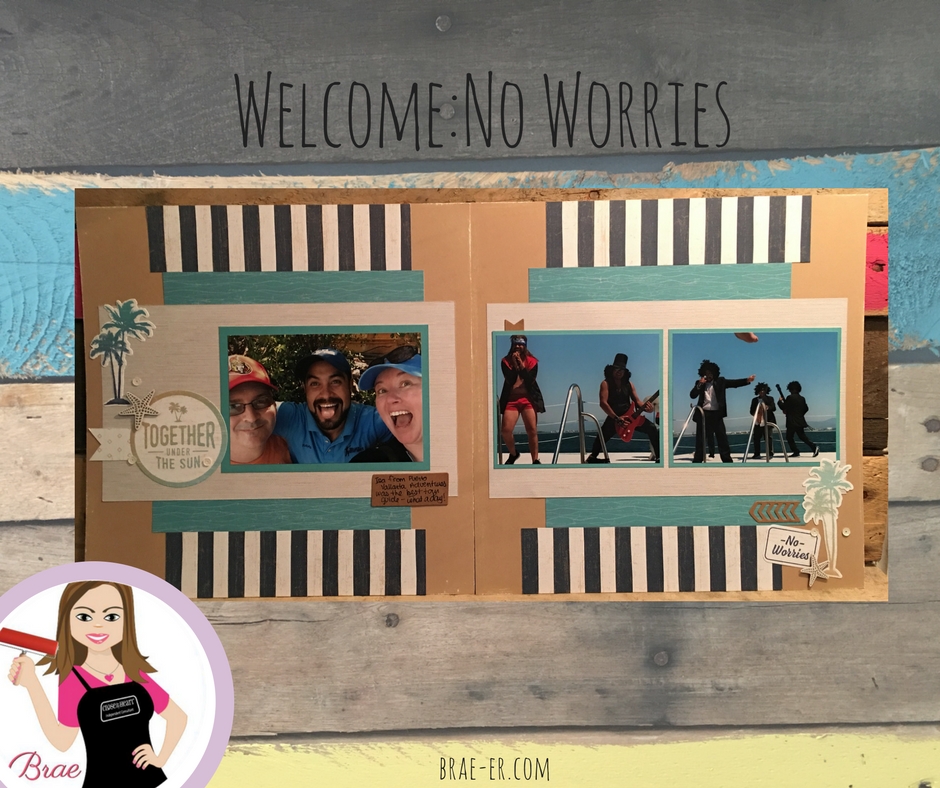
No Worries- think tropical vacation, cruise or days spent at the beach! BUT this paper would also be great for pictures of little boys (or even men since it has a dark blue tone that is more masculine). The complements feature some fun palm trees and the coordinating stamp set and thin cuts have more palm trees AND a cruise ship!! So fun!
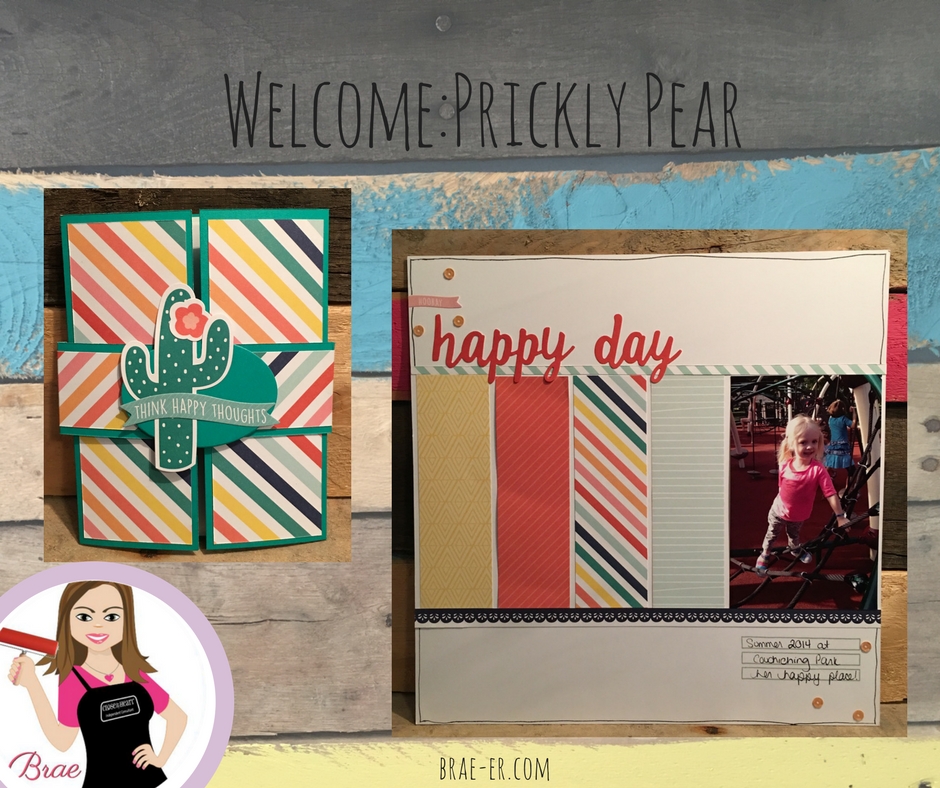
Prickly Pear- happy summer colours. Bright, vibrant and full of life! This paper is perfect for outdoor, summer photos, celebrations, birthday parties and fiesta’s! Although the cactus complements may seem funny to use up here in Canada- I found they made a super cute accent to my card (and you just never know when they will be perfect for a scrapbook page either!) The striped piece of paper is already my most fav piece in this collection.
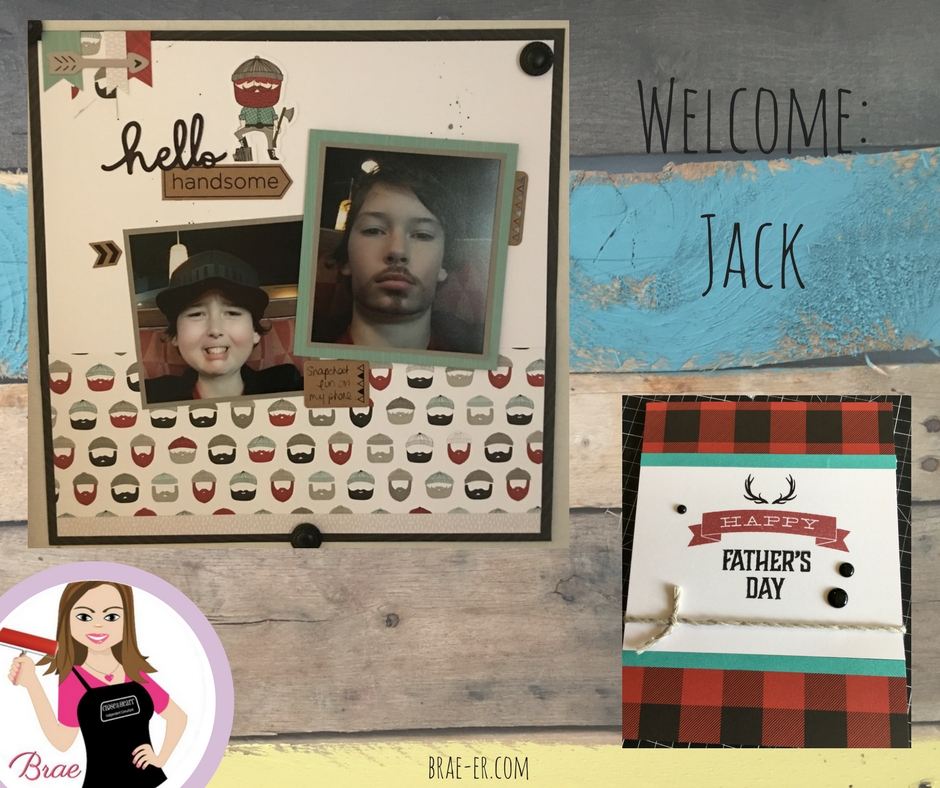
Jack: Seriously?! How awesome is this paper! Buffalo plaid and lumberjacks that are super adorable! LOVE!!!!! As a Mom to a teenage boy, I am thrilled to have something that fits his activities (the few he does allow me to take photos of). The complements are so very cute and the coordinating stamp set and thin cuts has an adorable bear (and there is another stamp set that makes this a perfect fit for camping themed pages!)
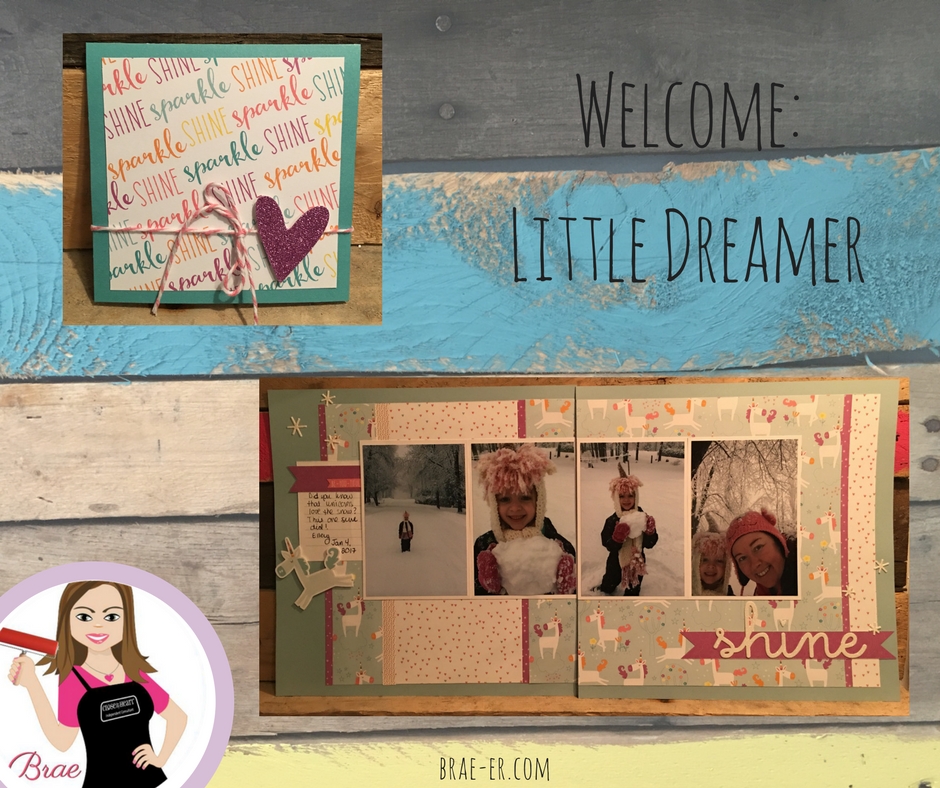
Litte Dreamer: Unicorns.
Yep, I don’t know that I need to say more LOL!
I can already predict which papers, stamps and thin cuts are likely to sell out before the seasonal book ends so be sure to get your MUST HAVE items early on!
Watch for more fun inspiration in the next few weeks and remember to check out the online catalogue or the actual product in my SHOP.
I read a post the other day that asked a really interesting question,
“If time and money were not an issue, what is one hobby you would begin?”
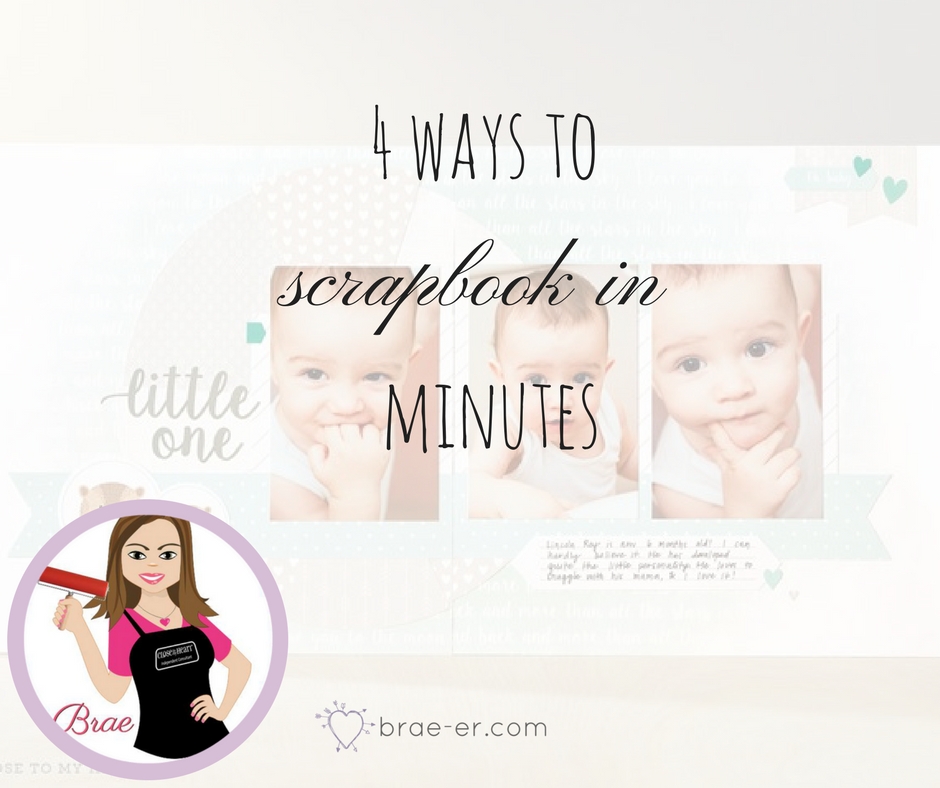
Of course I was intrigued and had to read more and do you know what I found was most common?! Most of the responses listed scrapbooking! As I continued reading I was surprised that most of the comments did not reflect a cost concern. Nope, most indicated a lack of time for the thing holding them back from creating beautiful and meaningful scrapbooks. I had many emotions : shock, a little sad, and then an overwhelming need to help these people out! Scrapbooking does not have to take hours and hours. Scrapbooking can be done in minutes!
Close to my Heart makes a few products that makes scrapbooking in minutes a breeze. Read on to find _________ ways you can scrapbook in minutes.
mini books
pml cards
simple layouts
Cut Above Layout Kits
This may be the easiest of the options and this month it is my FAVOURITE! Why? Because these kits are on sale (50% off!). That means you can create a scrapbook in minutes AND save some money too! Winner, winner, chicken dinner! Currently we have two kit options for you to choose from:
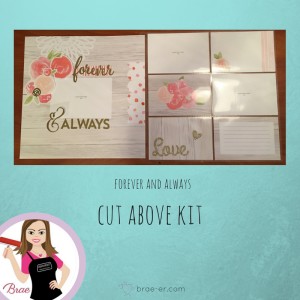
Forever and Always
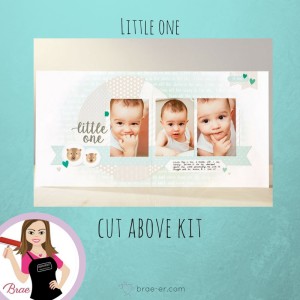
Little One
These kits come pre-cut and the pieces just need to be popped out of the paper. The insert supplies some instructions and then you just need to follow them and assemble. Easy!
Check out this video to see more about our Cut Above Kits.
Have you heard the news about our special paper for May? Live Beautifully is how Close to my Heart will be celebrating National Scrapbooking month! We are doing a lot of fun things with the Live Beautifully paper but my favourite is the Live Beautifully Cut Above kit!
Not familiar with our Cut Above kits?
Check out this video that explains more!
And come back in a few days to see all five layouts featured on the blog!
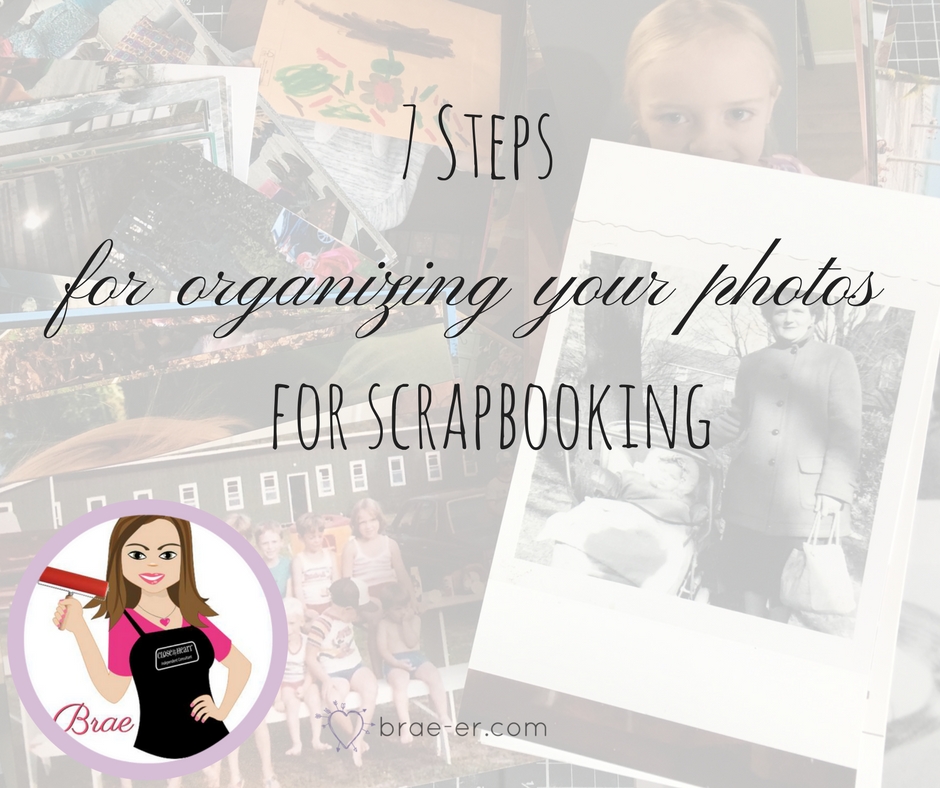
The number one concern I hear from people who would like to scrapbook is “I would love too but I just don’t know where to start. My photos are such a mess!” Photo organization can be a real problem for any generation. For scrapbookers, the organization (or lack of) can be the one thing that makes your task easier or makes it so overwhelming you just avoid it altogether. Today I hope to offer you 7 steps to overcome this obstacle so that you can organize your photos and get on to scrapbooking your memories!
If you are of my generation you likely have photos stored in a variety of places and in a variety of ways. I am of the generation that made the move from film to digital. This has resulted in photos (from my childhood and my husbands) in boxes and photos stored on our multiple computers (and thanks to poor decisions about how to store them they are really stored on old computers still stashed in a closet holding those precious memories). Add to this my love of scrapbooking and I have a real problem on my hands- likely, similar to the one you are facing. My hope is that the following steps will help you, just as they helped me get my photos organized!
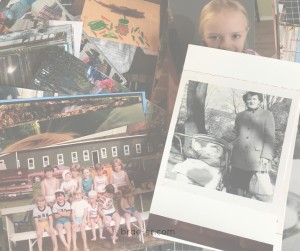
Step One: Gather it all up!
Yes, this is correct. Get your many photos in one spot (or space). For your digital photos this might mean taking your hard drives from the past to a computer tech who can transfer them onto a disk or just loading all your photos into a common cloud storage area (icloud, dropbox or google photos are three very popular ones). The boxes can just be brought into your space so that you are prepared for step two.
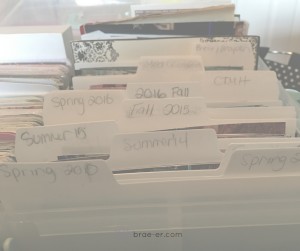
Step Two: Organize it!
This is key to not feeling overwhelmed by your photos! Your physical photos can be organized (and should be) in a similar fashion to your digital photos. Since I am a chronological scrapbooker (all my books are arranged by year unless it was a trip or a school album in which case they have their own album) I arranged by digital and physical photo files by season and year. Because I tend to sporadically print my digital photos this will allow me to have them all easily found when the times comes to scrapbook that season.
Step Three: Purge it!
This may be the hardest step for some of you (and me- let’s be real!). You are going to purge some of those precious photos (or delete them if they are digital). Because I could not part with the physical photos (sometimes I do use them for projects for other family members) I just purged them to another (and more organized) organizer for scrapbook’ed memories.
I will be honest though, I did throw some out and deleted many off my computer/cloud. I purged blurry photos, poorly lit photos, photos that my kids took of random things (like a close up of their nose hair- really?!) and any other photos that were just not going to make it (goodbye photos of my Mother’s ex-boyfriend). Ohhh, did this ever feel good!
Step Four: Print it!
Now that my folders were all nice and organized I could go through each season and begin to print my photos. I decided to tackle this in ‘bite-sized pieces’. I took one season (could be the oldest or the most recent depending on how you want to start), printed the photos that I needed (after I ensured I did not have them printed already) and then worked on those scrapbook pages.
Step Five: Scrapbook it!
After printing I started scrapbooking and I did not move on until that season was complete. I made a list as I went of supplies I might need (it quickly became clear to me that if I continued on then I would need to purchase some page protectors and albums). As I finished a layout (and I mean FULLY finished with JOURNALING people), I would place it into an album for that season (or year depending on how many memories I had to scrapbook).
There were a few tips that really helped me tackle this part:
I made peace with simple layouts. Not every layout needed to be an artistic masterpiece. I found some beautiful, simple ideas on pinterest and used them for inspiration.
If an event was holding me back I used pocket scrapbooking cards and pocket pages to get that event done so that I could move on. For some reason, I just find some events difficult. Christmas can be one (especially once the holiday feelings have passed). Pocket pages made this so fast, simple and easy!
Kits help too! Cut above layout kits and workshop kits (that may have been in my craft stash anyway) were another great way to quickly complete some scrapbooking.
Step Six: Purchase what you need!
Before I moved on to my next season (or folder if you organize your materials differently) you MUST purchase what you need. After steps 1-5 you are on a roll and things are moving along well. The worst thing you can do is let something simple impede this progress- make sure you have enough of the essential items before you move on: albums, page protectors, adhesive, seasonal paper… whatever it might be. Purchase what you might need for the next few months- items that I have shown here can be found in my SHOP.
Step Seven: Enjoy it!
This, is my favourite part of scrapbooking! Enjoy the memories with your special people. Display your books somewhere that they can be accessed by all who visit you (mine reside on a shelf in our living room). Take them out and enjoy them. THIS is why you did all this work, THIS is why you scrapbook!
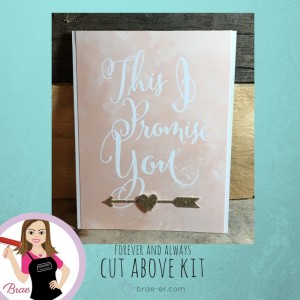
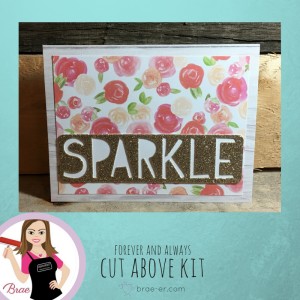
Have you seen our Cut Above Layout Kits? They are affectionately known as the 15 minute miracle and the Forever and Always kit is one of the two we currently have in stock. With this one kit you can get a two page layout and four pages of pocket scrapbooking completed in 15 minutes and all you need to add is your photos and glue! These kits come prepared for quick and beautiful pages- pieces are pre-cut, accessories are stickers or die-cuts that just need to be popped of the carrier sheet. In the end you have pages that are in your album in minutes!
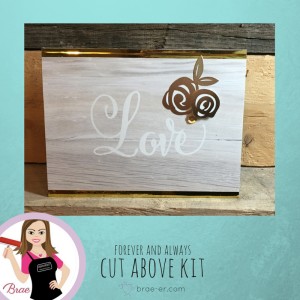
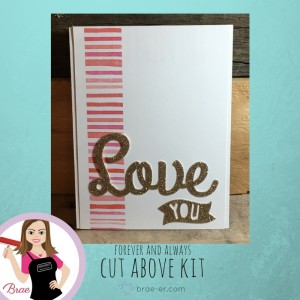
Now I will admit to ‘getting crafty’ with my kit. The paper is so pretty and not one that we carry in any other format so I just had to create some cards! I added the ‘My Girl’ complements (from this set I just used the gold shimmer pieces) and they added the perfect bits for my cards!
Have I told you the best part about this kit? During the month of April they are 50% off- that means you get a kit (that can do all the things I show above) for only $9.50 CAD!! AWESOME! Check out the Forever and Always kit and Little One HERE
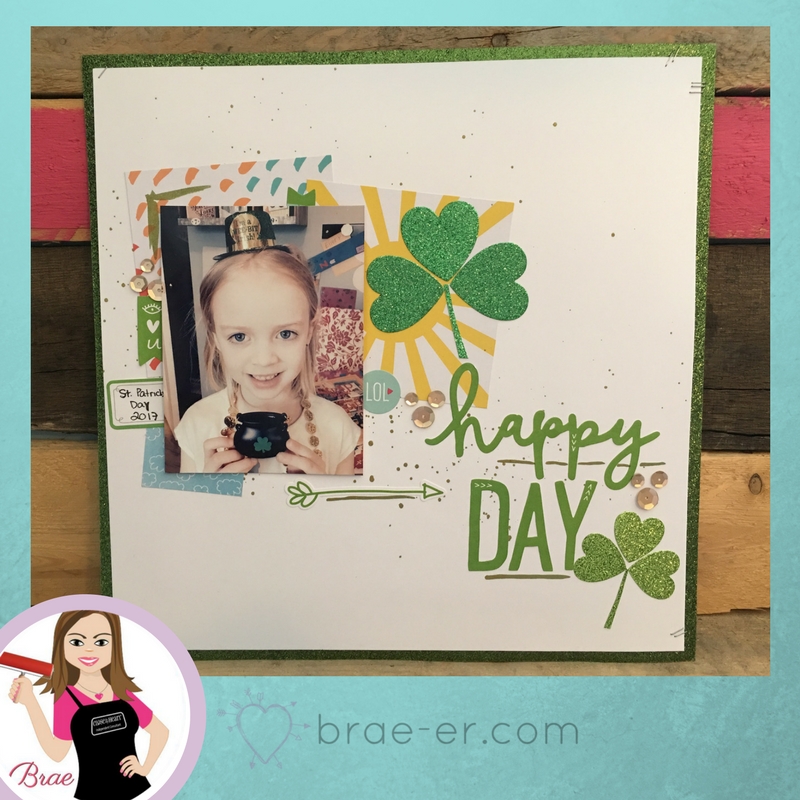
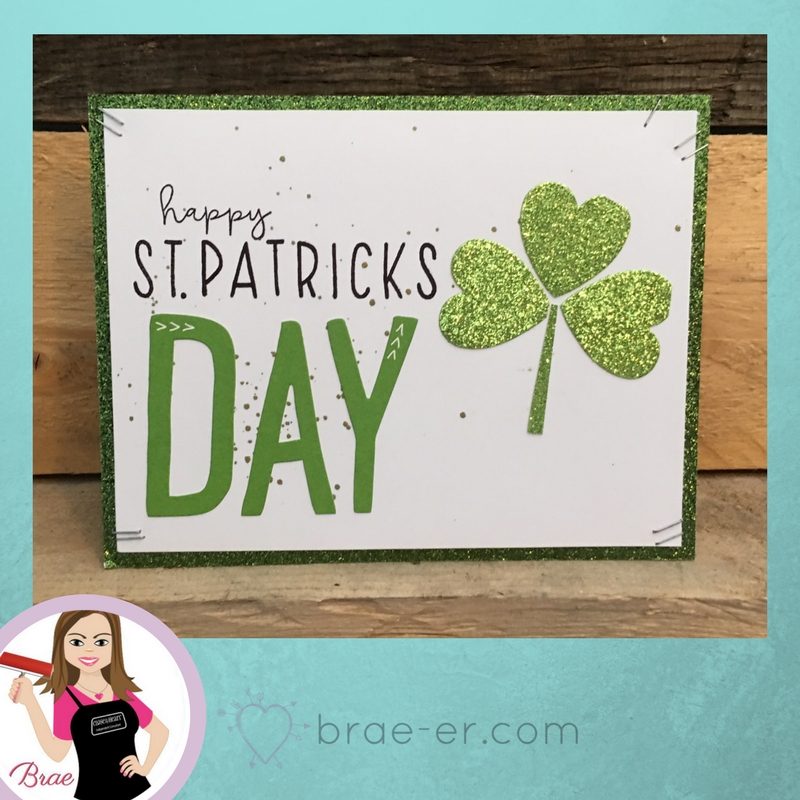
What a fun day full of fun traditions – my little one was VERY excited about this day (she was really hoping she would see a Leprechaun!) I captured this picture of her this morning and printed it off right away- the day inspired my creativity and I was anxious to get out some green and gold and get crafting!
I used our heart thin cuts to create my shamrocks and a mixture of gold shimmer brush and green re-inker to create my fun splatter effect! Check out the video to learn more about these techniques!
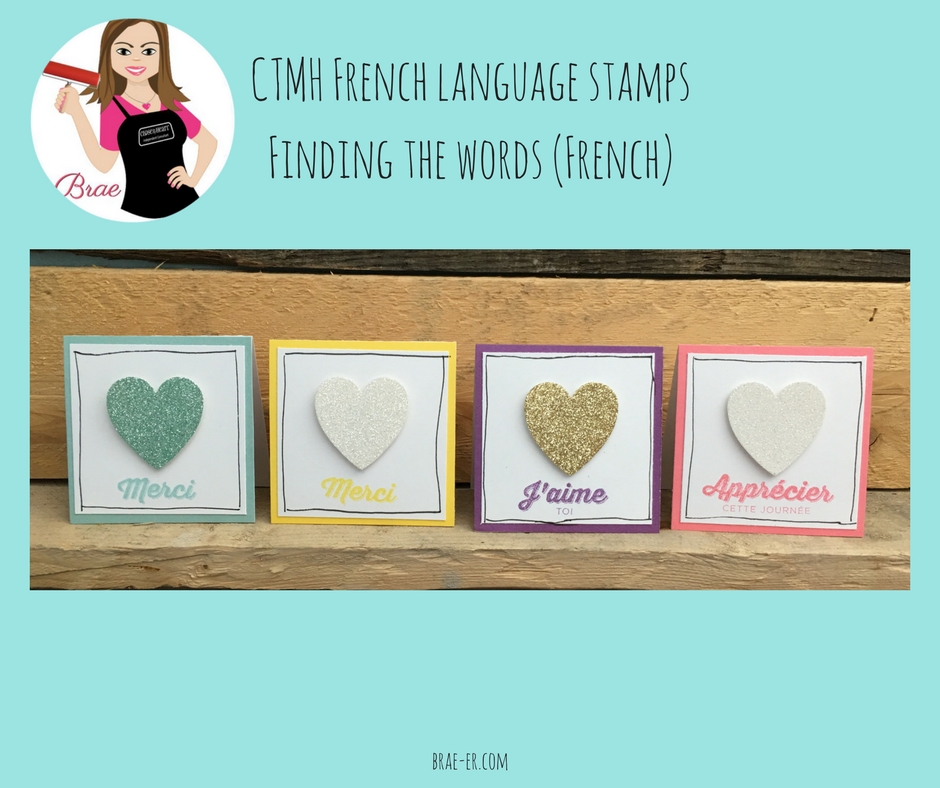
Welcome to the March Cross Canada Blog hop or should I say Bonjour! We are excited to offer you a special blog hop this month featuring our French language stamps!
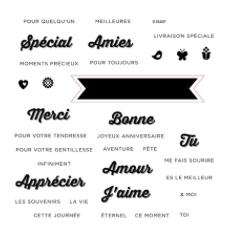
If you have ever attempted to purchase stamps in french you know just how difficult it is to find any. CTMH offers a selection of our stamps in both French and Spanish- a great solution and a wonderful way to share you love of paper crafting in multiple languages! As a bilingual family, I find these the perfect fit for projects for my in-laws or thank you’s for the school. Check out my ‘petite’ card set created with the school in mind!
Here is the image of the stamp set that I used to create these cards- you can also see a full variety of our stamps on my website HERE.