Monthly Archives: November 2009

December Blog Hop: Notice the Details

Welcome to the December Stamp of the Month Blog Hop!!
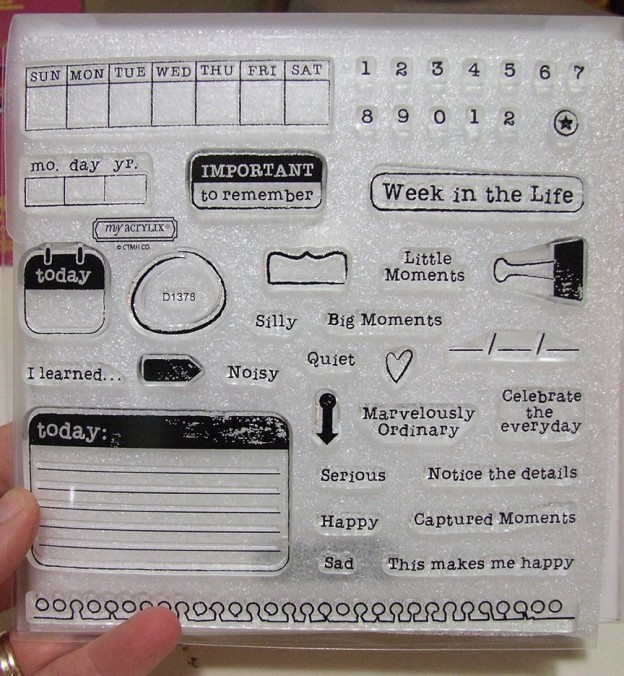
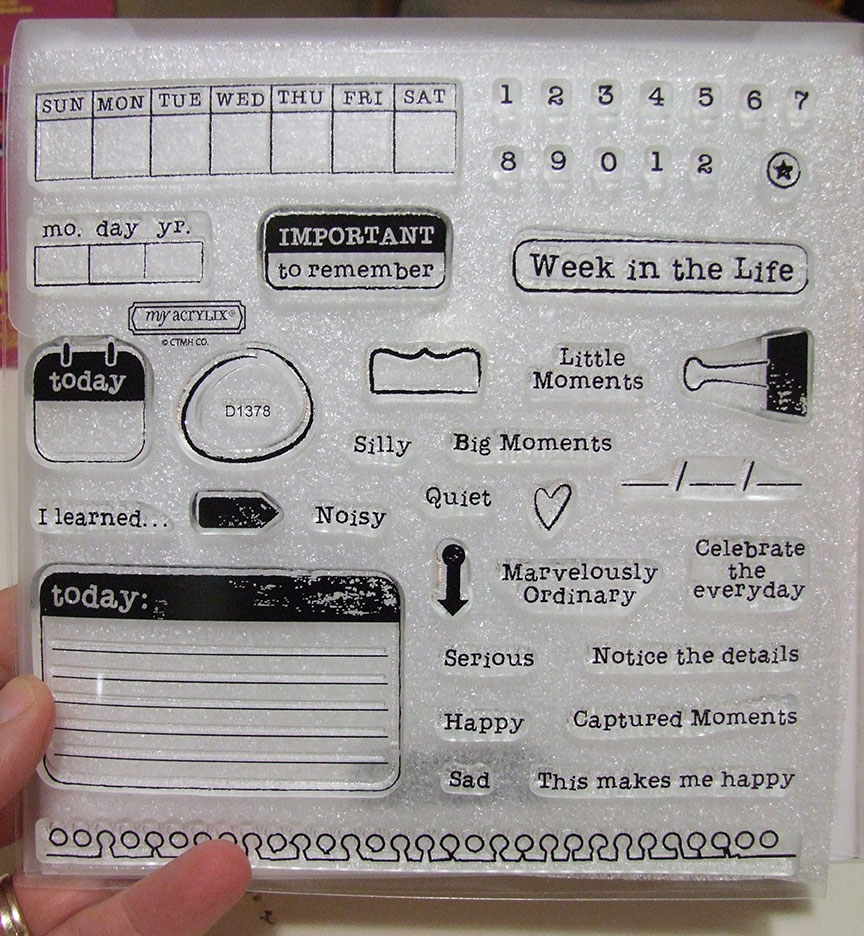
This month we are featuring the stamp set Notice the Details which is a set of 41 stamps!!

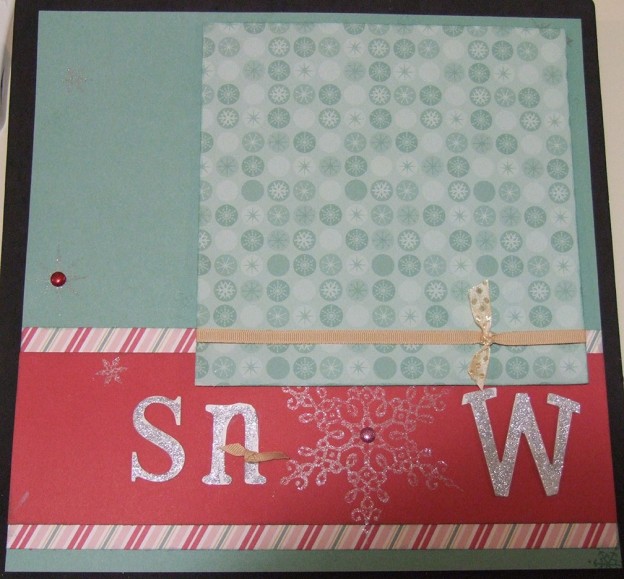
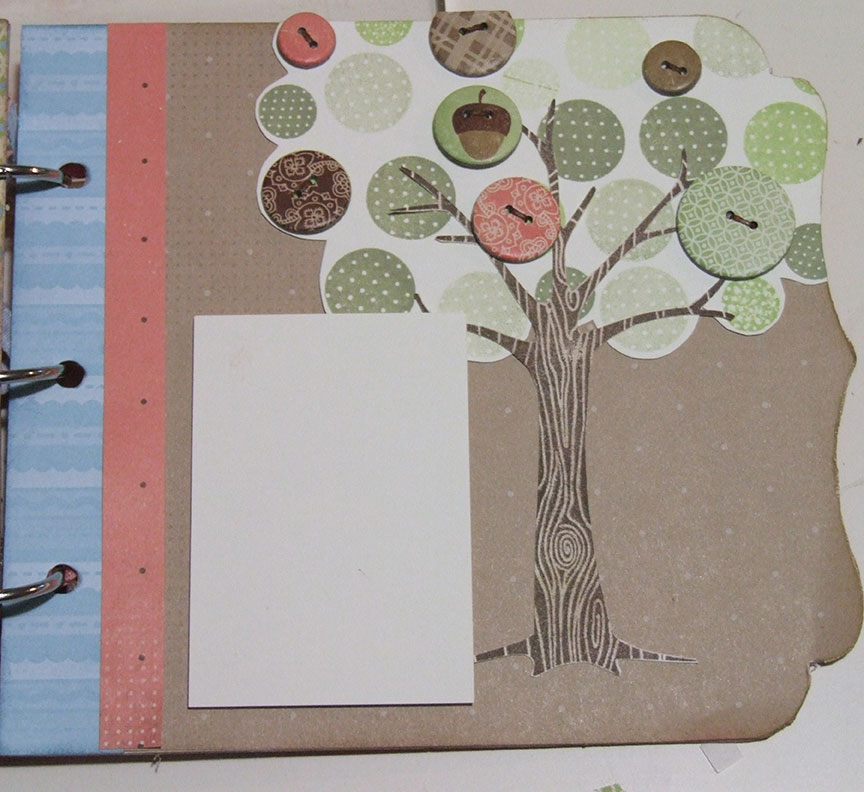
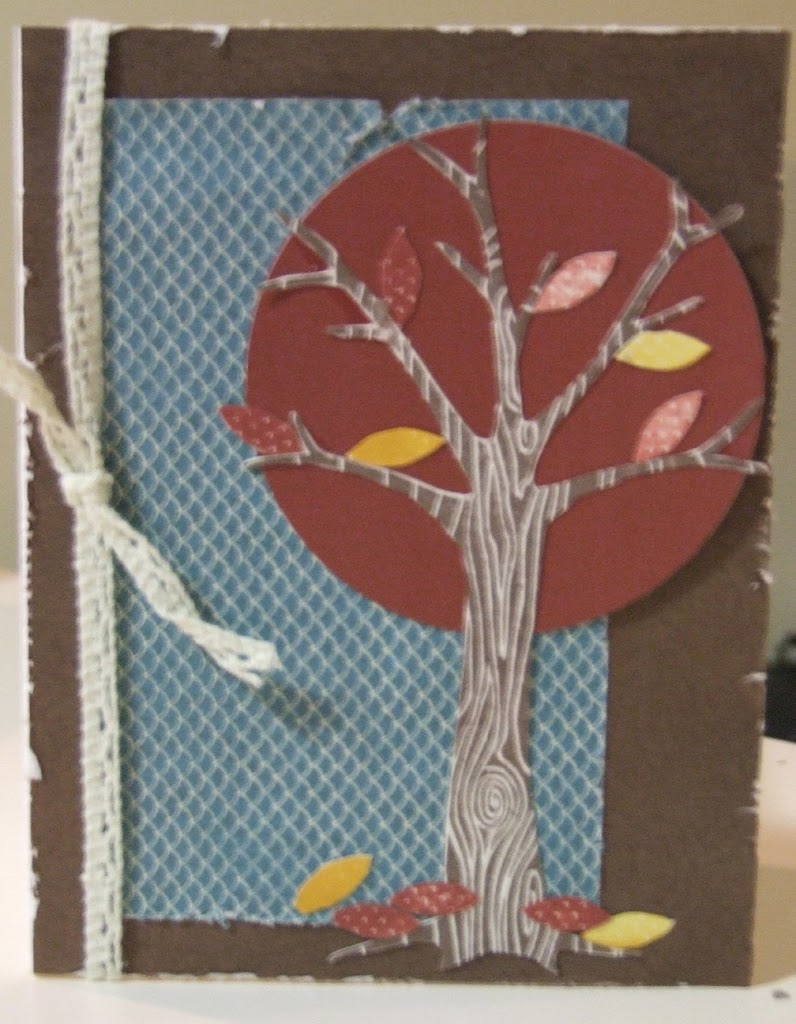
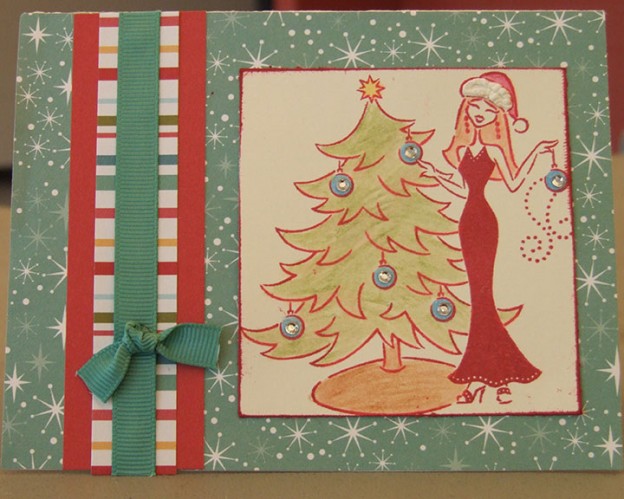
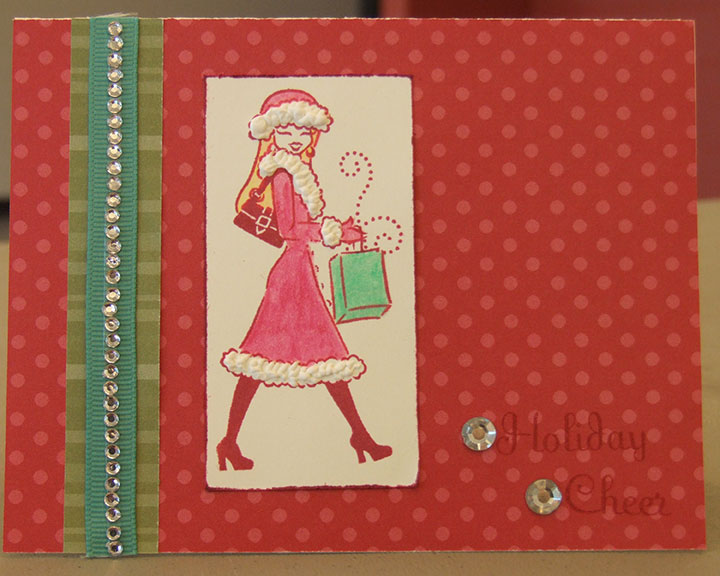
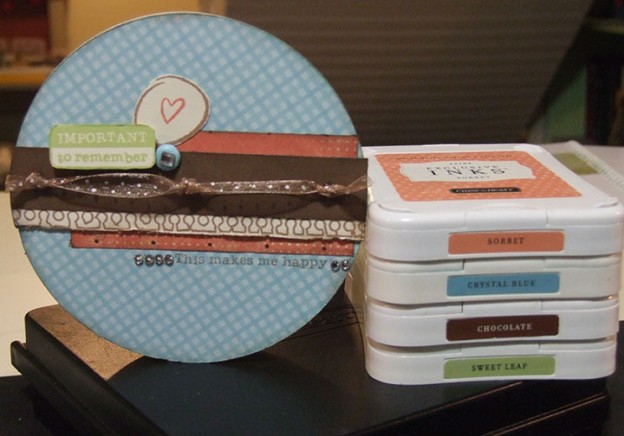
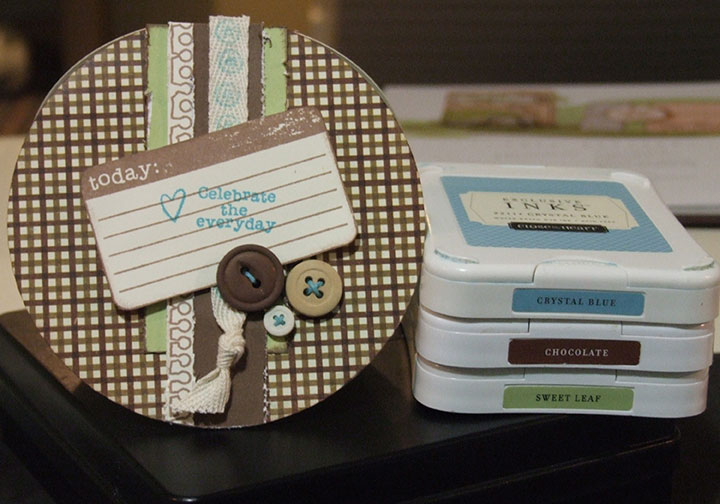
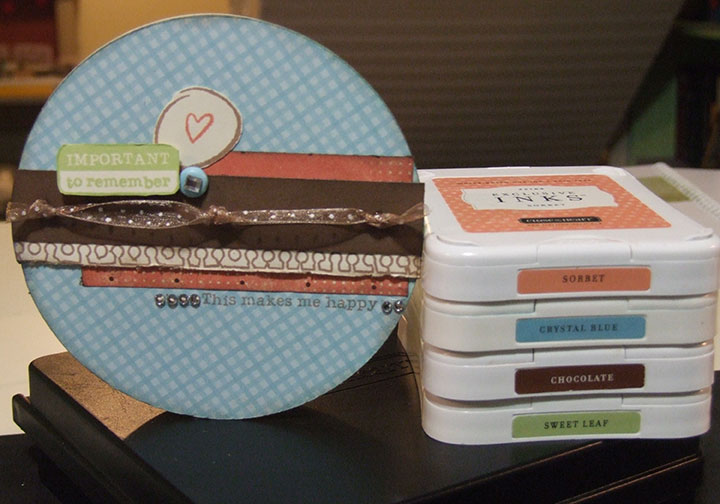
For my card projects I used one of the patters from Wishes for a circle card- Simply Secure- and I used some of our twitterpatted paper. I wanted to show that our stamps and papers are versatile enough to create masculine and feminine cards from the same paper!! both of the cards featured here use the same base B and T paper (the brown plaid), the above image just used the back side of it which features the same print in a tonal blue. I also used different accent papers for the cards but both are from the twitterpatted paper pack (pink dot paper above and sweet leaf cardstock below).

To really make these cards stand out I made sure that the accessories I used and stamps really spoke to the message I wanted to get across. The above feminine card features a brad with a sparkle on top, a strip of sparkes and some light feminine ribbon- as well I used stamp images that reflected this- like the heart and the colours of ink! The below masculine card features buttons and waxy flax and a heavier ribbon (on which I stamped on of the stamp images). The stamp images are a little different and although I still used the heart I stamped it in the crystal blue ink.


I hope you enjoyed this take on cards and your preview of the December stamp of the month- if you would like to purchase this stamp set then please click here AND if you would like to continue on in the blog hop then click here to go to Adeline’s blog!

Until we craft again, The Brae-er


Studio J- Cute as a Cupcake Mouse!

I tell you I am just having so much fun- this Studio J was really thought out well and will knock your socks off in the new year! This project was created using Studio J and it features our Rough n Tumble paper.

Did I explain to you about the great accessories available on Studio J??

In the Studio once you have created your layout you will be able to add a variety of accessories. The layout you chose already comes with some preselected ones but you can toggle these off and add your own wherever you like. You can chose from metal accessories, ribbon and buttons (all of which can be made to match the paper pack that you picked) AND stickease (letters, accents and quotes). These just mean that the possibilies for your creations are endless!! And everything is so easy to use – you just drag n drop your accessories to where you want to place them- you can even add thread to your button holes for a stiched on look!!

Also- just a quick reminder of the December Blog Hop for the Stamp of the Month that will be beginning December 1st- I am one of the stops or I can be your starting point so be sure to visit back on that day when I will show your how our versatile paper and stamp sets can be used to create feminine and masculine cards with ease!!

Until we craft again, The Brae-er


Studio J- Everlasting and my Halloween layout!


First off I apologize that the above image is a screen shot- I am playing around with some free downloads of software that will allow me to only capture the portion of the screen that I want- so far I can get pretty close but not perfect!

I am really enjoying Studio J- I am so behind in my personal scrapbooking and this is such a great way to catch up and finish layouts that I do not have the right paper for at home! Today’s layout uses the Studio J Everlasting paper for my Halloween layout!

For this layout I turned the right side page 90degrees in order to get my pictures in the way I liked- you will love this feature – as you turn your page your text and picture boxes realign themselves!! Instead of using a supplied font (there is a large selection including one that is Jeannette Lynton’s own handwriting) I used the alphabet stickers from the stickease collection. I also added a few quotes and some candy corn from the stickease. One of the nice things about stickease in the Studio- there are always enough to do just what you want in your layout!!

Hope you are enjoying this and feel free to come back tomorrow for another look!

Until we craft again, The Brae-er


Studio J Sneak Peek


I hope that you are as excited as I am by the above image!! I have kept this under wraps for my customers as I knew there would be a bit of a wait but I just cannot do it any longer!!
Close to my Heart will be unveiling (in the new year) Studio J online scrapbooking!! This is amazing and a great way to capture your memories if you are not into traditional scrapbooking OR if you find you just need a fast, simple and easy way to create gorgeous layouts!! Let me remind you that CTMH will always offer leading edge product for traditional scrapbookers but we wanted to make sure that we offering every one else a great way to preserve their memories!
A few fast facts about CTMH’s Studio J:
  • it lives online, this is not a download or something you will have to purchase from me. In order to access the Studio you will need to go to my website and click on Studio J- it is that easy!! (don’t try now as it is not active yet for customers)
  • you create a two page layouts using CTMH paper and CTMH patterns and CTMH embellishments – if you already know our great product then you will LOVE that it can be found in the Studio to use on your projects
  • you get to try it all RISK FREE- when you log in to the Studio you can create to your heart’s delight all with not risk- WHY?? there is not cost to try it out!! That is right- no cost- you only pay when you purchase a layout!! This gives you access to everything- we hold nothing back!!

That is only a bit of the information but some very important points. Since I attended leadership I am one of the lucky consultants who get to play in the Studio early- AND since we are allowed to share our results I will be doing just that all this week!!

IF you want to make sure you know when this launches for customers please email me at braemontgomery@myctmh.com– I will add you to my Studio J list and also send you an invite to my Studio J Soiree in the new year!! This will be a fab night where I show you all in the ins-and-outs of the Studio!!

Until we craft again, The Brae-er


Glitter Rub-Ons Add Great Sparkle to Holiday Scrapbooking!

The other day I was at an event and had some time to create something- I finished it when I returned home and I love how it turned out! I wanted to showcase the lovely Glitter rub-ons – they are FAB!!!

On this two page layout I used the rub-ons as part of the background (there are snowflakes throughout) and as part of my title- the O was replaced with a large snowflake AND I used them on my journaling block. I think you will agree that it added some great sparkle. To get the same look on my letters I covered chipboard with tombow adhesive and then used the glitter from the rub-ons- it rubbed on pretty well!!

If you decide to try these for yourself make sure that you watch the current episode of Art and Soul where they show you step by step just what to do to use these delightful rub-ons.

Until we craft again, The Brae-er


Holiday Values and Goals

With the hustle and bustle of this time of year I have added to my plate by taking Jessica Sprague’s free online Holiday course- I took another course with her in the summer on Photoshop and I just loved all that I learned! This one focuses on the holidays and has assignments that help you build an album- either paper or digital- mine will be paper of course!!

Our first assingment asks us to list of values and from them create goals for the holiday season (and yes we have to journal them on our blogs- so you can share in this with me!!). This will then become some journaling in my holiday album- what a fab start!!

The first two words that come to mind are FAMILY and TRADITION. I love this time with my family!! Every year we spend the holidays with my family or my husbands- even though this switches back and forth it has added something so very important to the holiday season. Each family group has their own traditions and I love taking part in them all- from the ones that I have always known and loved like Christmas dinners; to ones that we created as we grew up like find the Christmas pickle (this is much more innocent then is sounds) to the new traditions I adopted when I married my husband (they are French so most involve Chuch and drinking- an interesting combination!!). I would not trade the family craziness during the holidays for anything- it is far too precious!! So this year my goal is to make sure that I take it all in and enjoy every moment- cherish all the small and large memories!!

This leads to my next word: MEMORABLE- obviously making things memorable and capturing those memories is very important to me ( I am a scrapbooker after all!!) and this year is no different. I want to make our memories of this time last forever but this year I will build a new goal around this- I want to find the special memories in the smaller occurences during the holidays- the things that usually do not seem important enough to make it into my scrapbook- like a neighbour shoveling our driveway, sharing hot chocolate with my son on a cold day, making snow angels, listening to Christmas songs on the radio as we drive up north to Timmins- all of these are as precious as the bigger holiday moments.

That brings me to my last word: MAGIC. My son turns six very soon. Today as I shopped for gifts I realized that soon he may not believe in the magic of the holiday season- how sad! Every year he seems to enjoy the visit, letter and occassional phone call from Santa, more and more. I really sadden when I think this may end in a few more years SO this year I will also cherish these moments more and somehow I will capture this magic through photos and journaling so that when Austin is older he can remember just how much he did believe in magic!

Until we craft again, The Brae-er


Featured Stamp Set: Holiday Jingle


Another super-cute stamp set for Christmas- the above small pictures were posted earlier in the year on my blog but I wanted to share them again just to showcase the stamp set. The set comes with 7 images- 5 of which are the words that you can see on my sample cards.
The cards below are very simple to create but I just love how they turned out! I used Evensong Paper, Juniper ribbon and the featured stamp set — then finished it off with a touch of prisma glitter!!

Until we craft again, The Brae-er


Featured Stamp Set: Grown with Love

Yep- this one AGAIN-but what can I say – it is just so versatile!!! I will add some of the past projects below. Grown with Love is a set of 27 stamps- but for this project I used the tree alone and added some liquid applique (and head set it) for snow on the branches. The Christmas phrase is from Peace on Earth (a set of 17) sentiments perfect for the card maker- they offer an outside and inside portion of the sentiment. Inside this card the sentiment reads “What if Christmas means a little bit more” from the Grinch!


Until we craft again, The Brae-er


How to Care for your New Acrylix Stamps

You know that feeling- when you bring your new stamp home fresh from being delivered off the UPS truck- the stamp set still has that new stamp set smell (I am not the only person to love that smell!!). You are eager to get out your ink and play with your stamp set, creating all the projects that you envisioned when your purchased it!!
Buy wait!!
First you MUST care for your new stamp set- if you follow these very simple steps you will prolong the pleasure of using your stamp set and make sure that it lasts forever!
The first thing that you should do is SEASON your stamp set- this means that you are preparing it for all the inks that it will be meeting in the future. To do this all you need is your stamp set, a block, some light coloured ink (bamboo is ideal) and some scrap paper.

Ink up your stamp as you would usually and stamp the image onto your scrap paper a few times. As you do this you will notice that your image becomes more clearly defined- this is just one of the perks to seasoning your stamps!

Here is an example of a stamp that I did not season when I stamped the ‘before’ image. You can see that the ink distribution is not as clear nor is the coverage. The after image I stamped after I had seasoned it a few times- now I have a perfect image (don’t mind the fact that the whole thing is blurry due to my camera knowledge!)

Another BIG perk to seasoning your stamps is staining- when you LOVE your stamp sets they can start to show that love, especially if you did not season them and you use a lot of dark coloured inks. In the picture above I have the stamp on the left which was seasoned in bamboo and then inked with star stangled blue. You can hardly tell!! Compare that to the stamp on the right-which I did not season with bamboo before using it in the blue- and YES that is CLEAN!!!
You will basically ‘seal’ your stamp if you season it with a light coloured ink first.

Lastly, be sure that you clean your stamps properly- they are an investment and every investment should be cared for. Use Close to my Heart Spritz Cleaner and our double scubber to keep you stamps at their best!!

Until we craft again, The Brae-er


Featured Stamp Set: Ms. Holiday Cheer

Since the special for CTMH this month features stamp sets- buy 2 get one FREE!!- I thought it would be helpful to feature different stamp sets and stamping techniques throughout the month!! Today will be the first featured stamp set- Ms. Holiday Cheer!!
This stamp set is super cute and comes with 10 images for $28.50 CAN- and the possibilites abound- I added some liquid applique to her trim on her hat and suit and then heat set to get the puffy Santa look. I also coloured my images in with our watercolour pencils and then blended with the blending pen. Paper used is Jingle- also features, Juniper Ribbon and some sparkles.
Continue to check back this week for other featured stamp sets and some great stamp techniques!! Our first focus will be on care of our acrylix stamps and how to season them!!

Until we craft again, The Brae-er