
The number one concern I hear from people who would like to scrapbook is “I would love too but I just don’t know where to start. My photos are such a mess!” Photo organization can be a real problem for any generation. For scrapbookers, the organization (or lack of) can be the one thing that makes your task easier or makes it so overwhelming you just avoid it altogether. Today I hope to offer you 7 steps to overcome this obstacle so that you can organize your photos and get on to scrapbooking your memories!
If you are of my generation you likely have photos stored in a variety of places and in a variety of ways. I am of the generation that made the move from film to digital. This has resulted in photos (from my childhood and my husbands) in boxes and photos stored on our multiple computers (and thanks to poor decisions about how to store them they are really stored on old computers still stashed in a closet holding those precious memories). Add to this my love of scrapbooking and I have a real problem on my hands- likely, similar to the one you are facing. My hope is that the following steps will help you, just as they helped me get my photos organized!
Step One: Gather it all up!
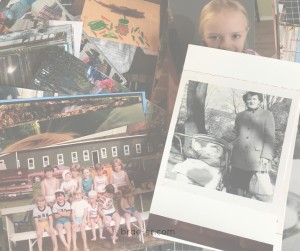
Yes, this is correct. Get your many photos in one spot (or space). For your digital photos this might mean taking your hard drives from the past to a computer tech who can transfer them onto a disk or just loading all your photos into a common cloud storage area (icloud, dropbox or google photos are three very popular ones). The boxes can just be brought into your space so that you are prepared for step two.
Step Two: Organize it!
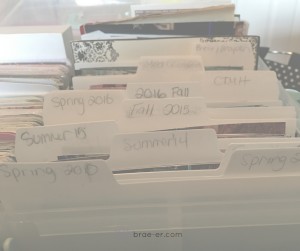
This is key to not feeling overwhelmed by your photos! Your physical photos can be organized (and should be) in a similar fashion to your digital photos. Since I am a chronological scrapbooker (all my books are arranged by year unless it was a trip or a school album in which case they have their own album) I arranged by digital and physical photo files by season and year. Because I tend to sporadically print my digital photos this will allow me to have them all easily found when the times comes to scrapbook that season.
Step Three: Purge it!
This may be the hardest step for some of you (and me- let’s be real!). You are going to purge some of those precious photos (or delete them if they are digital). Because I could not part with the physical photos (sometimes I do use them for projects for other family members) I just purged them to another (and more organized) organizer for scrapbook’ed memories.
I will be honest though, I did throw some out and deleted many off my computer/cloud. I purged blurry photos, poorly lit photos, photos that my kids took of random things (like a close up of their nose hair- really?!) and any other photos that were just not going to make it (goodbye photos of my Mother’s ex-boyfriend). Ohhh, did this ever feel good!
Step Four: Print it!
Now that my folders were all nice and organized I could go through each season and begin to print my photos. I decided to tackle this in ‘bite-sized pieces’. I took one season (could be the oldest or the most recent depending on how you want to start), printed the photos that I needed (after I ensured I did not have them printed already) and then worked on those scrapbook pages.
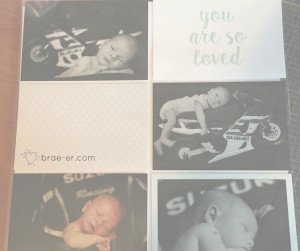
Step Five: Scrapbook it!

After printing I started scrapbooking and I did not move on until that season was complete. I made a list as I went of supplies I might need (it quickly became clear to me that if I continued on then I would need to purchase some page protectors and albums). As I finished a layout (and I mean FULLY finished with JOURNALING people), I would place it into an album for that season (or year depending on how many memories I had to scrapbook).
There were a few tips that really helped me tackle this part:
- I made peace with simple layouts. Not every layout needed to be an artistic masterpiece. I found some beautiful, simple ideas on pinterest and used them for inspiration.
- If an event was holding me back I used pocket scrapbooking cards and pocket pages to get that event done so that I could move on. For some reason, I just find some events difficult. Christmas can be one (especially once the holiday feelings have passed). Pocket pages made this so fast, simple and easy!
- Kits help too! Cut above layout kits and workshop kits (that may have been in my craft stash anyway) were another great way to quickly complete some scrapbooking.
Step Six: Purchase what you need!
Before I moved on to my next season (or folder if you organize your materials differently) you MUST purchase what you need. After steps 1-5 you are on a roll and things are moving along well. The worst thing you can do is let something simple impede this progress- make sure you have enough of the essential items before you move on: albums, page protectors, adhesive, seasonal paper… whatever it might be. Purchase what you might need for the next few months- items that I have shown here can be found in my SHOP.
Step Seven: Enjoy it!
This, is my favourite part of scrapbooking! Enjoy the memories with your special people. Display your books somewhere that they can be accessed by all who visit you (mine reside on a shelf in our living room). Take them out and enjoy them. THIS is why you did all this work, THIS is why you scrapbook!
Until we craft again, The Brae-er