As part of Cardstock Carnival I have been sharing techniques that are perfect for our white-core cardstock. Today I have two more to share.
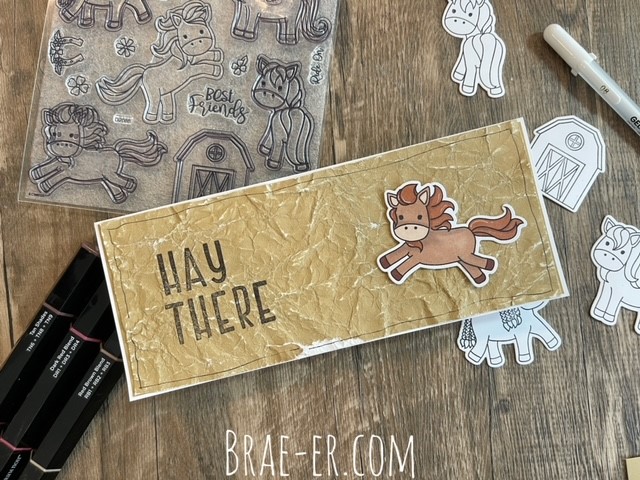
The ‘Hay There’ card features paper leathering. This technique was perfect for the Pretty Little Ponies stamp and thin cut set as it adds to the outdoor and country feel. To achieve this look you need to spritz your cardstock with water (enough that you can scrunch it up without tearing). Once you have done that carefully unfold the paper and lay it flat to dry (I usually place something on top to help it stay flat). Once dry, lightly sand the cardstock. This will help you achieve the look of leather.
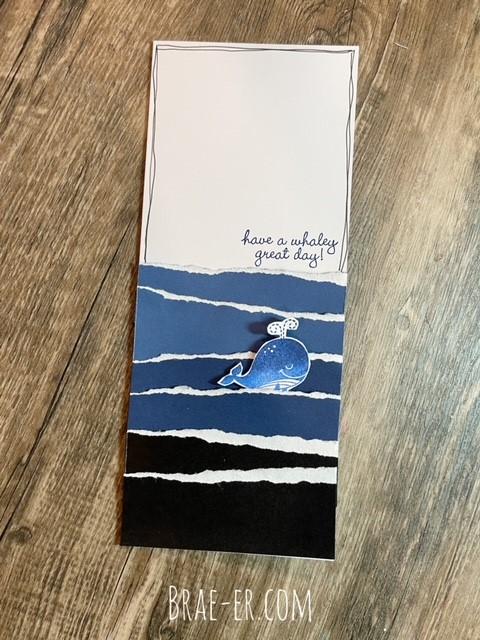
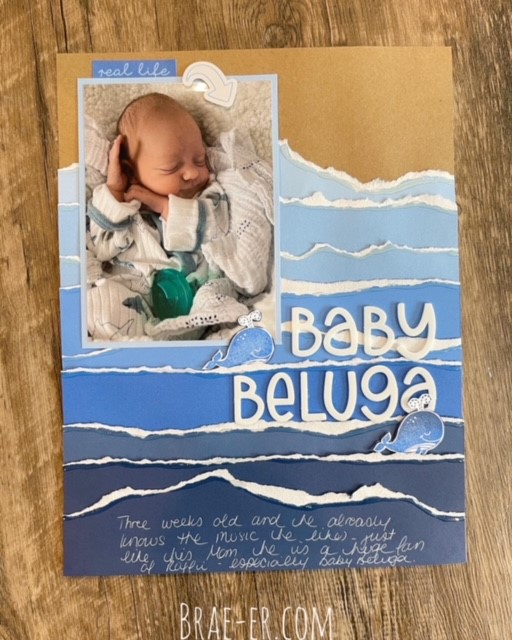
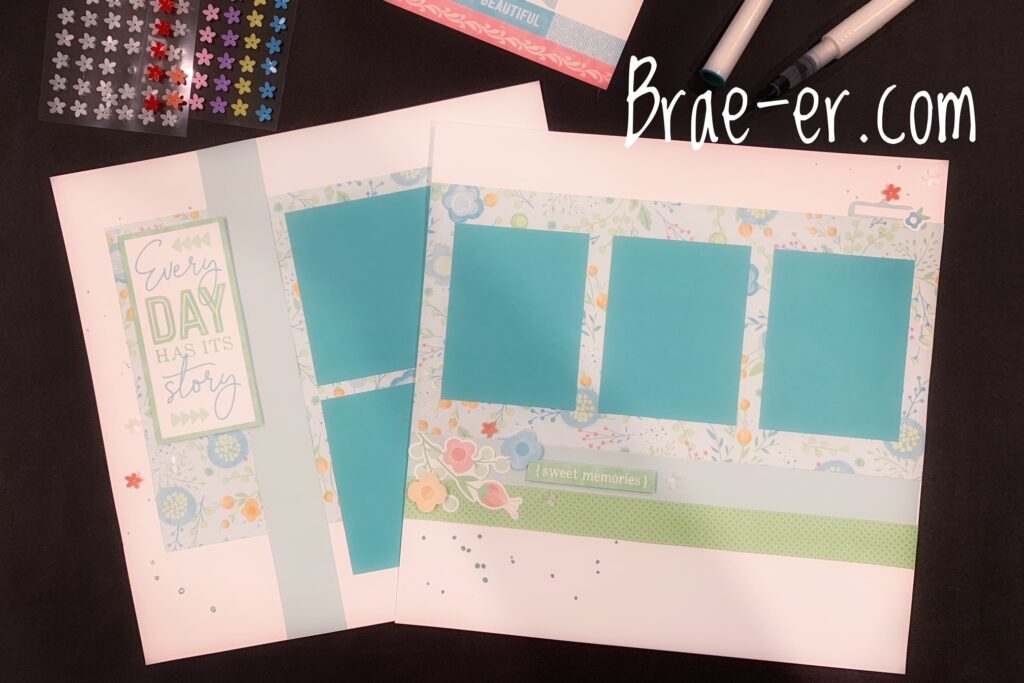
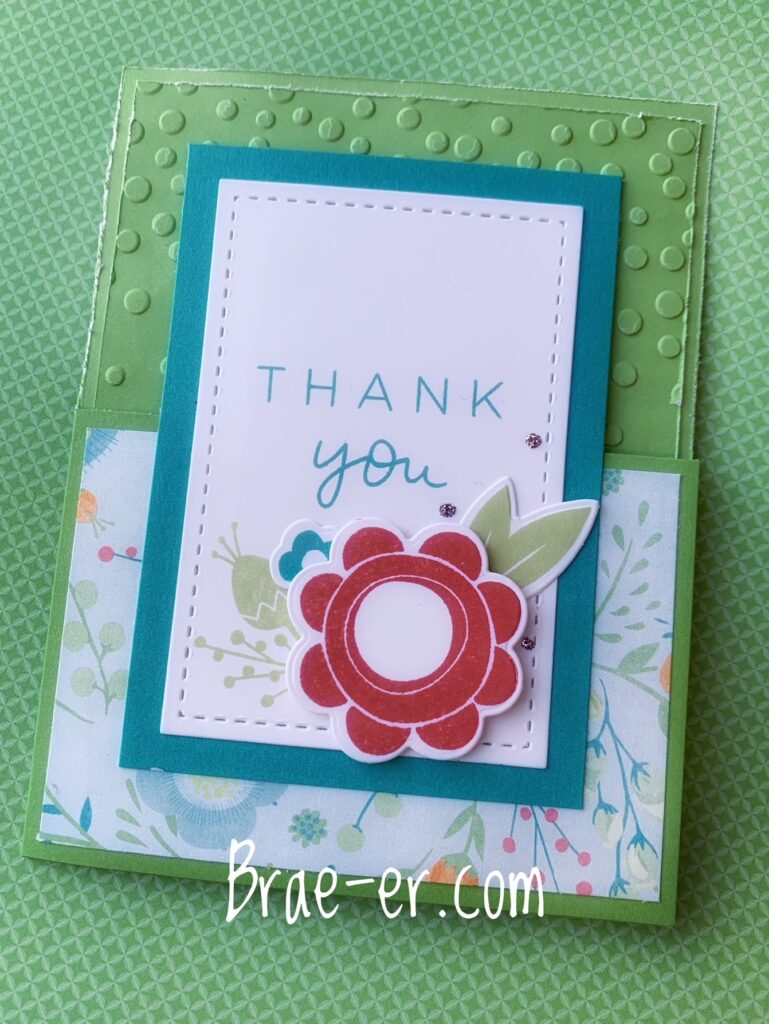
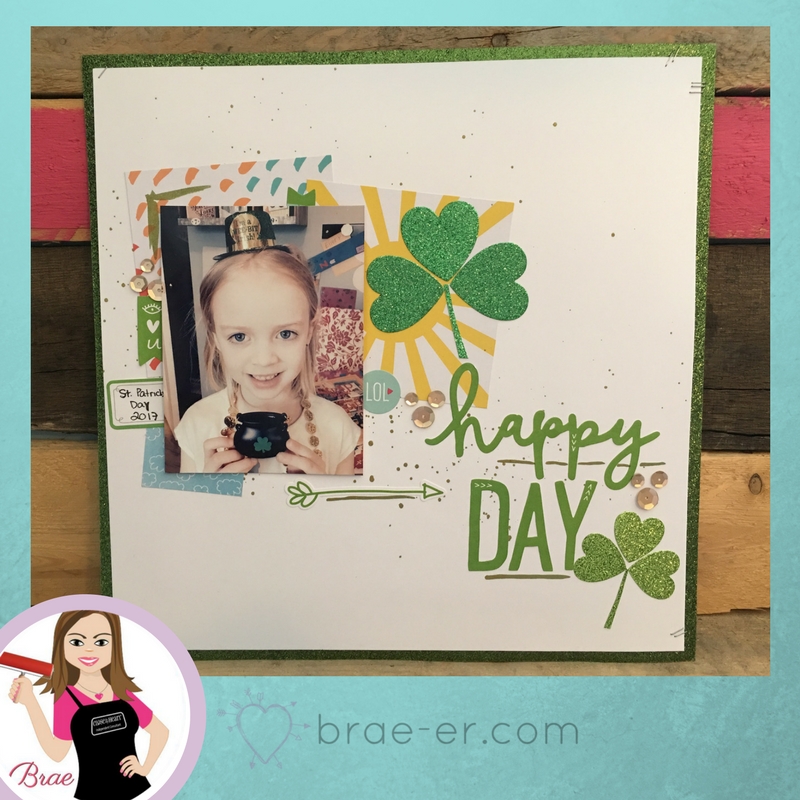
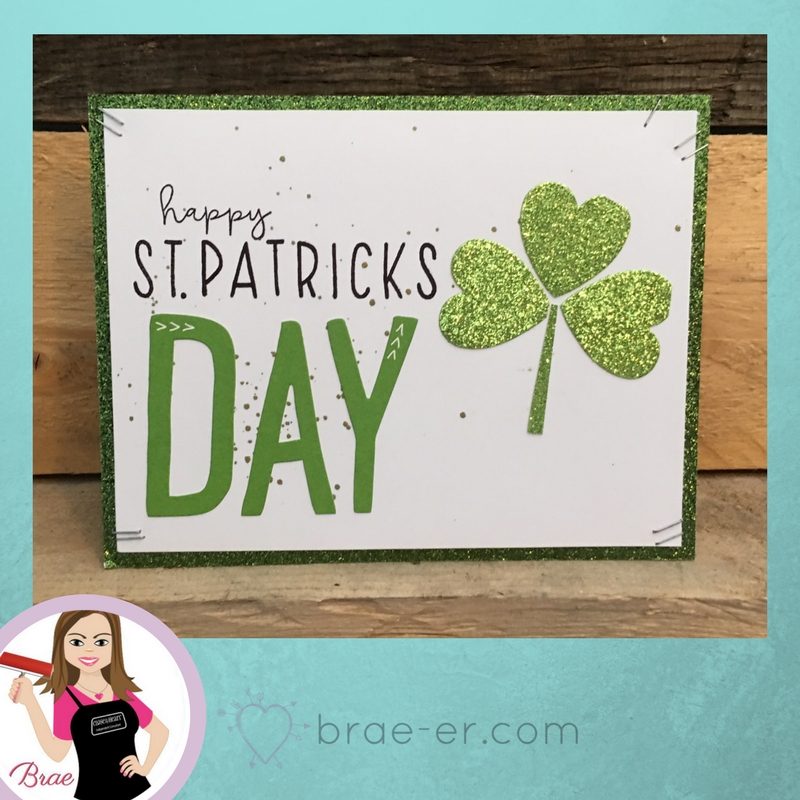
Paper tearing is another fun technique. On this card and layout I used shades of blue to achieve the look of waves. When tearing I hold the cardstock strips and tear toward myself- this gives me the best control over the tearing. Our stamp of the month (You’re the GOAT) has a cute little whale that was perfect to tuck into the waves. On the layout I added liquid glass along the torn edge- my aim was to mimic the crest of a wave.
I was really pleased with how these projects turned out- playing with cardstock is super fun!
Until we craft again, The Brae-er
 Hey!!! Welcome back.
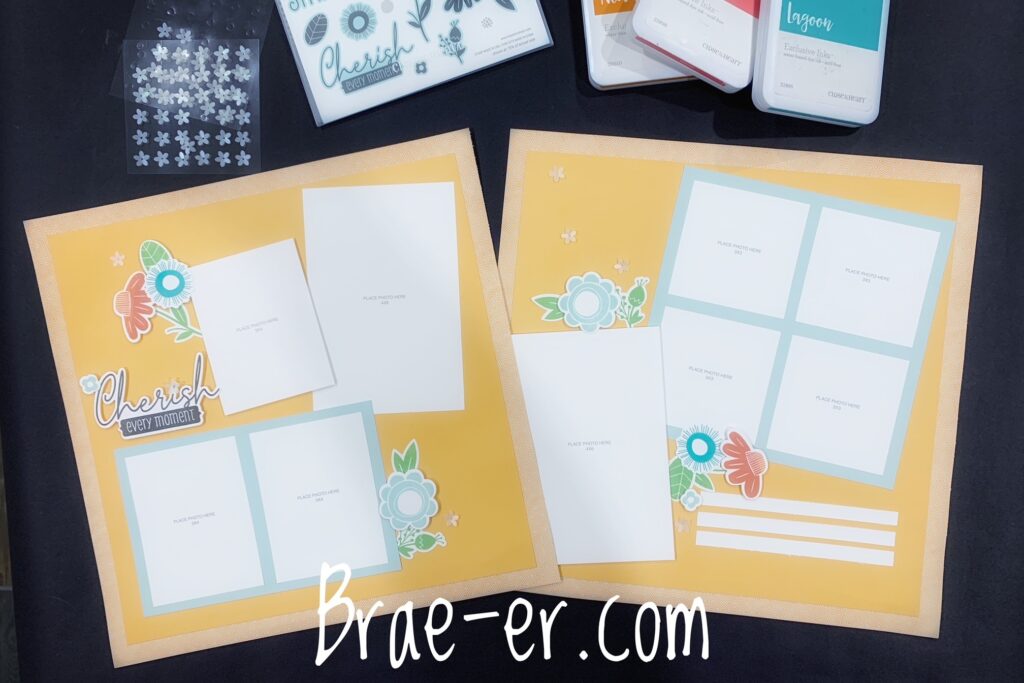

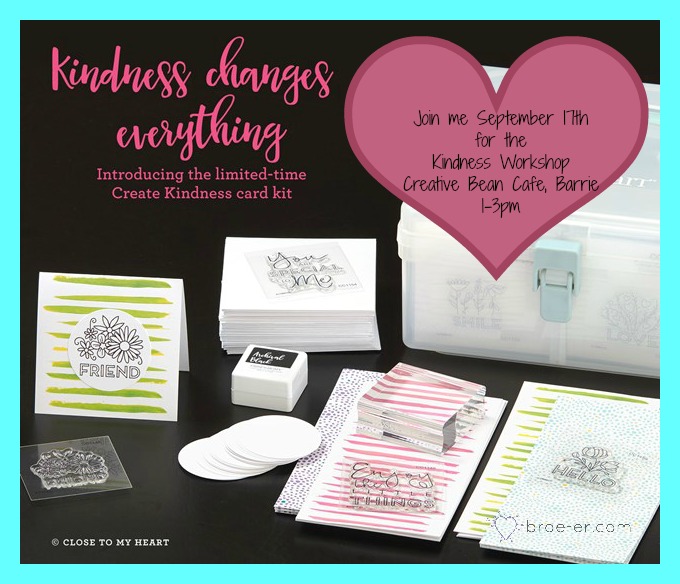 Create Kindness Card Workshop